Featuring versatile trio of 10-FREE nude nail polishes perfect for fall
Not to be taken lightly, the universal ‘nude’ trend has stuck around for good reason. From nude fashion to nude phone cases to nude lipsticks to nude nails -- this trend truly has no limits! ‘Nude’ can mean different variations of beige, pink, or brown; the beautiful thing about going nude is that you can cater it to any skin tone. A shade that might be nude for you could be different for your BFF, making the definition of ‘nude’ endlessly dynamic. We’re combining multiple nude tones to create sleek, subtle dimension that’s perfect for complimenting fall makeup and fall fashion, utilizing our 10-FREE polish trio of Truffle, Velouria, and Pinkerton.
Our Nude Nails Lineup
Creamy Polish in TruffleNudes for Everyone!
Truffle, Velouria, and Pinkerton can each be matched to multiple skin tones, or used together as a versatile nude trio. Want a perfect nude polish matched to your fair skin tone? Grab our Creamy Polish in Pinkerton. Medium skin tone? Creamy Polish in Velouria. Deeper skin tone? Try our Creamy Polish in Truffle. Want to try a dimensional, multi-nude nail look? Read on for 3 easy nail design tutorials!
The Accent Stripe: Easy Nude Nails Design #1
What I love about this look is that it doesn’t have to be done perfectly, and it will still be eye-catching. This is my go-to nail design because it doesn’t require any tape or extra tools and the result has an artistic pop.- Lindsey, Marketing Content Specialist
Start by choosing your ‘accent stripe’ nails; we chose index, ring, and pinky fingers. Apply a single layer of Pinkerton to each clean, dry nail.
While your accent nail base dries, apply first coat of Velouria to all other nails.
Aiming at the center of the nail, start just above cuticle and swipe Truffle upwards to the end of nail. Repeat as needed until you get the thickness of stripe desired; we swiped our brush twice.
Apply 2nd coat of Velouria to non-accent nails.
After all nails are dry, apply our Glass Top Coat for a glossy finish that keeps your design protected for longer!
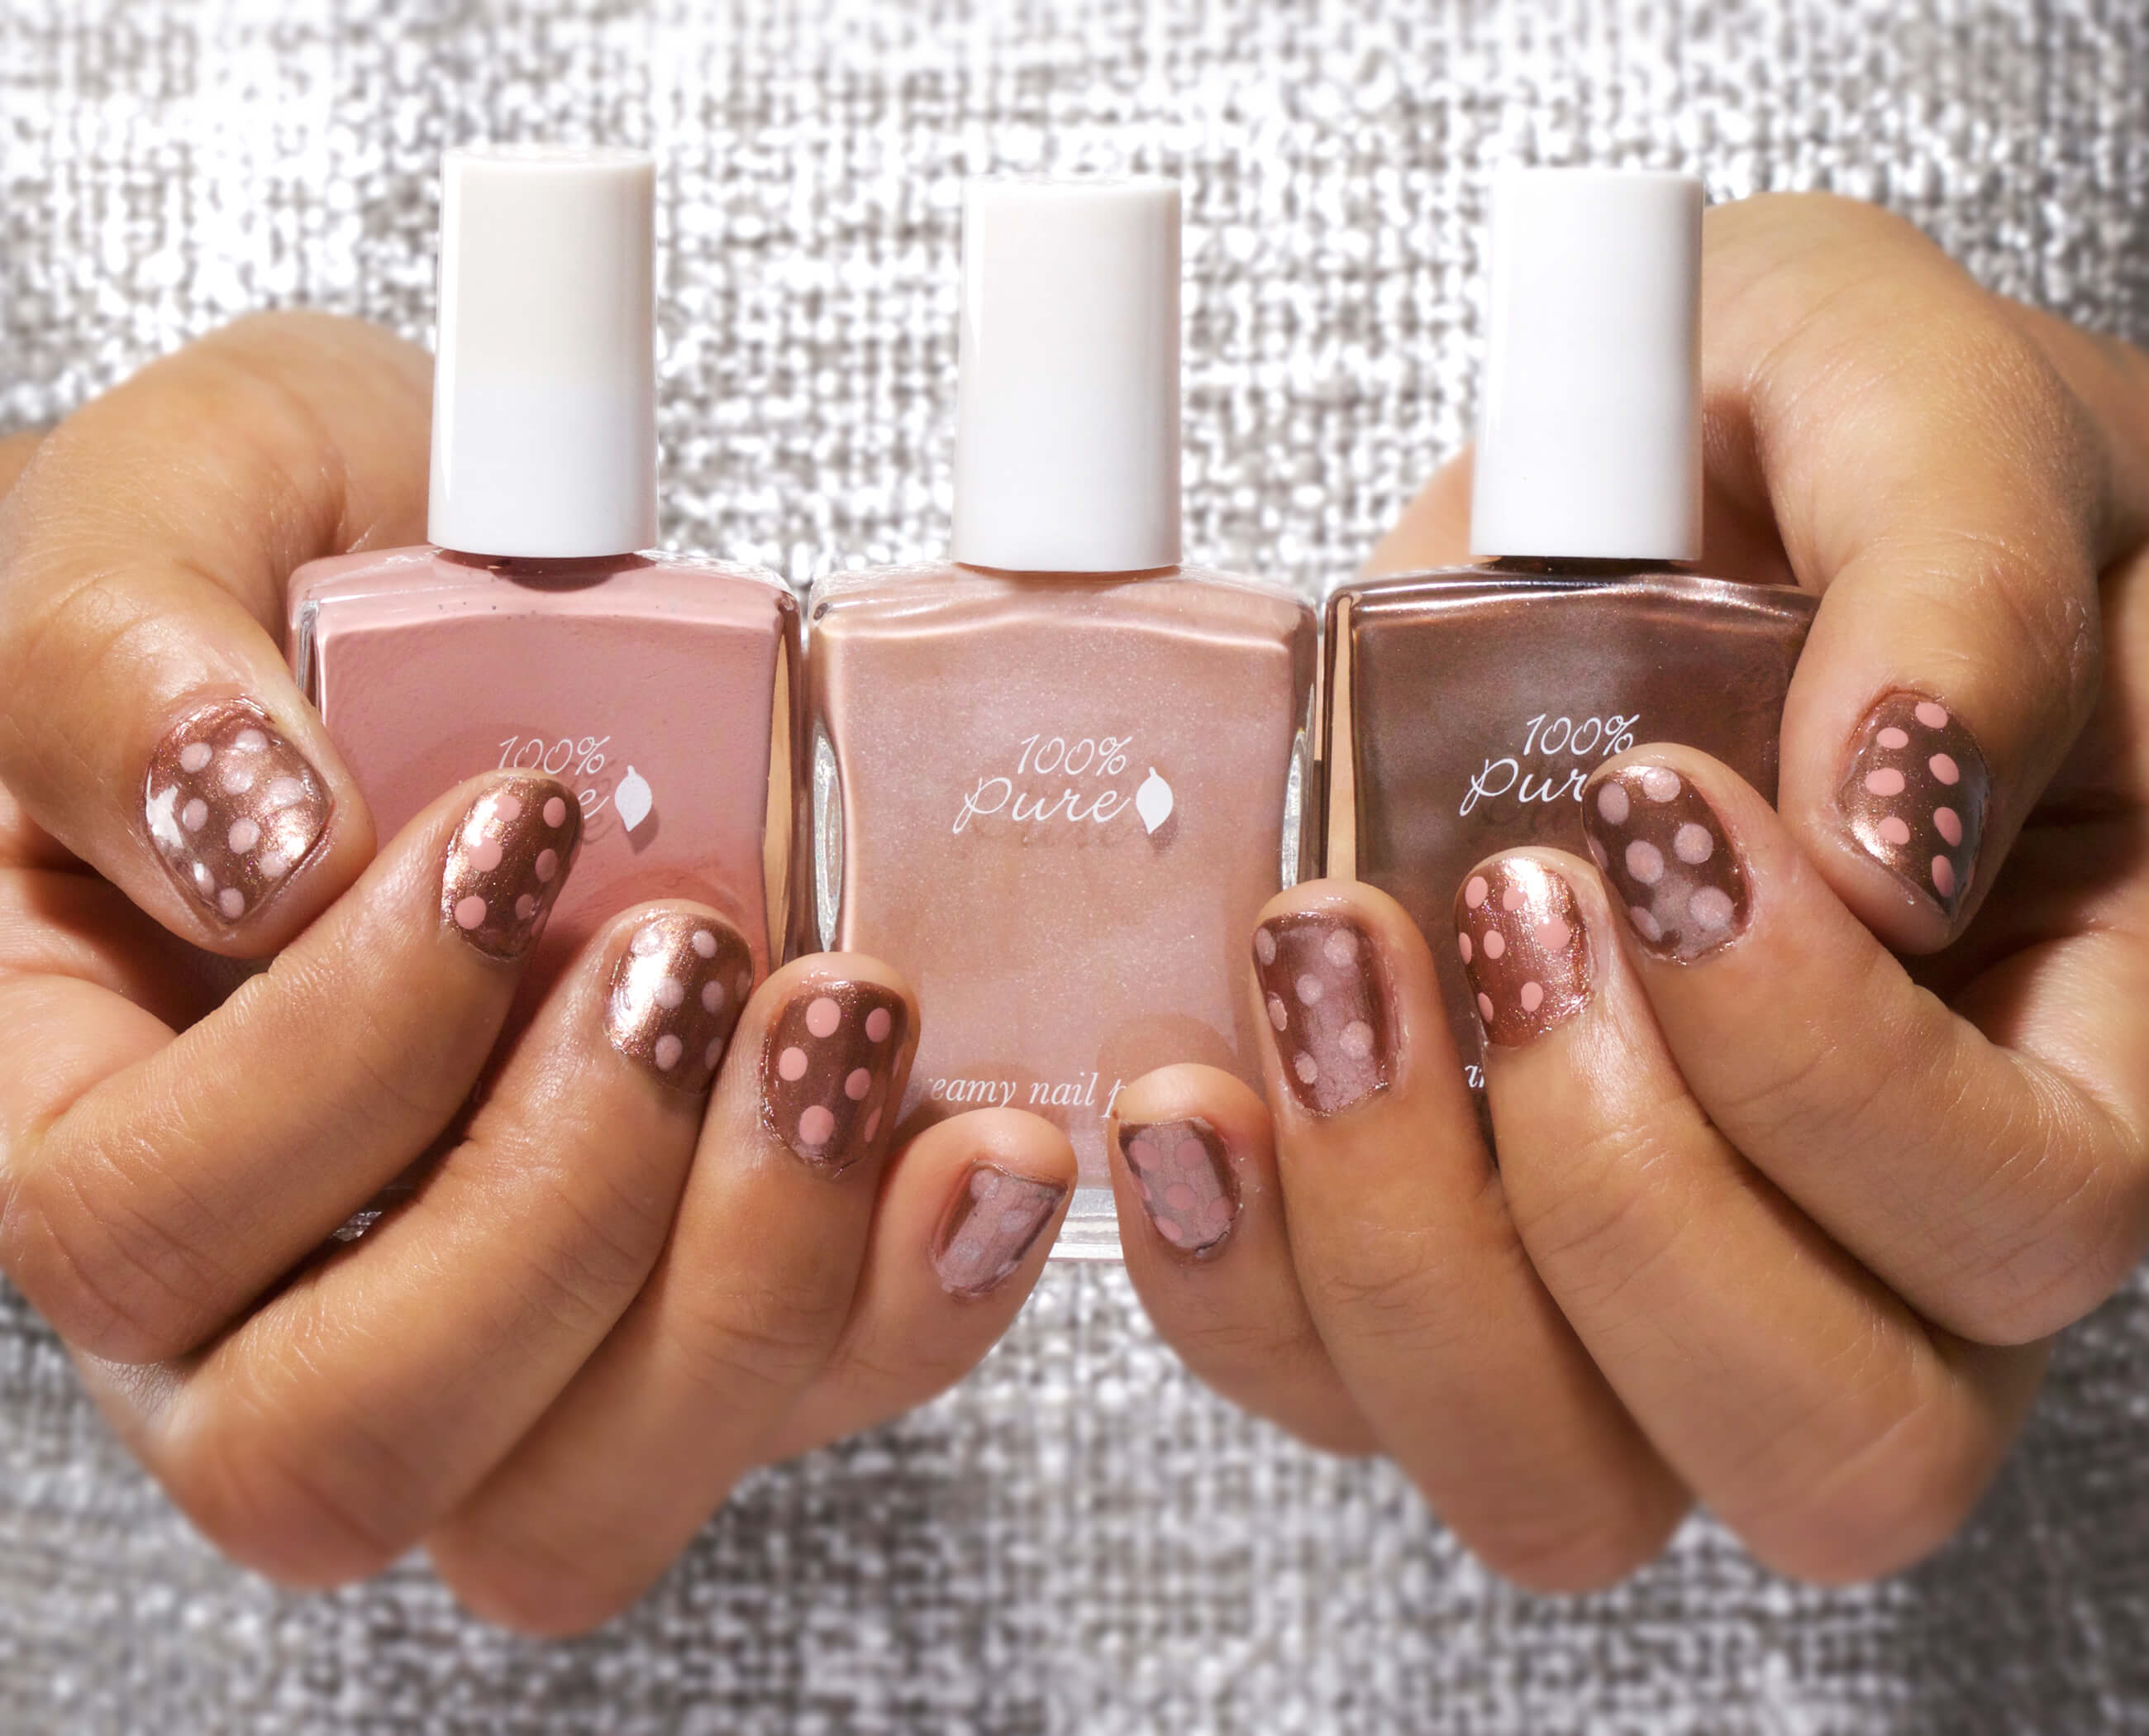
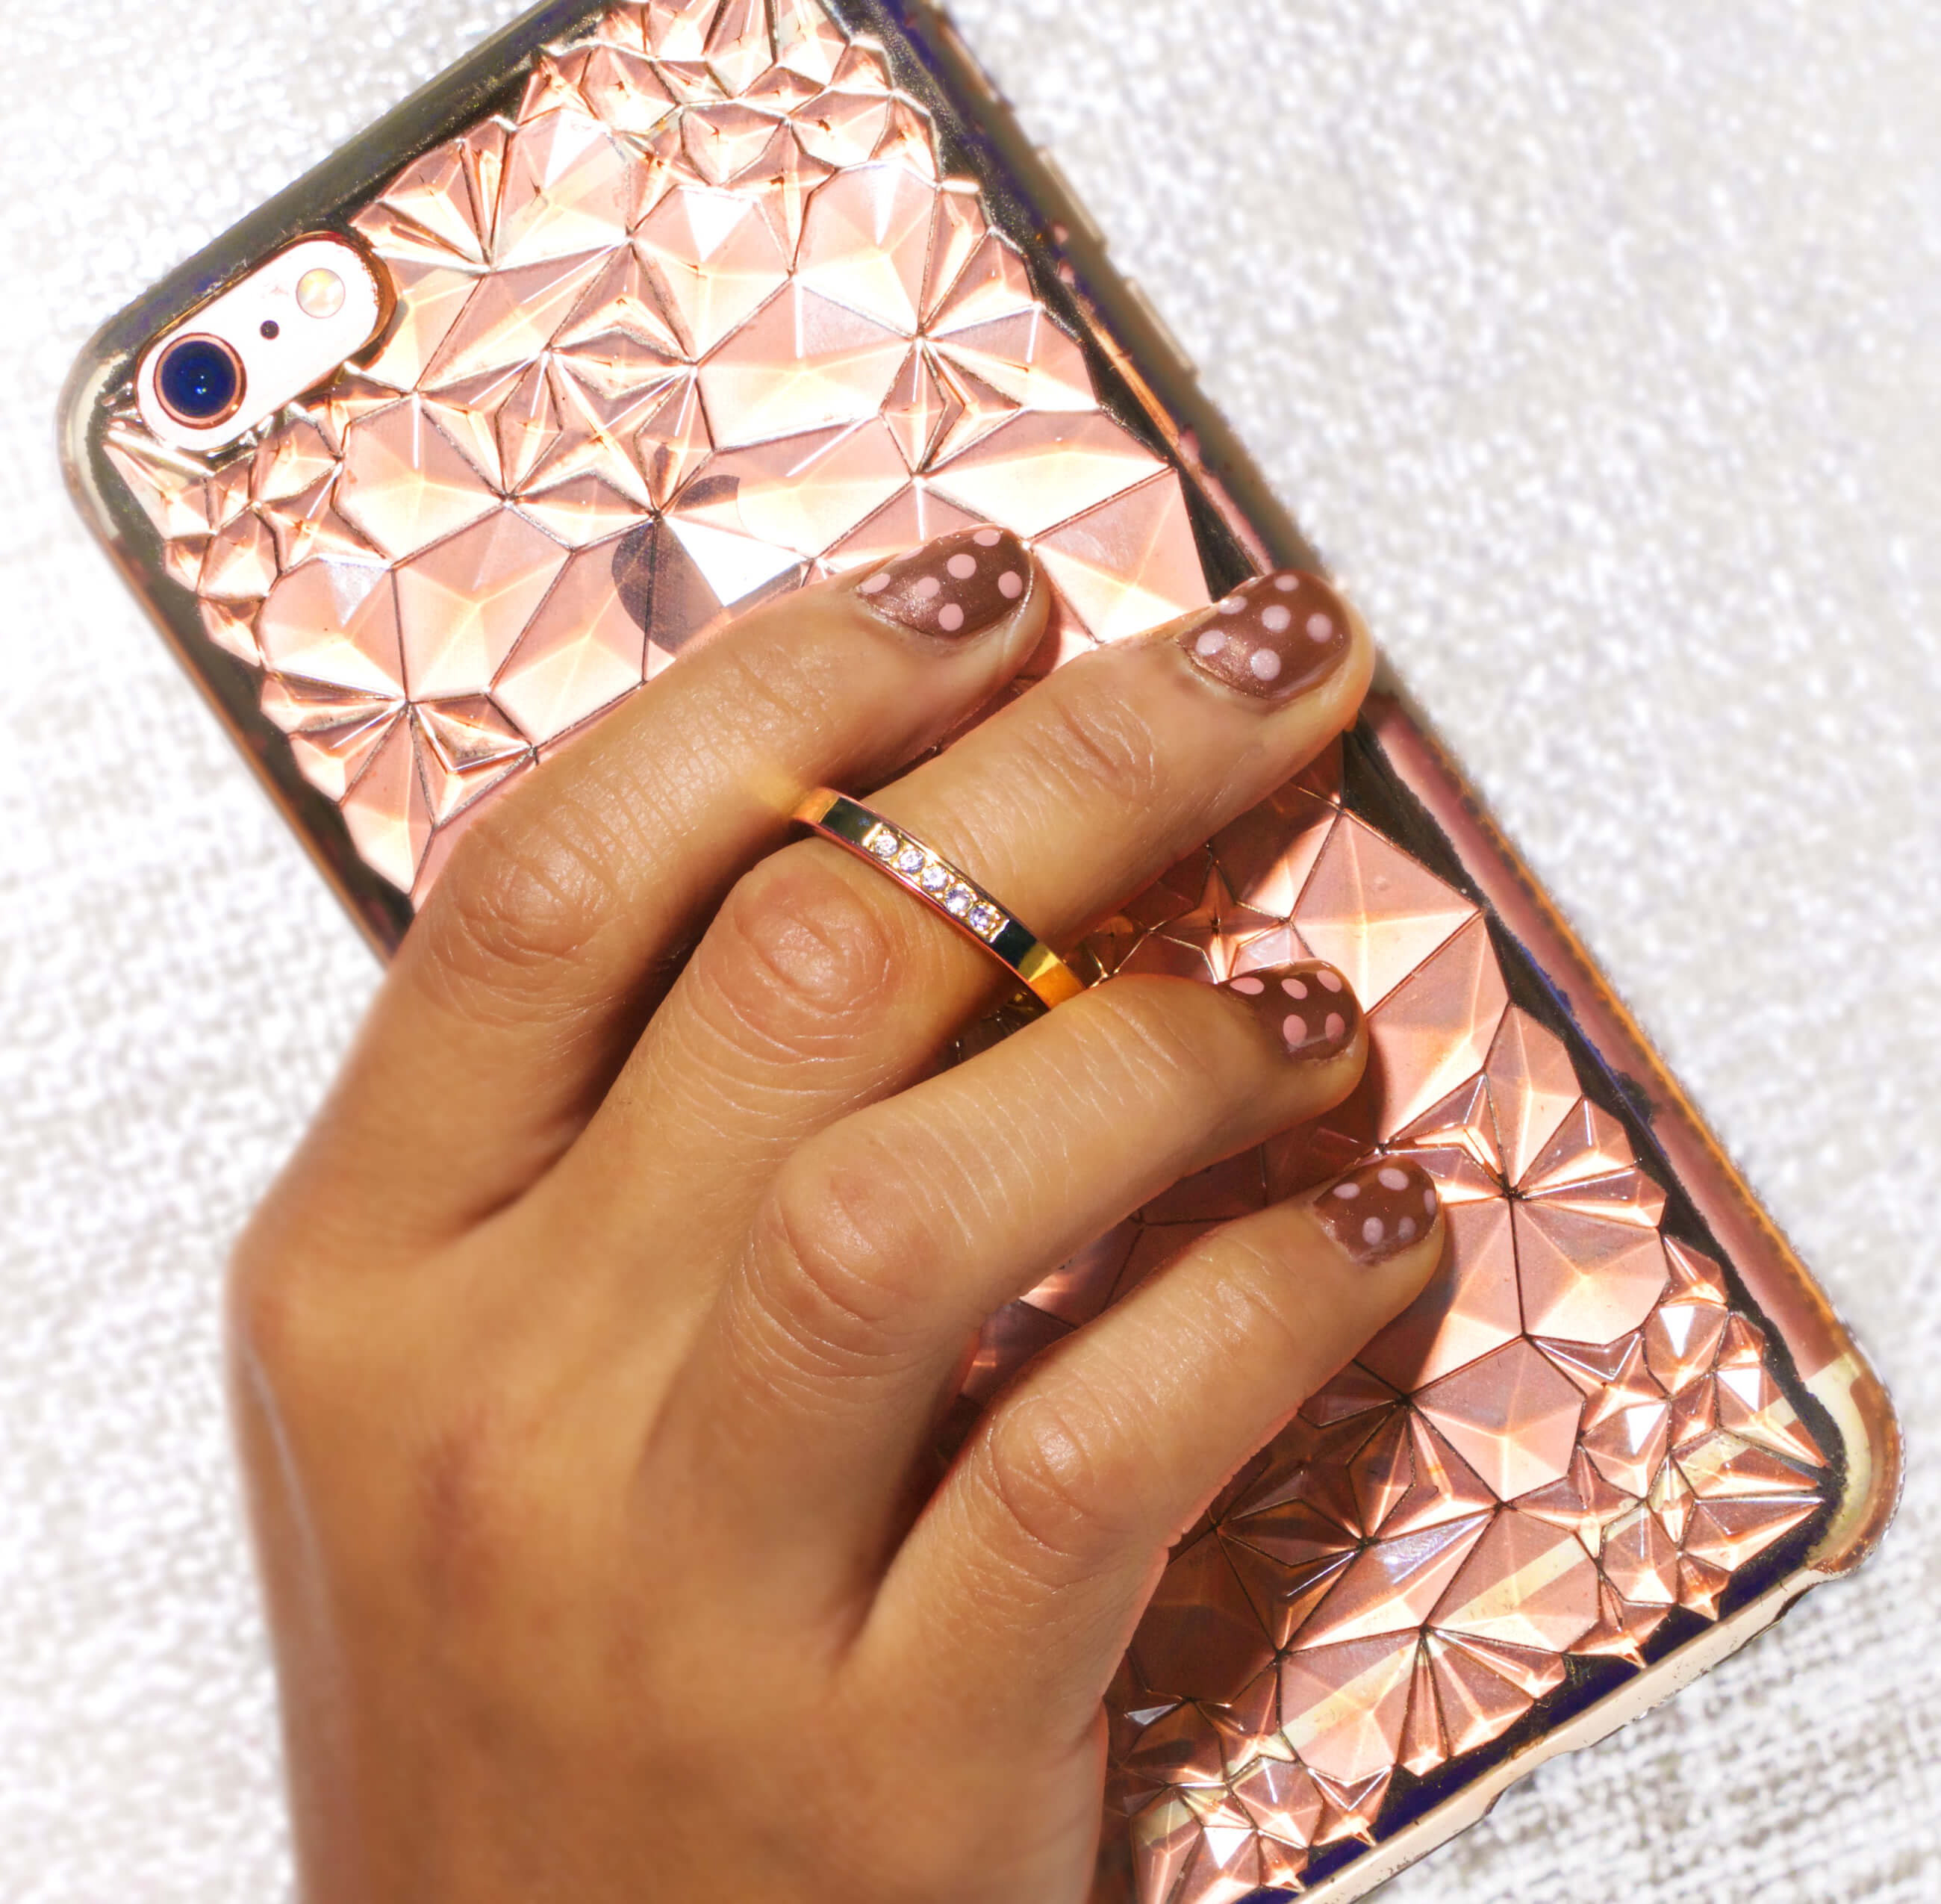
The Bobby Pin Polka Dot: Easy Nude Nails Design #2
I love this nude nails look because I don’t have to worry about polish dripping down the brush when I apply the polka dots; all I need is a bobby pin! I always have at least 10 floating around my purse, so this is a super easy nail design for me to pull off.- Sandy, Supply Chain Specialist
Apply single coat of Truffle nail polish to all nails.
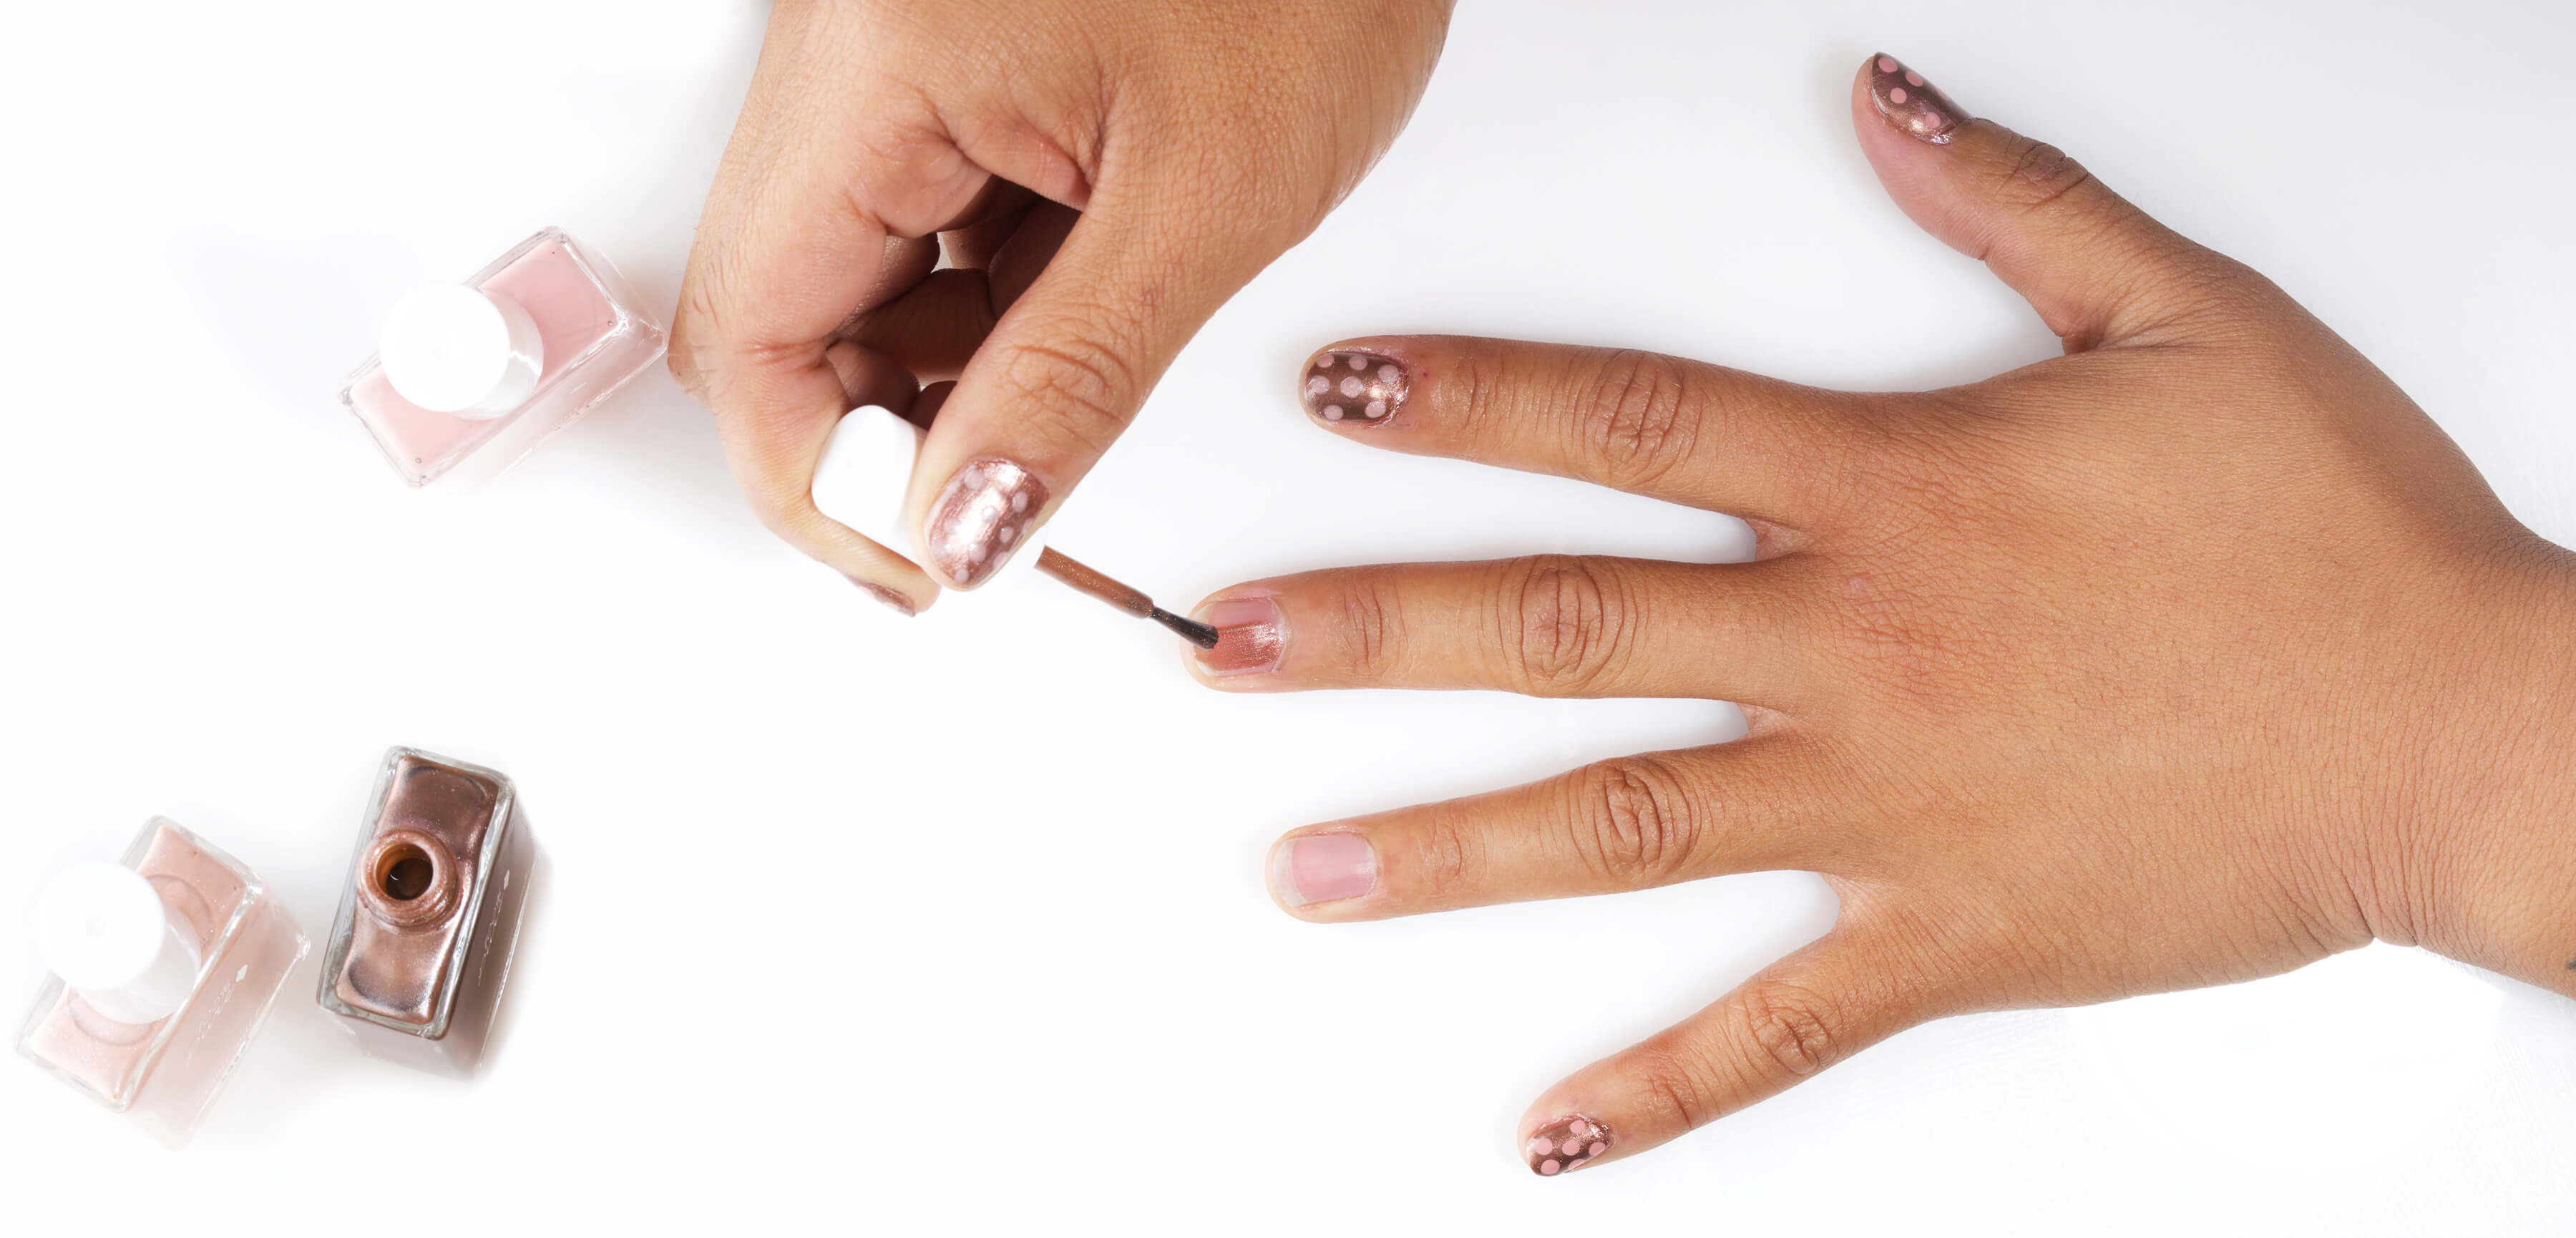
After first coat has dried, apply second coat of Truffle nail polish.
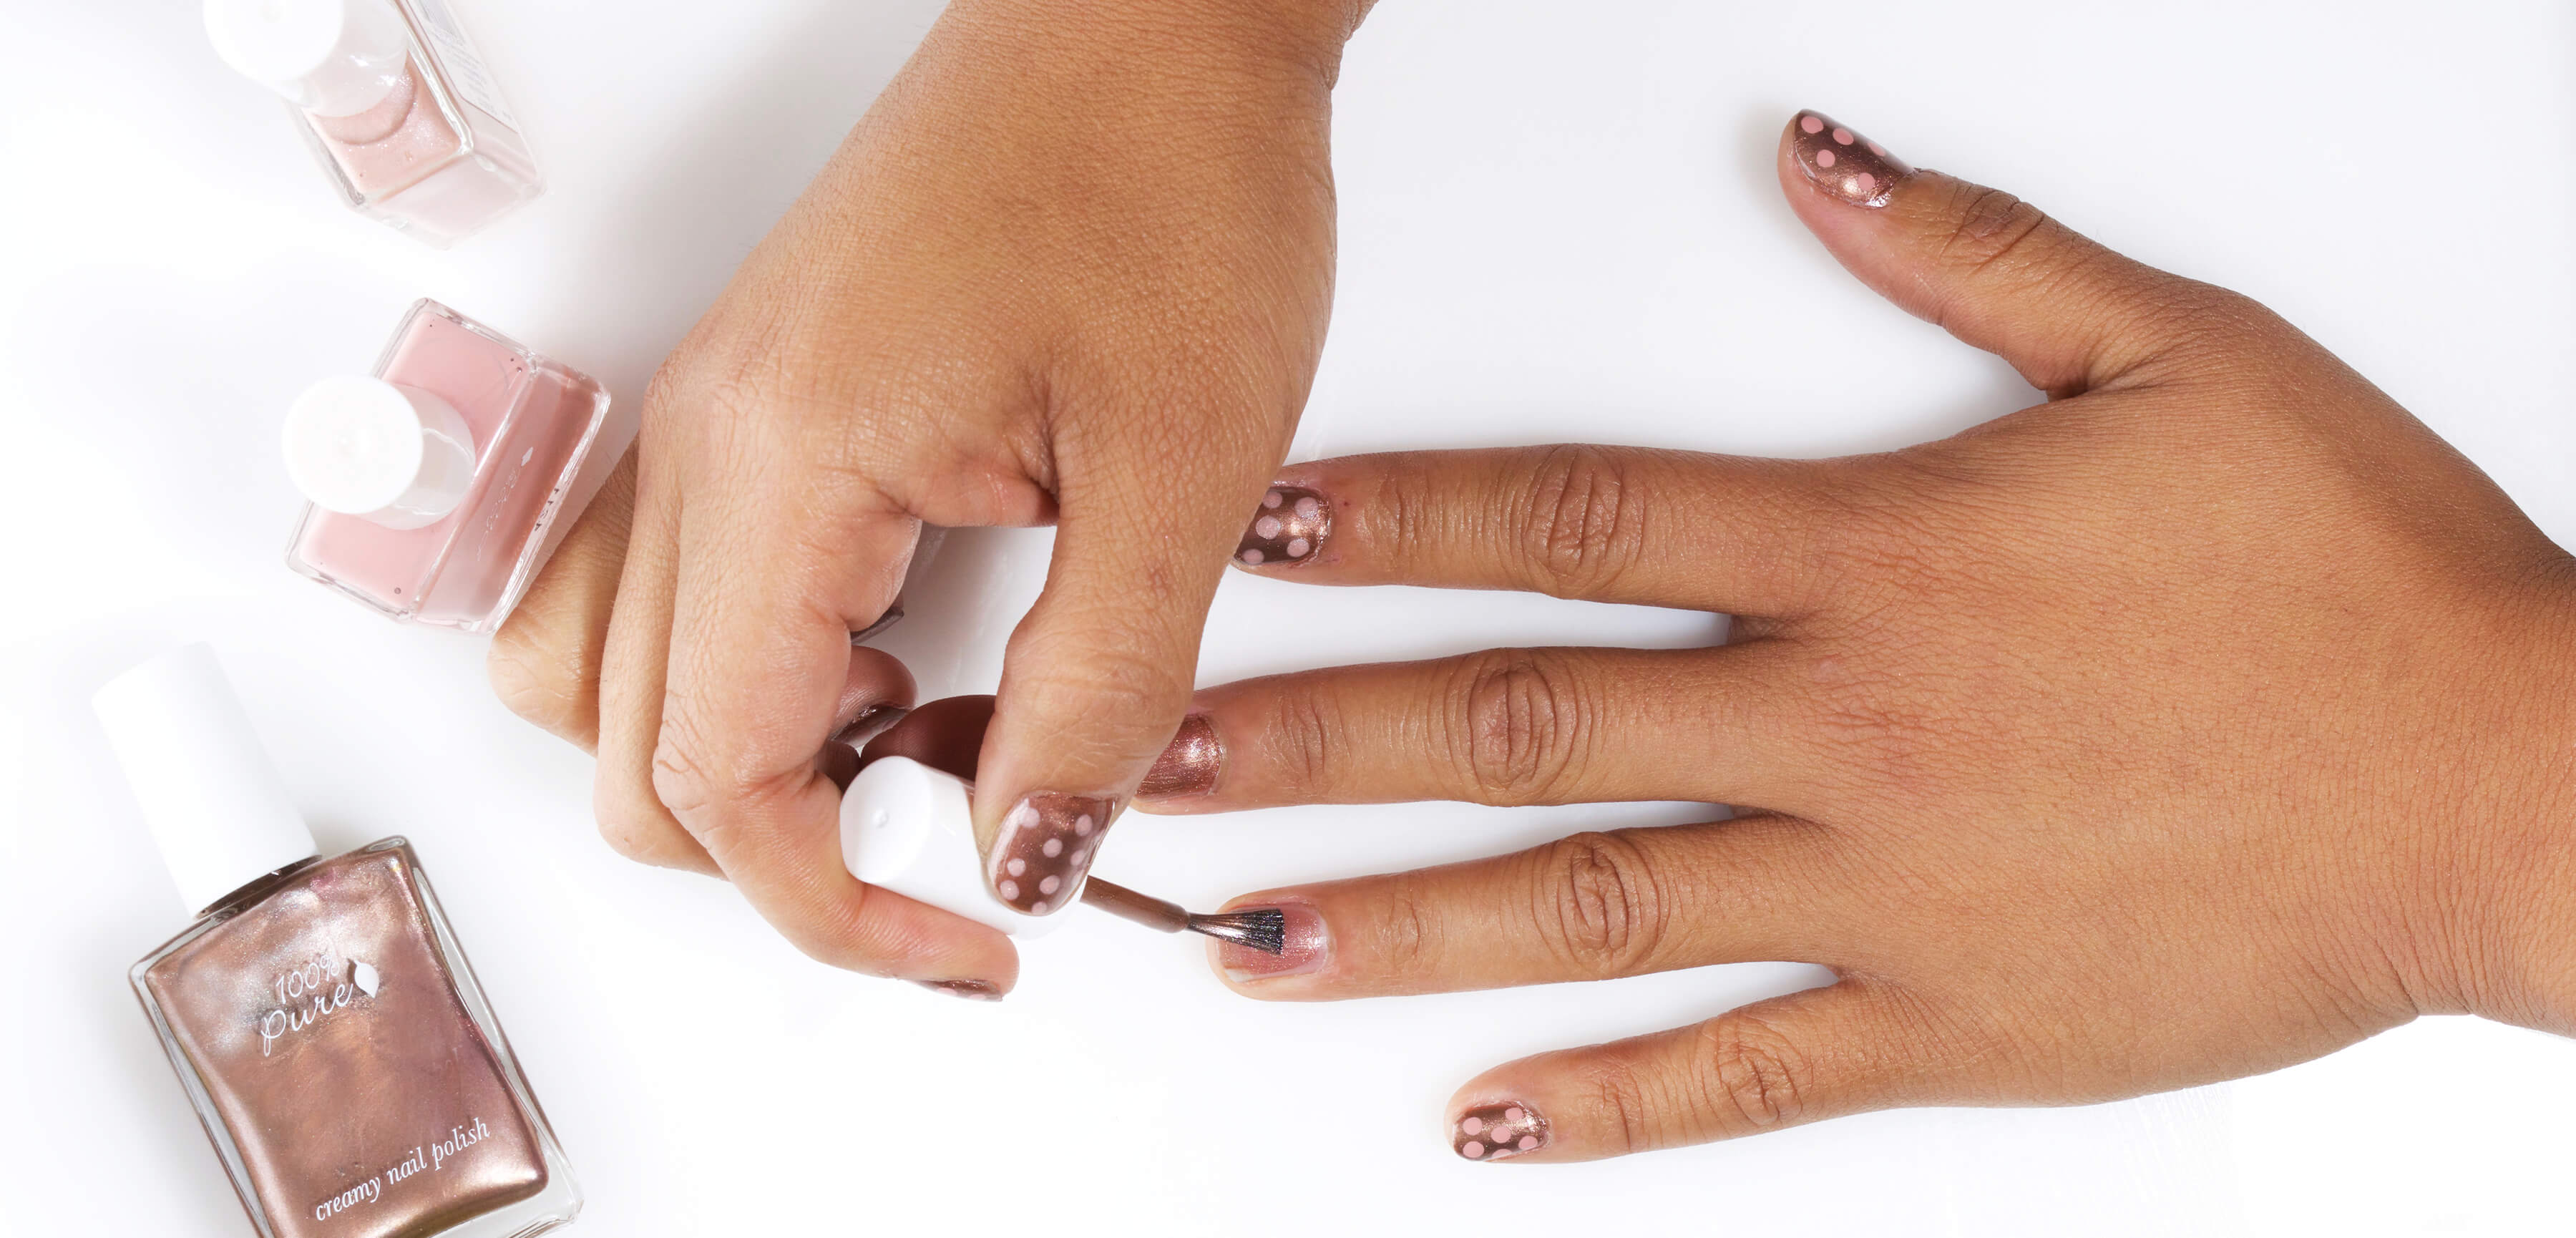
Now that your base color is down, time to adding polka dots! Pick one color to start; we poured a small puddle of Pinkerton straight from the bottle onto a paper plate. Using a bobby pin (make sure your bobby pin has rounded ends), dip rounded tip into polish. Start dotting on alternating fingers, with as many dots as you desire!
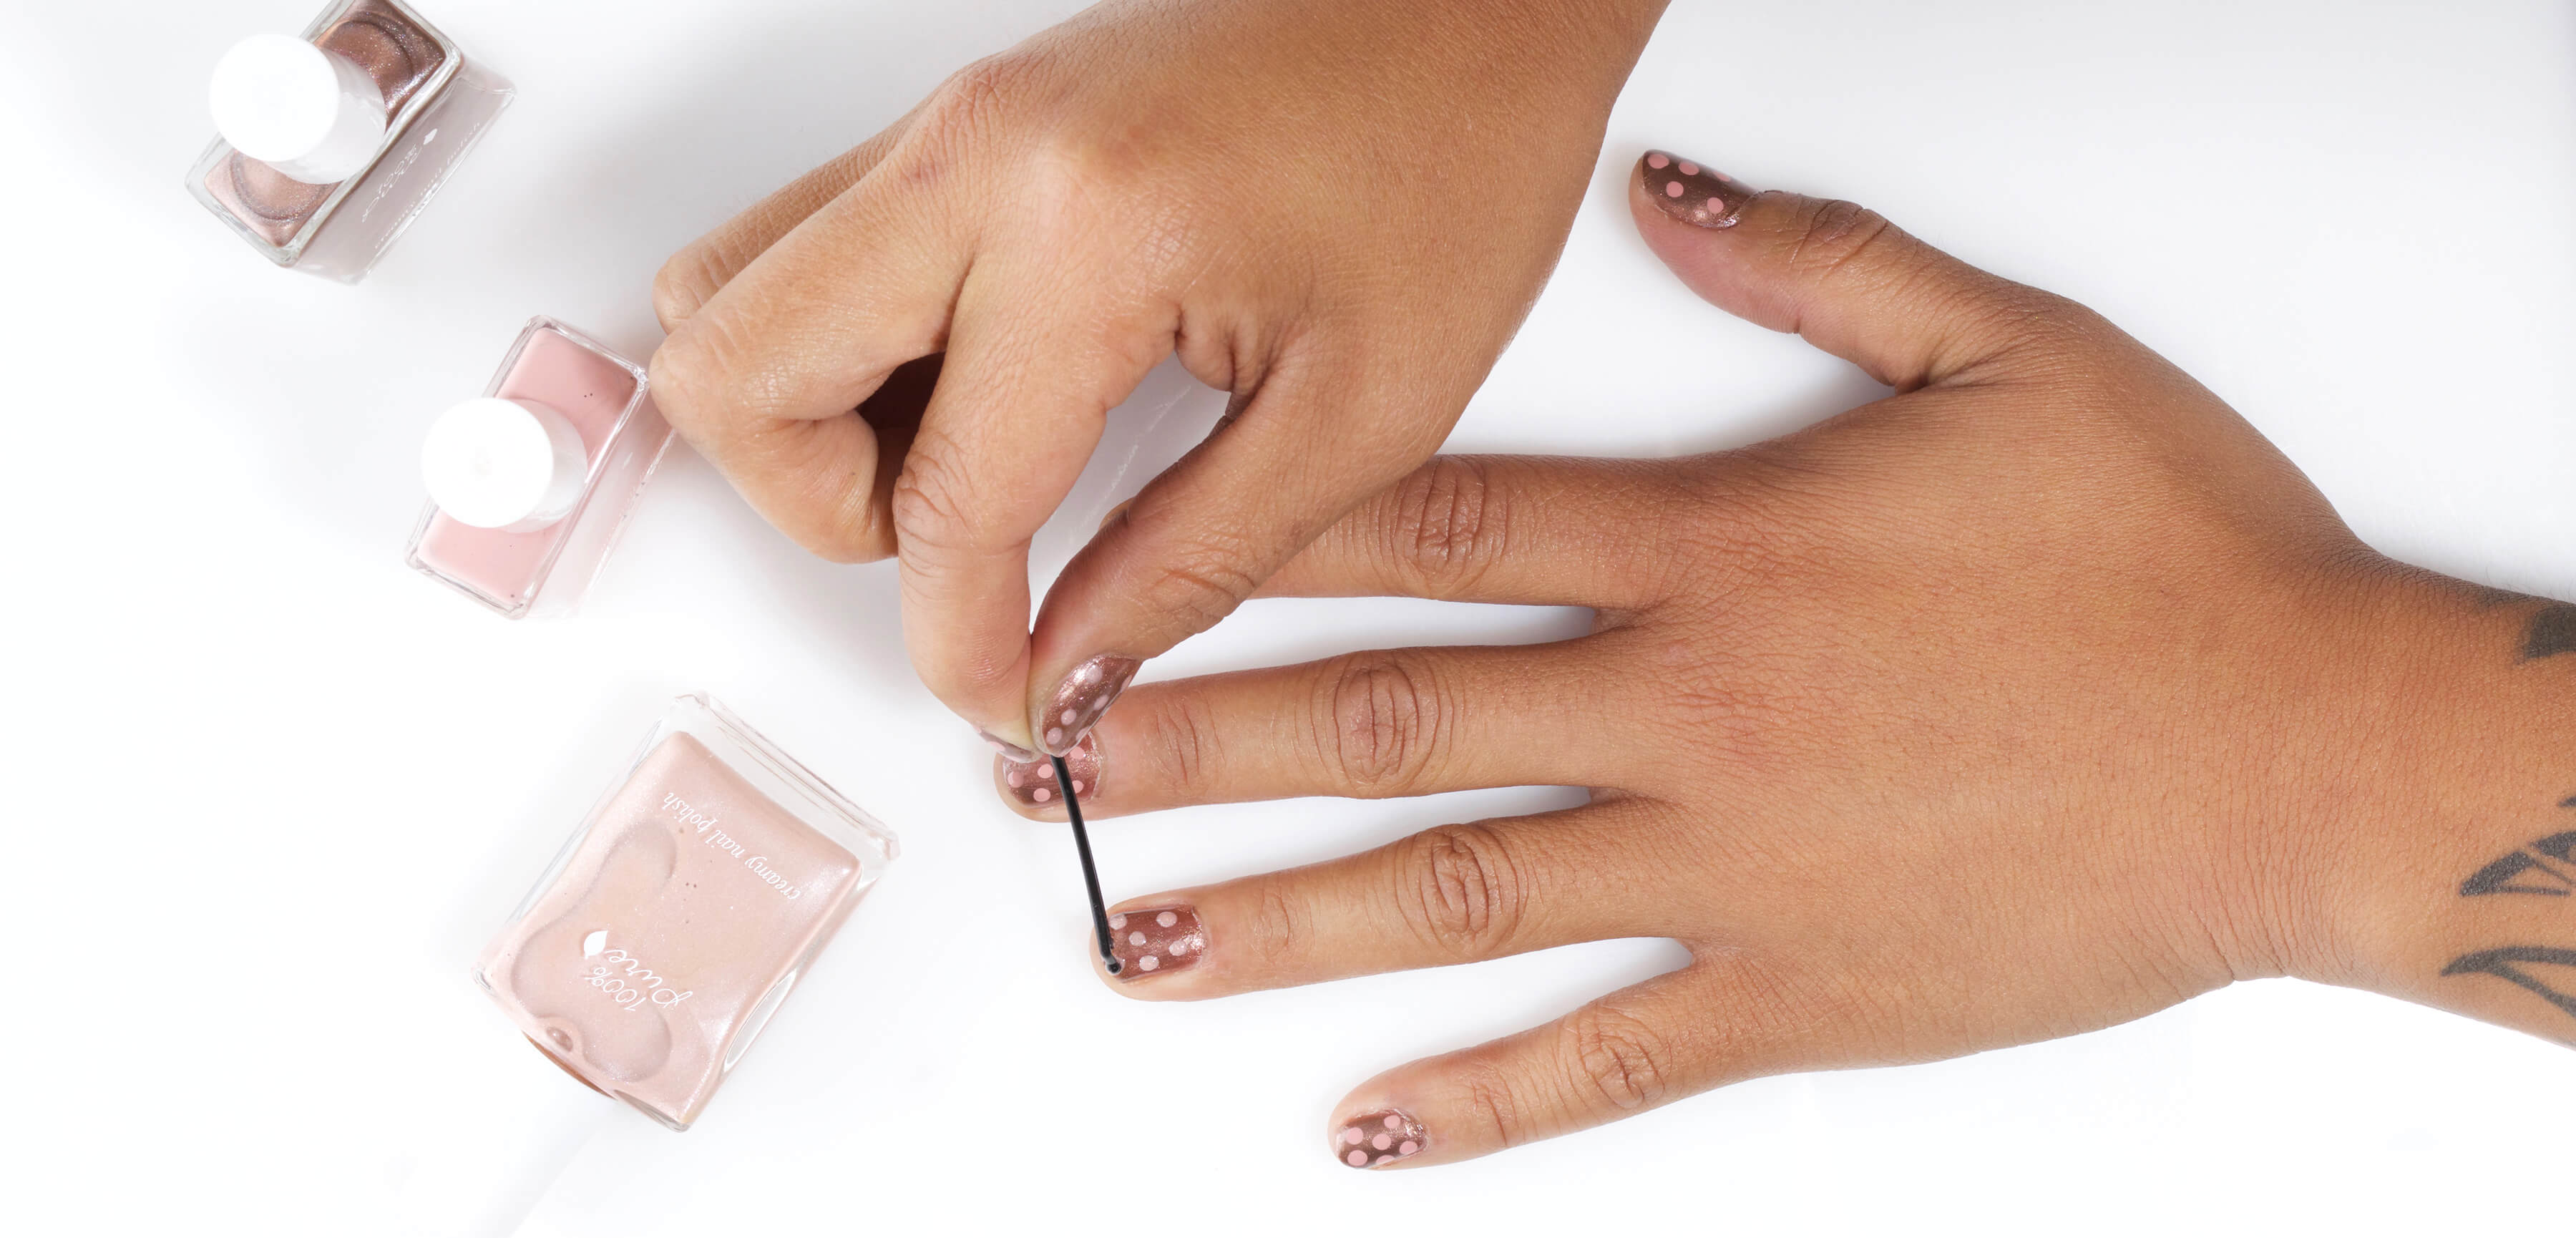
On the fingers you skipped with the Pinkerton polka dots, use the same bobby pin method from Step 3 with Velouria.
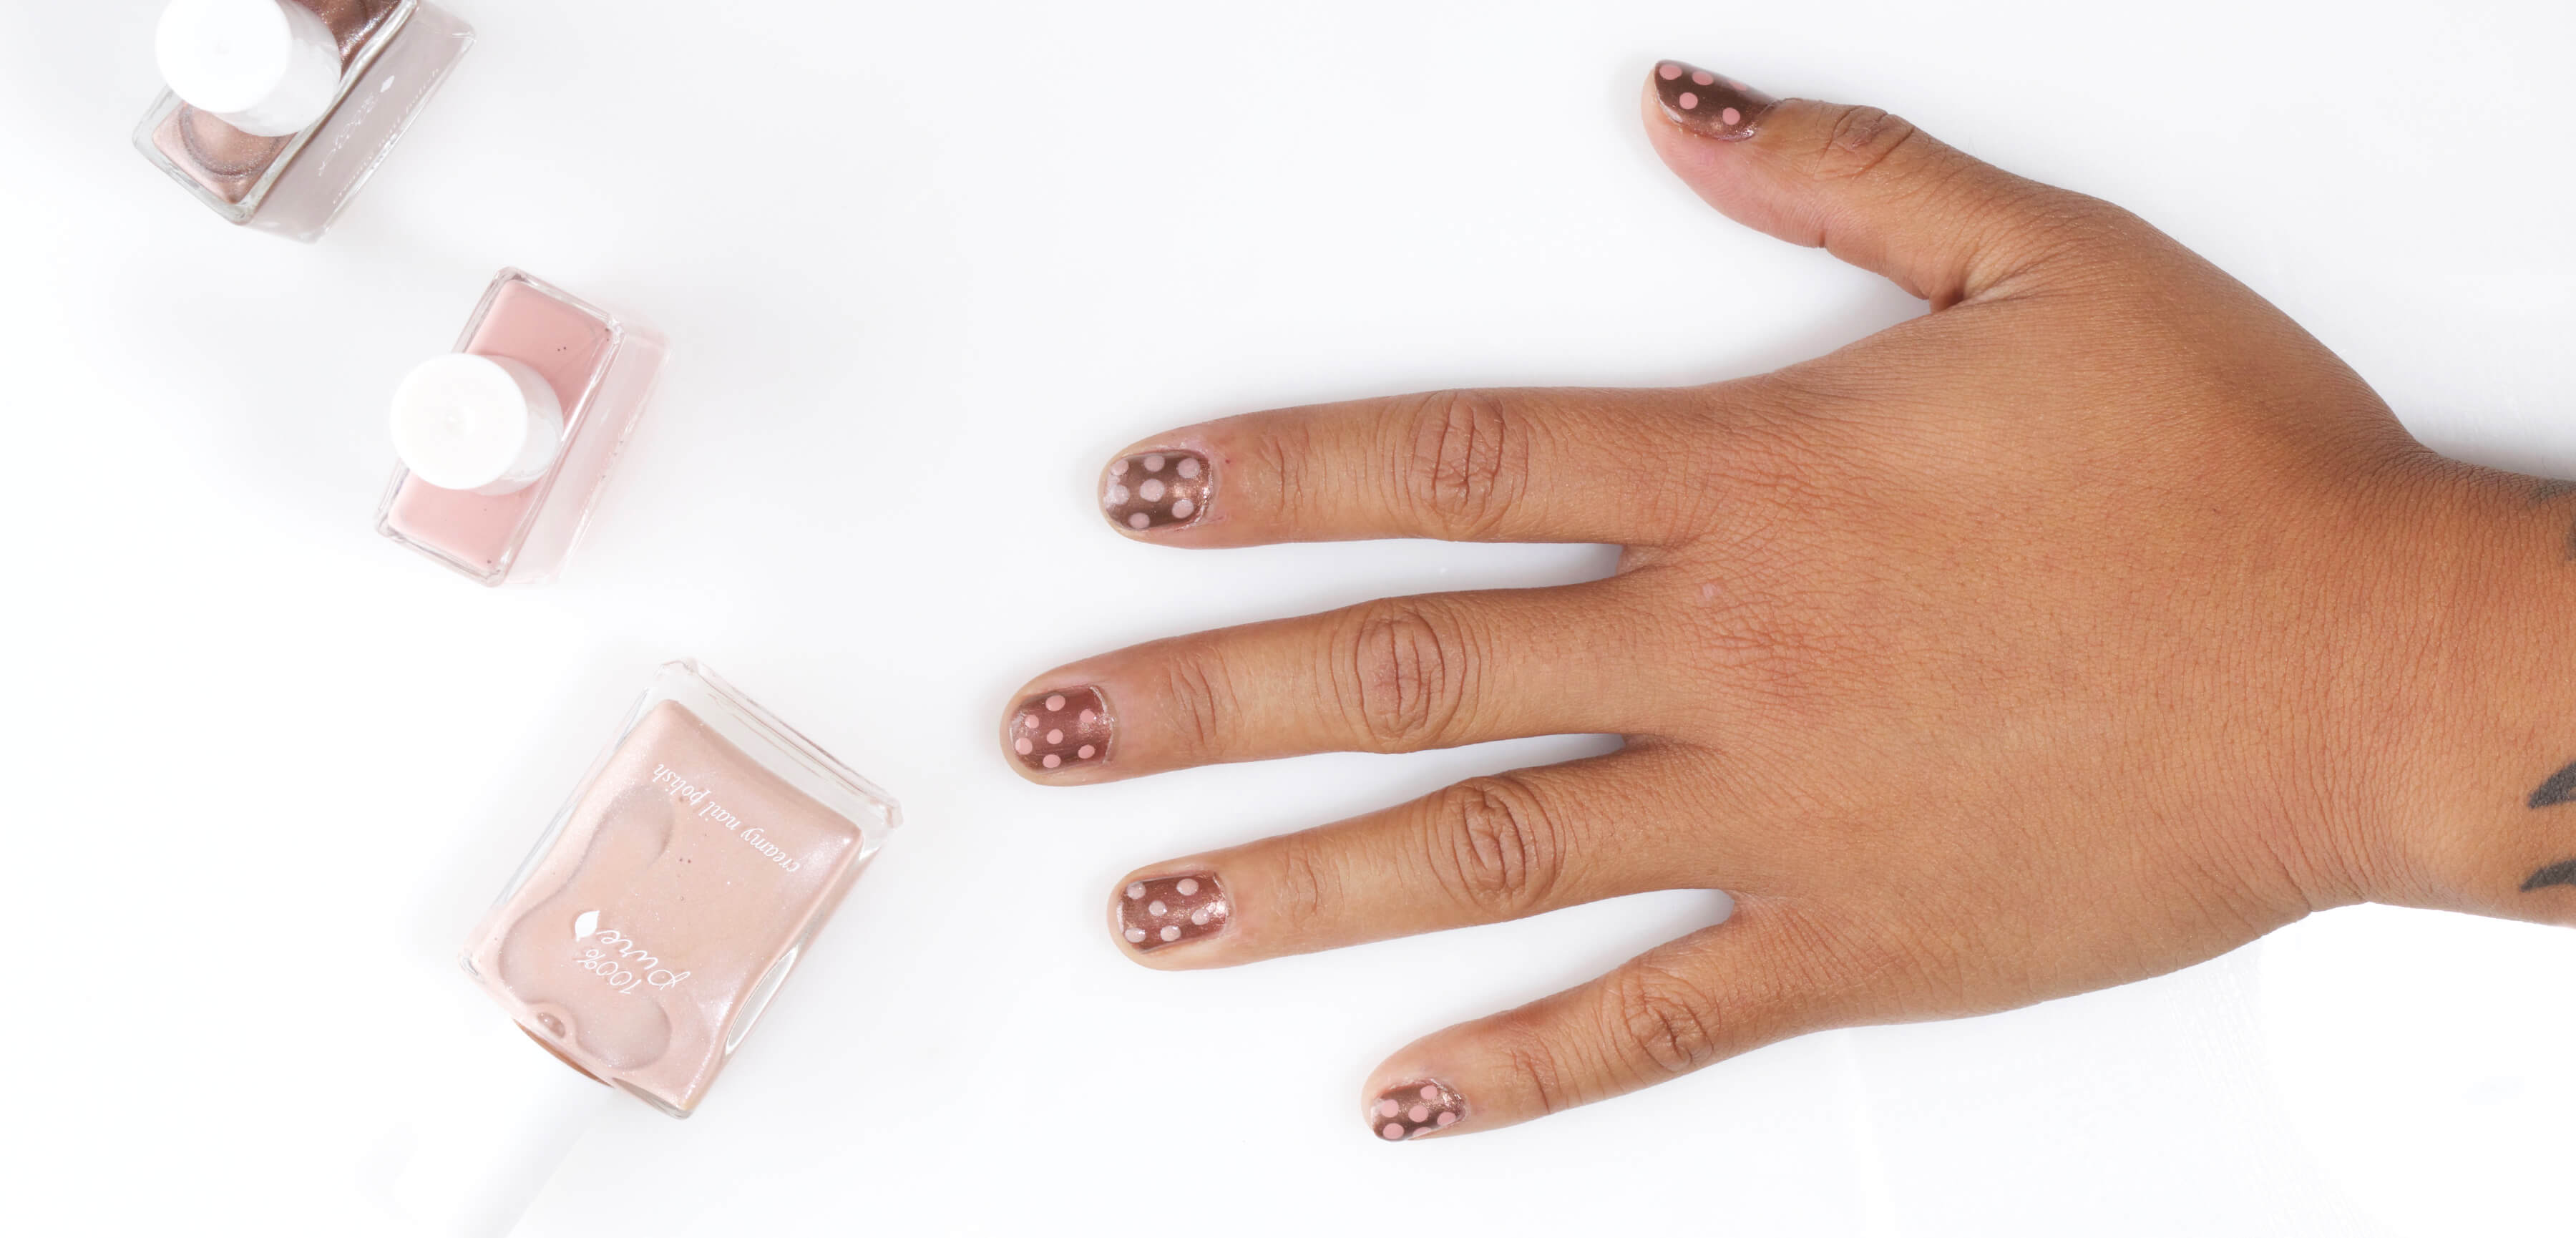
After all nails are dry, apply our Glass Top Coat for a glossy finish that keeps your design protected for longer!
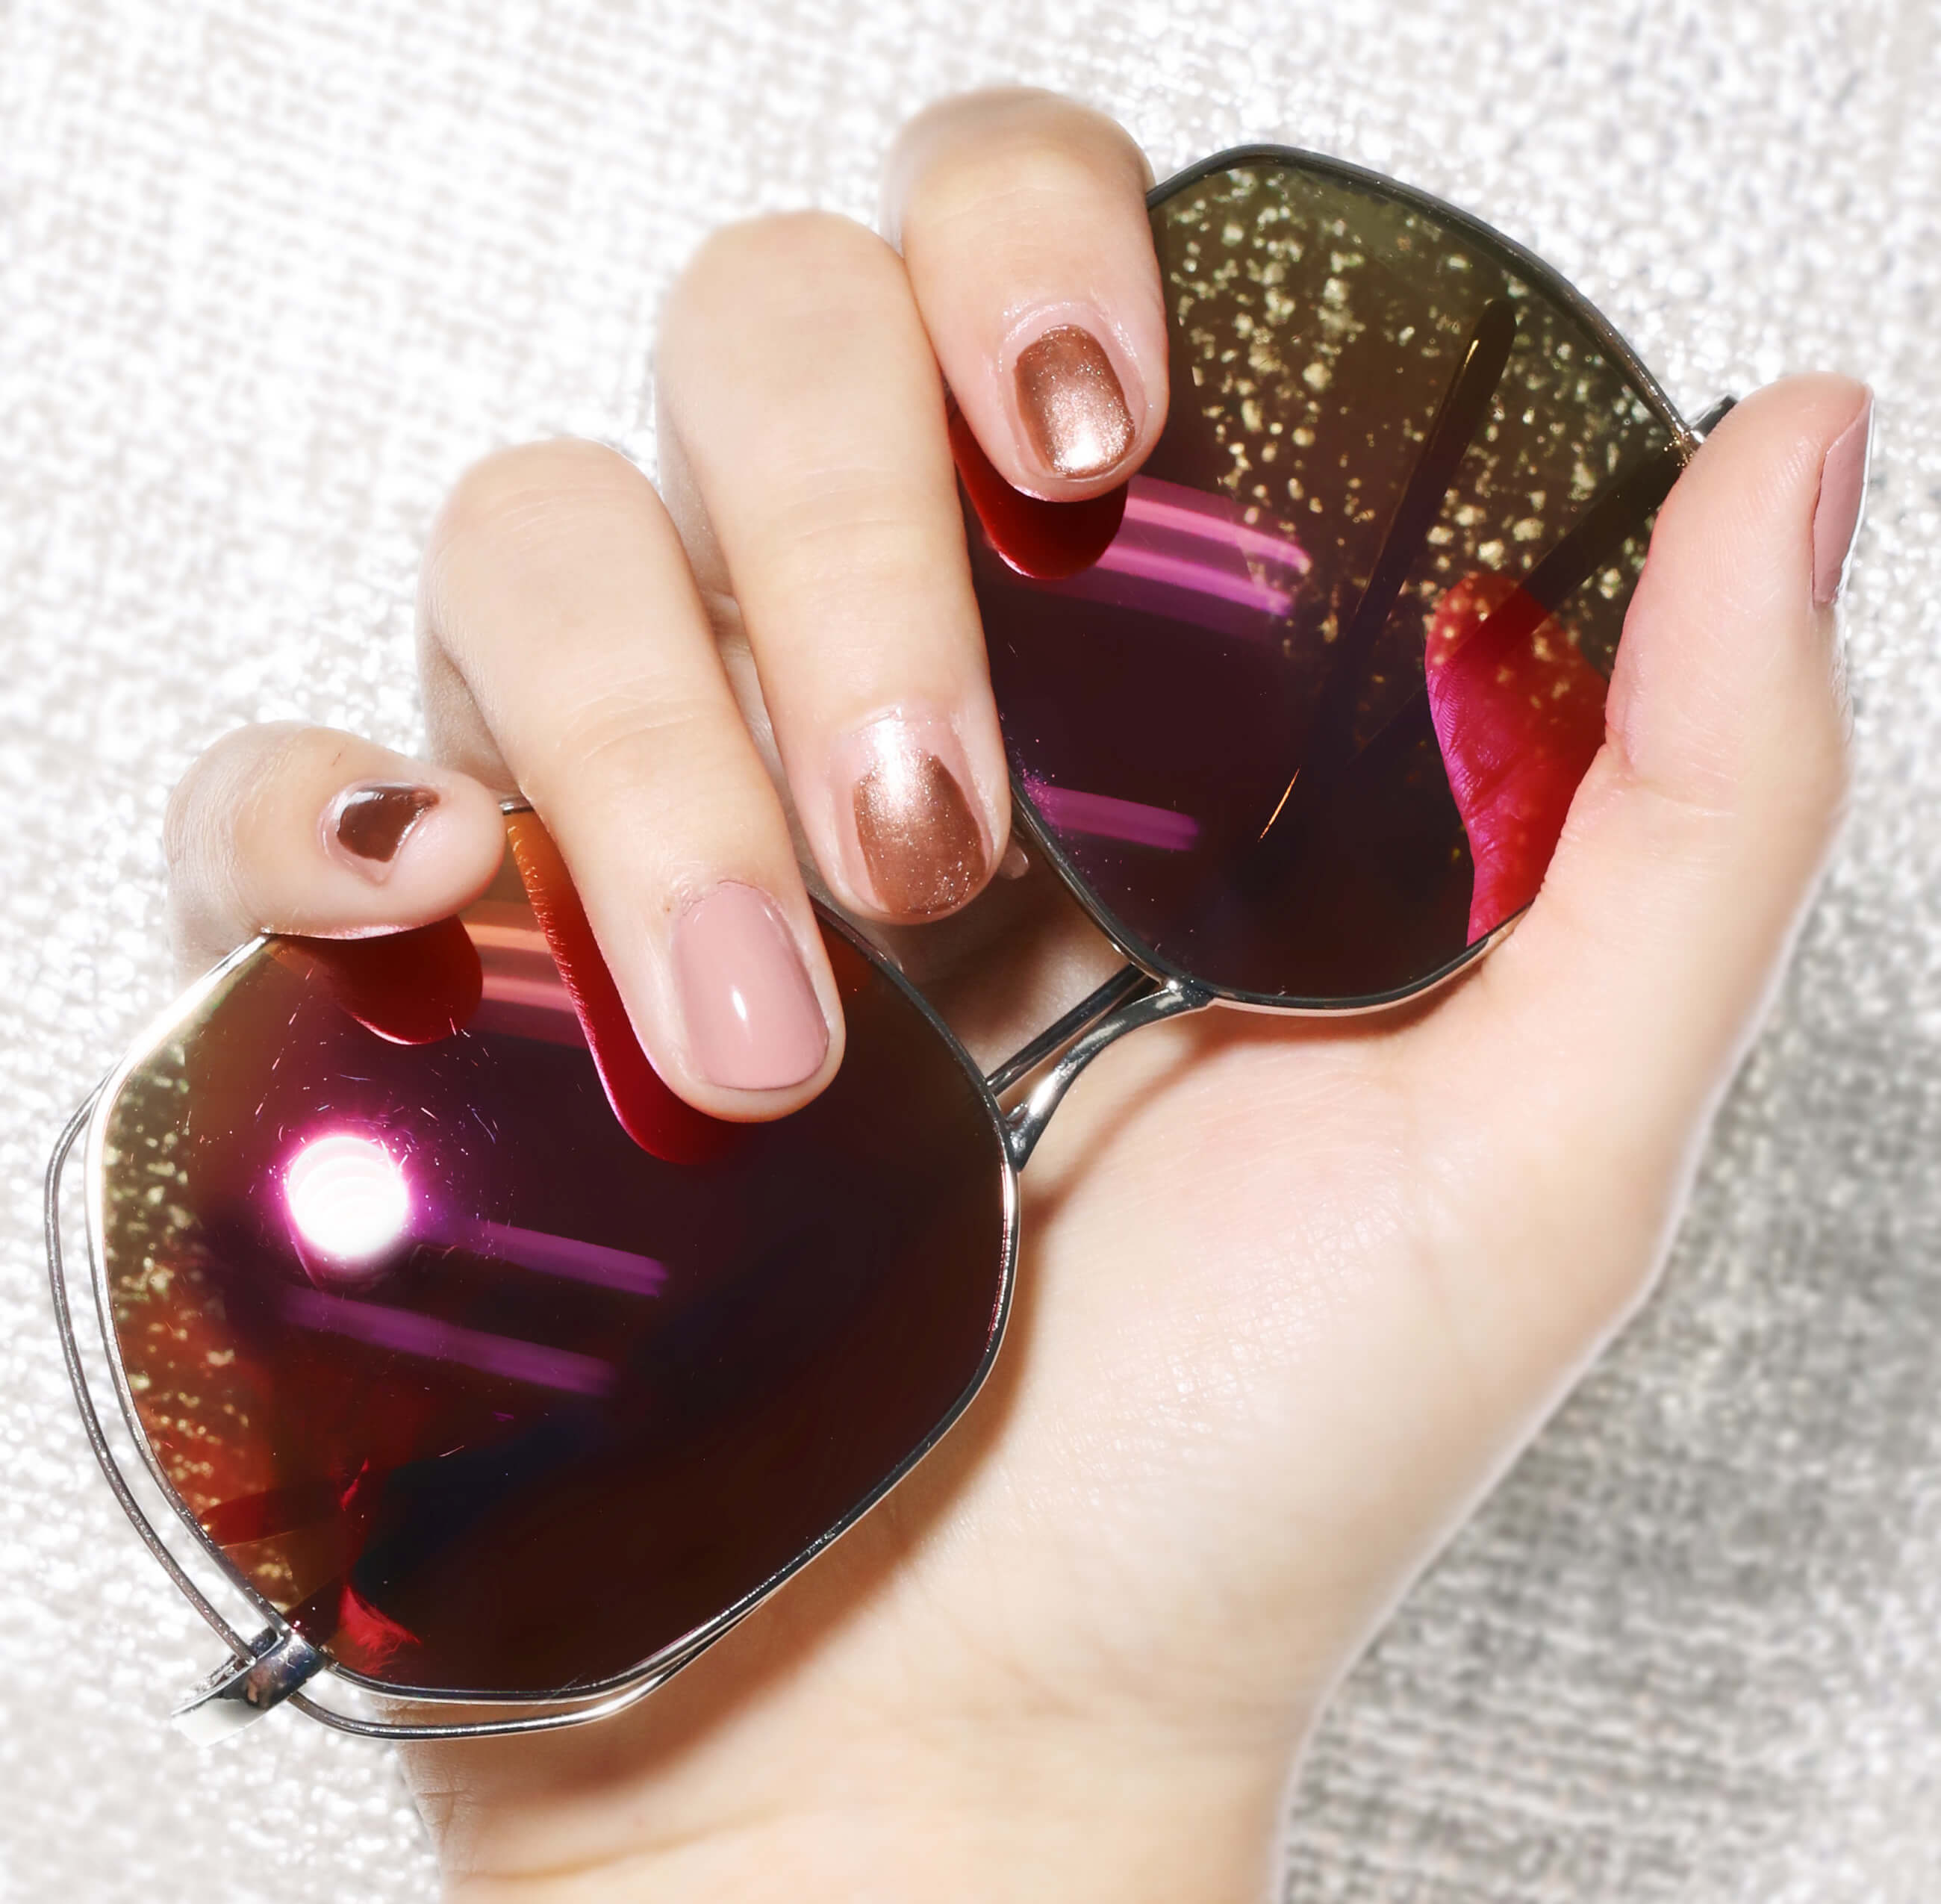
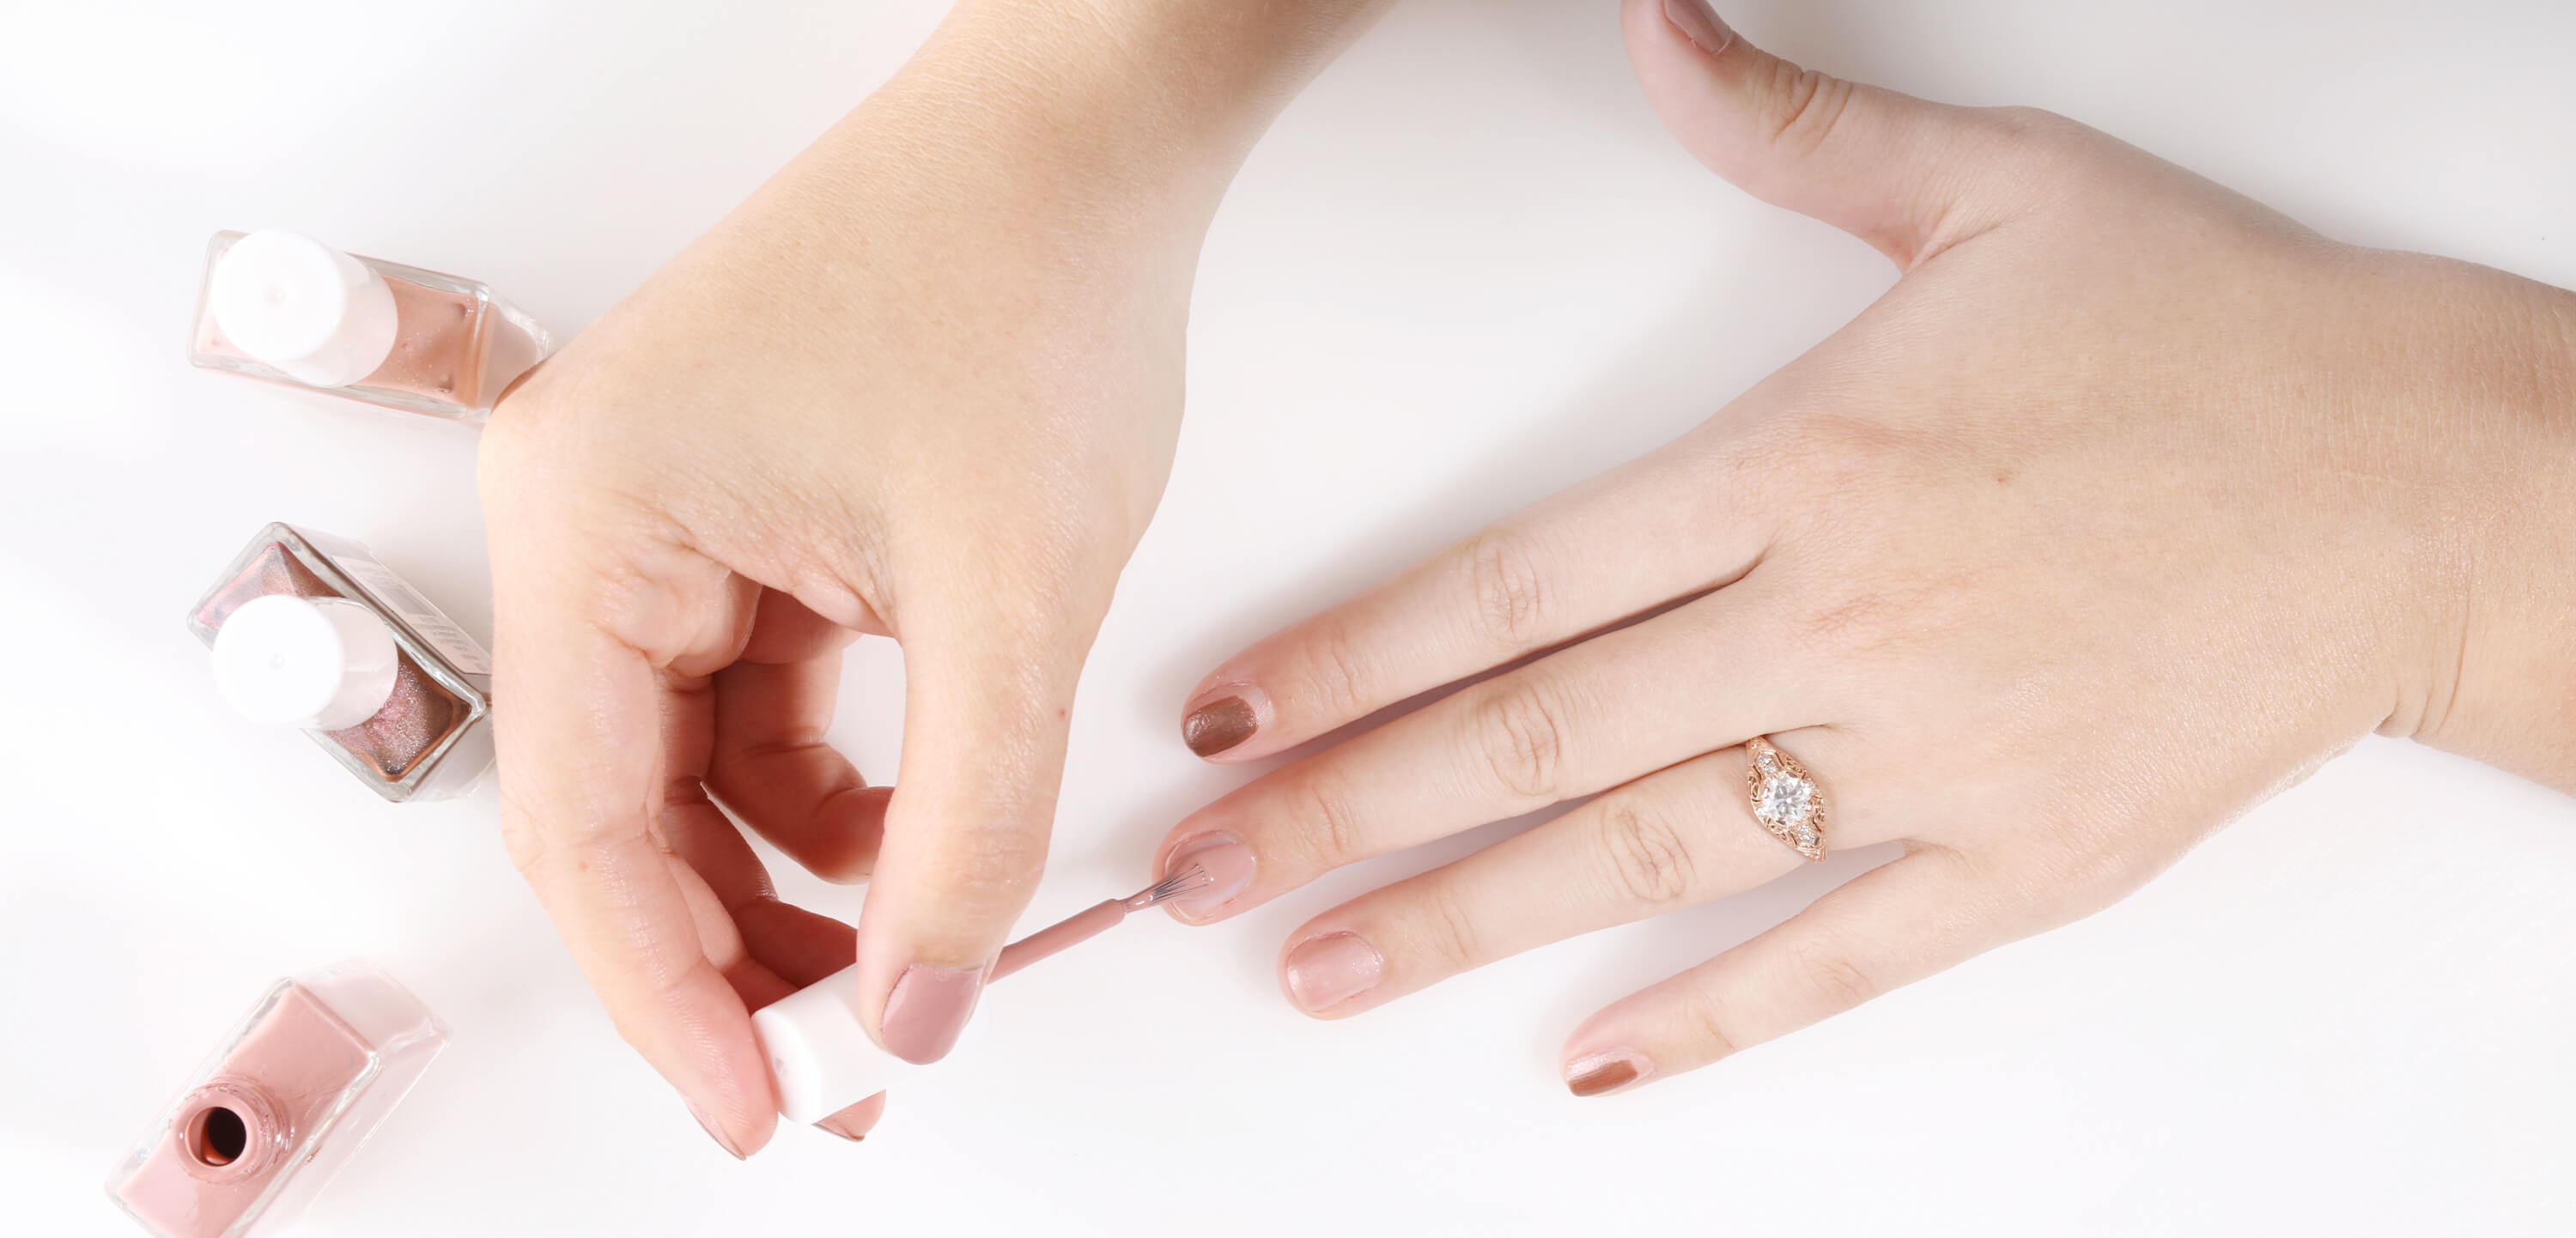
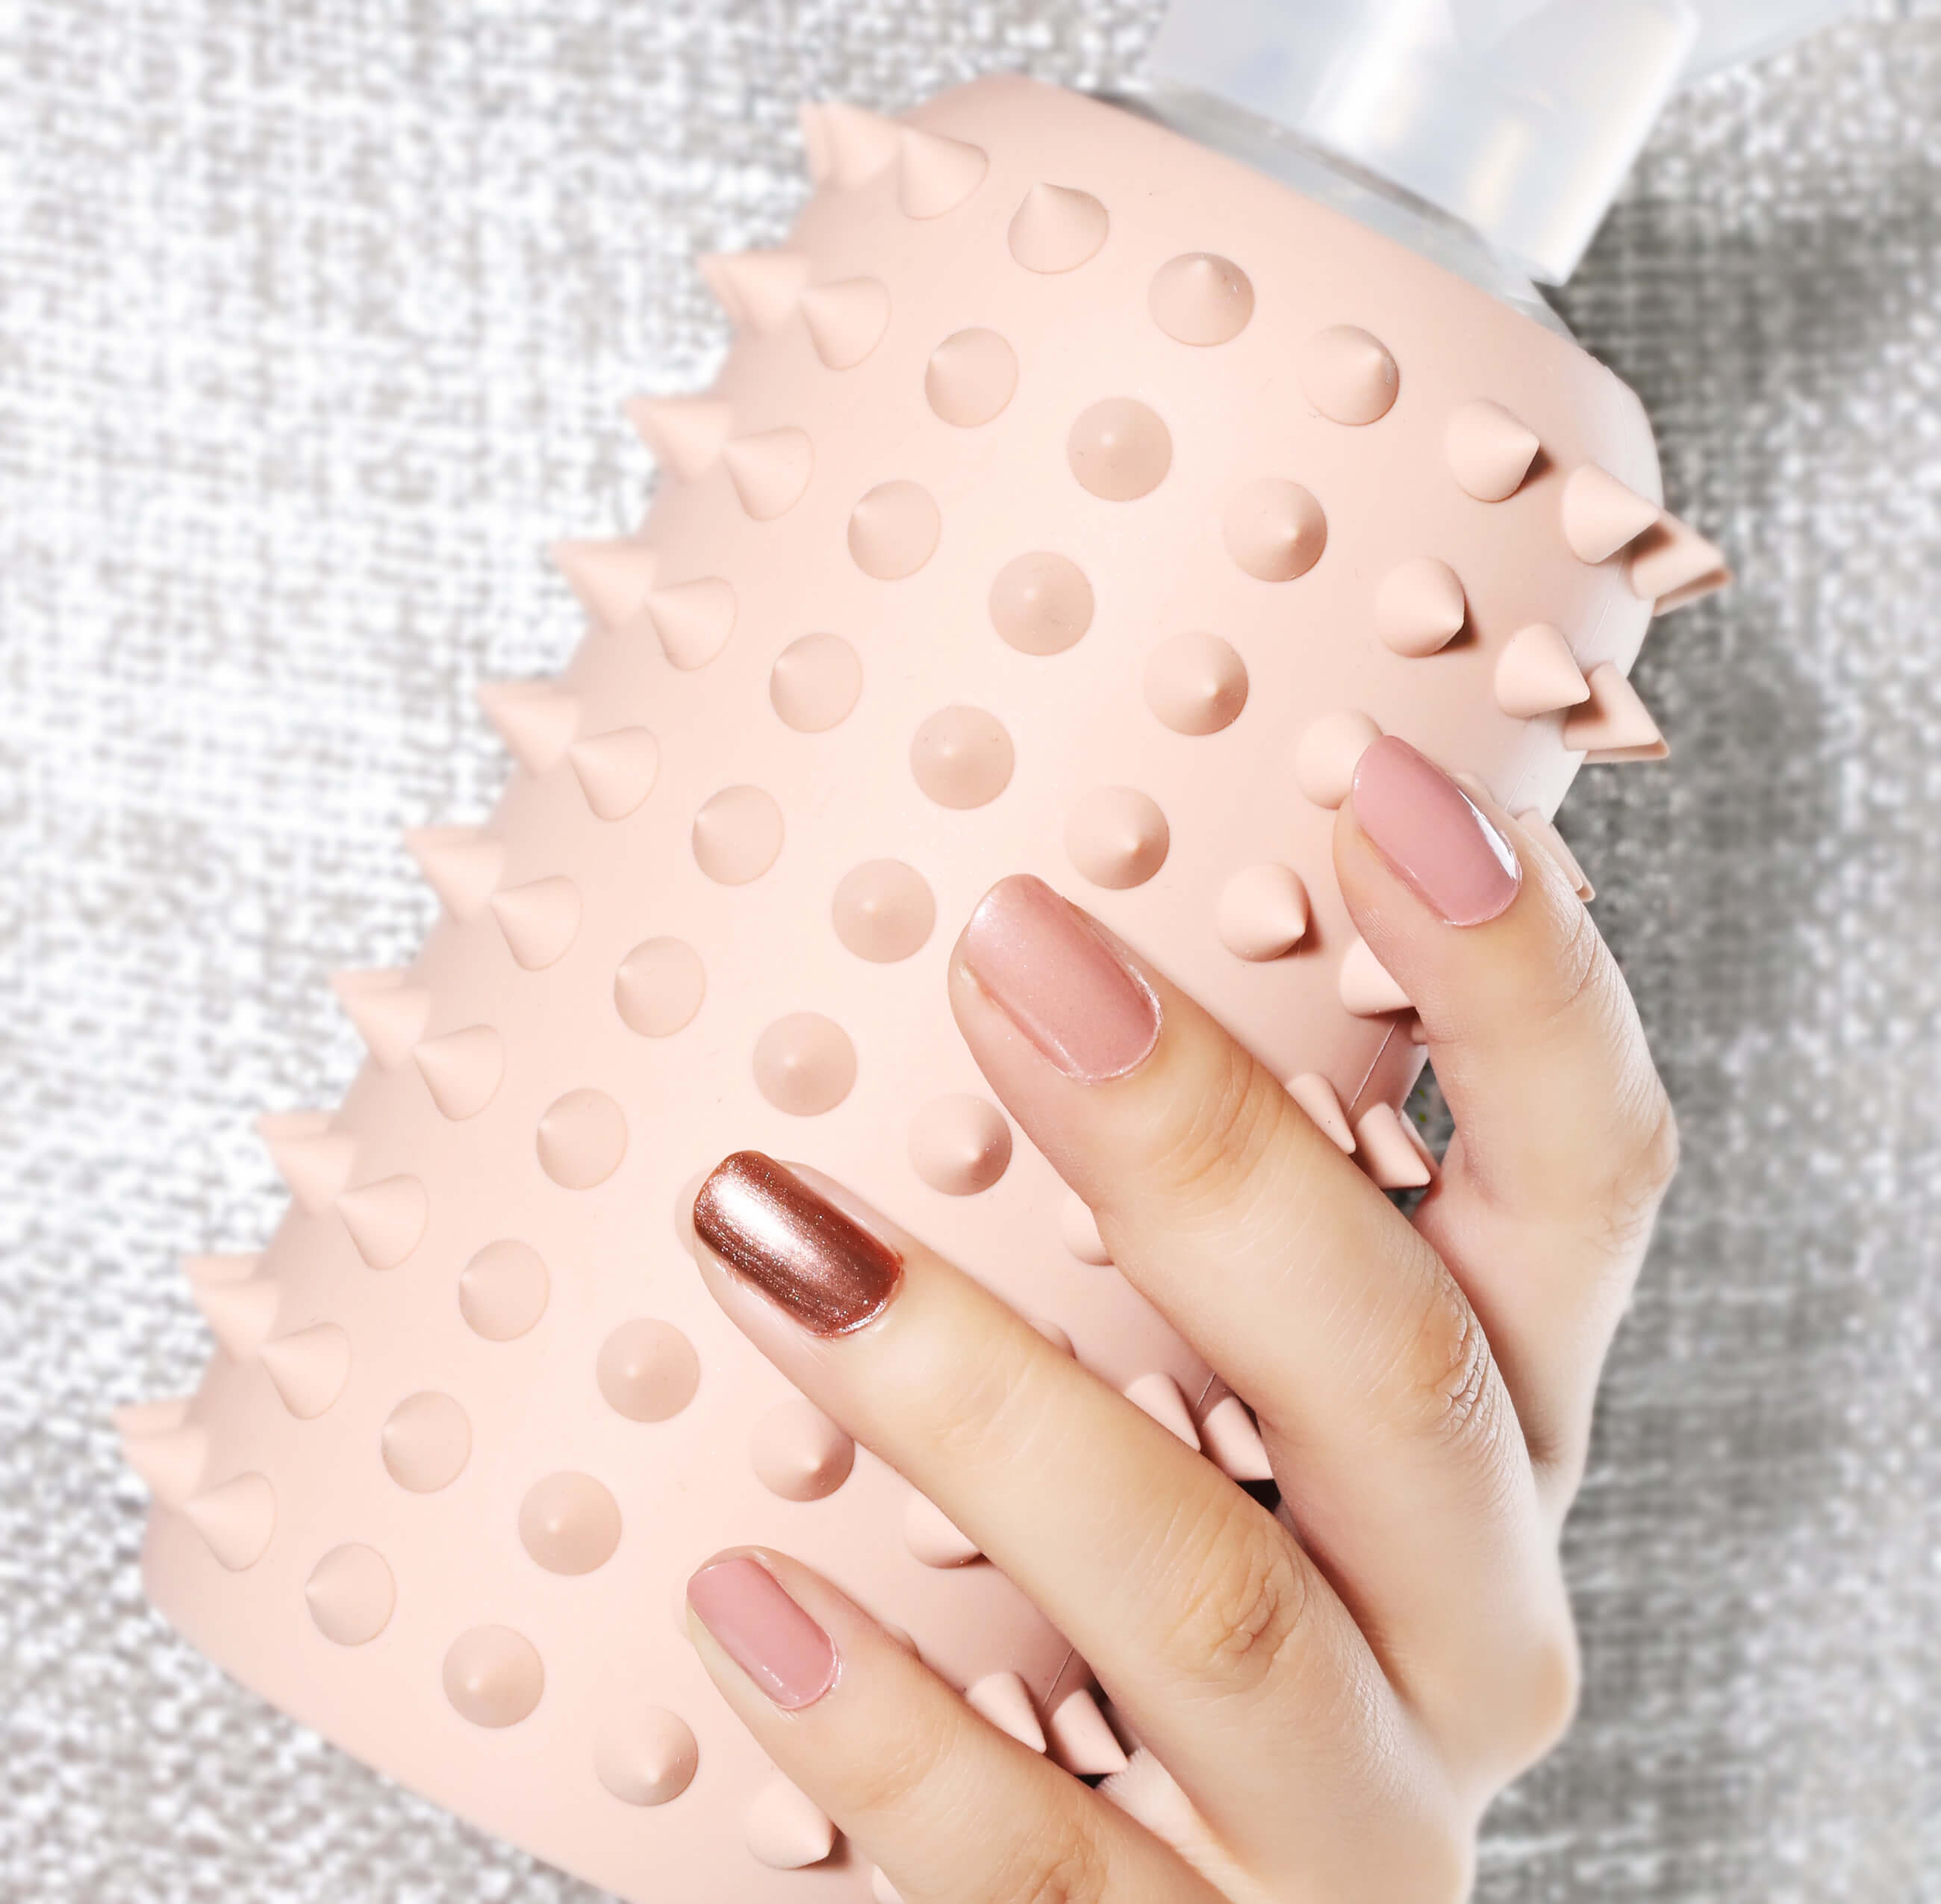
The No-Rules Color Swap: Easy Nude Nails Design #3
To amp up a basic nail look, I used all three nude polishes. I didn’t play by any rules when choosing what color to apply to what finger, so the finished look is fun and cute, but still classy.- Pancy, Lead Designer
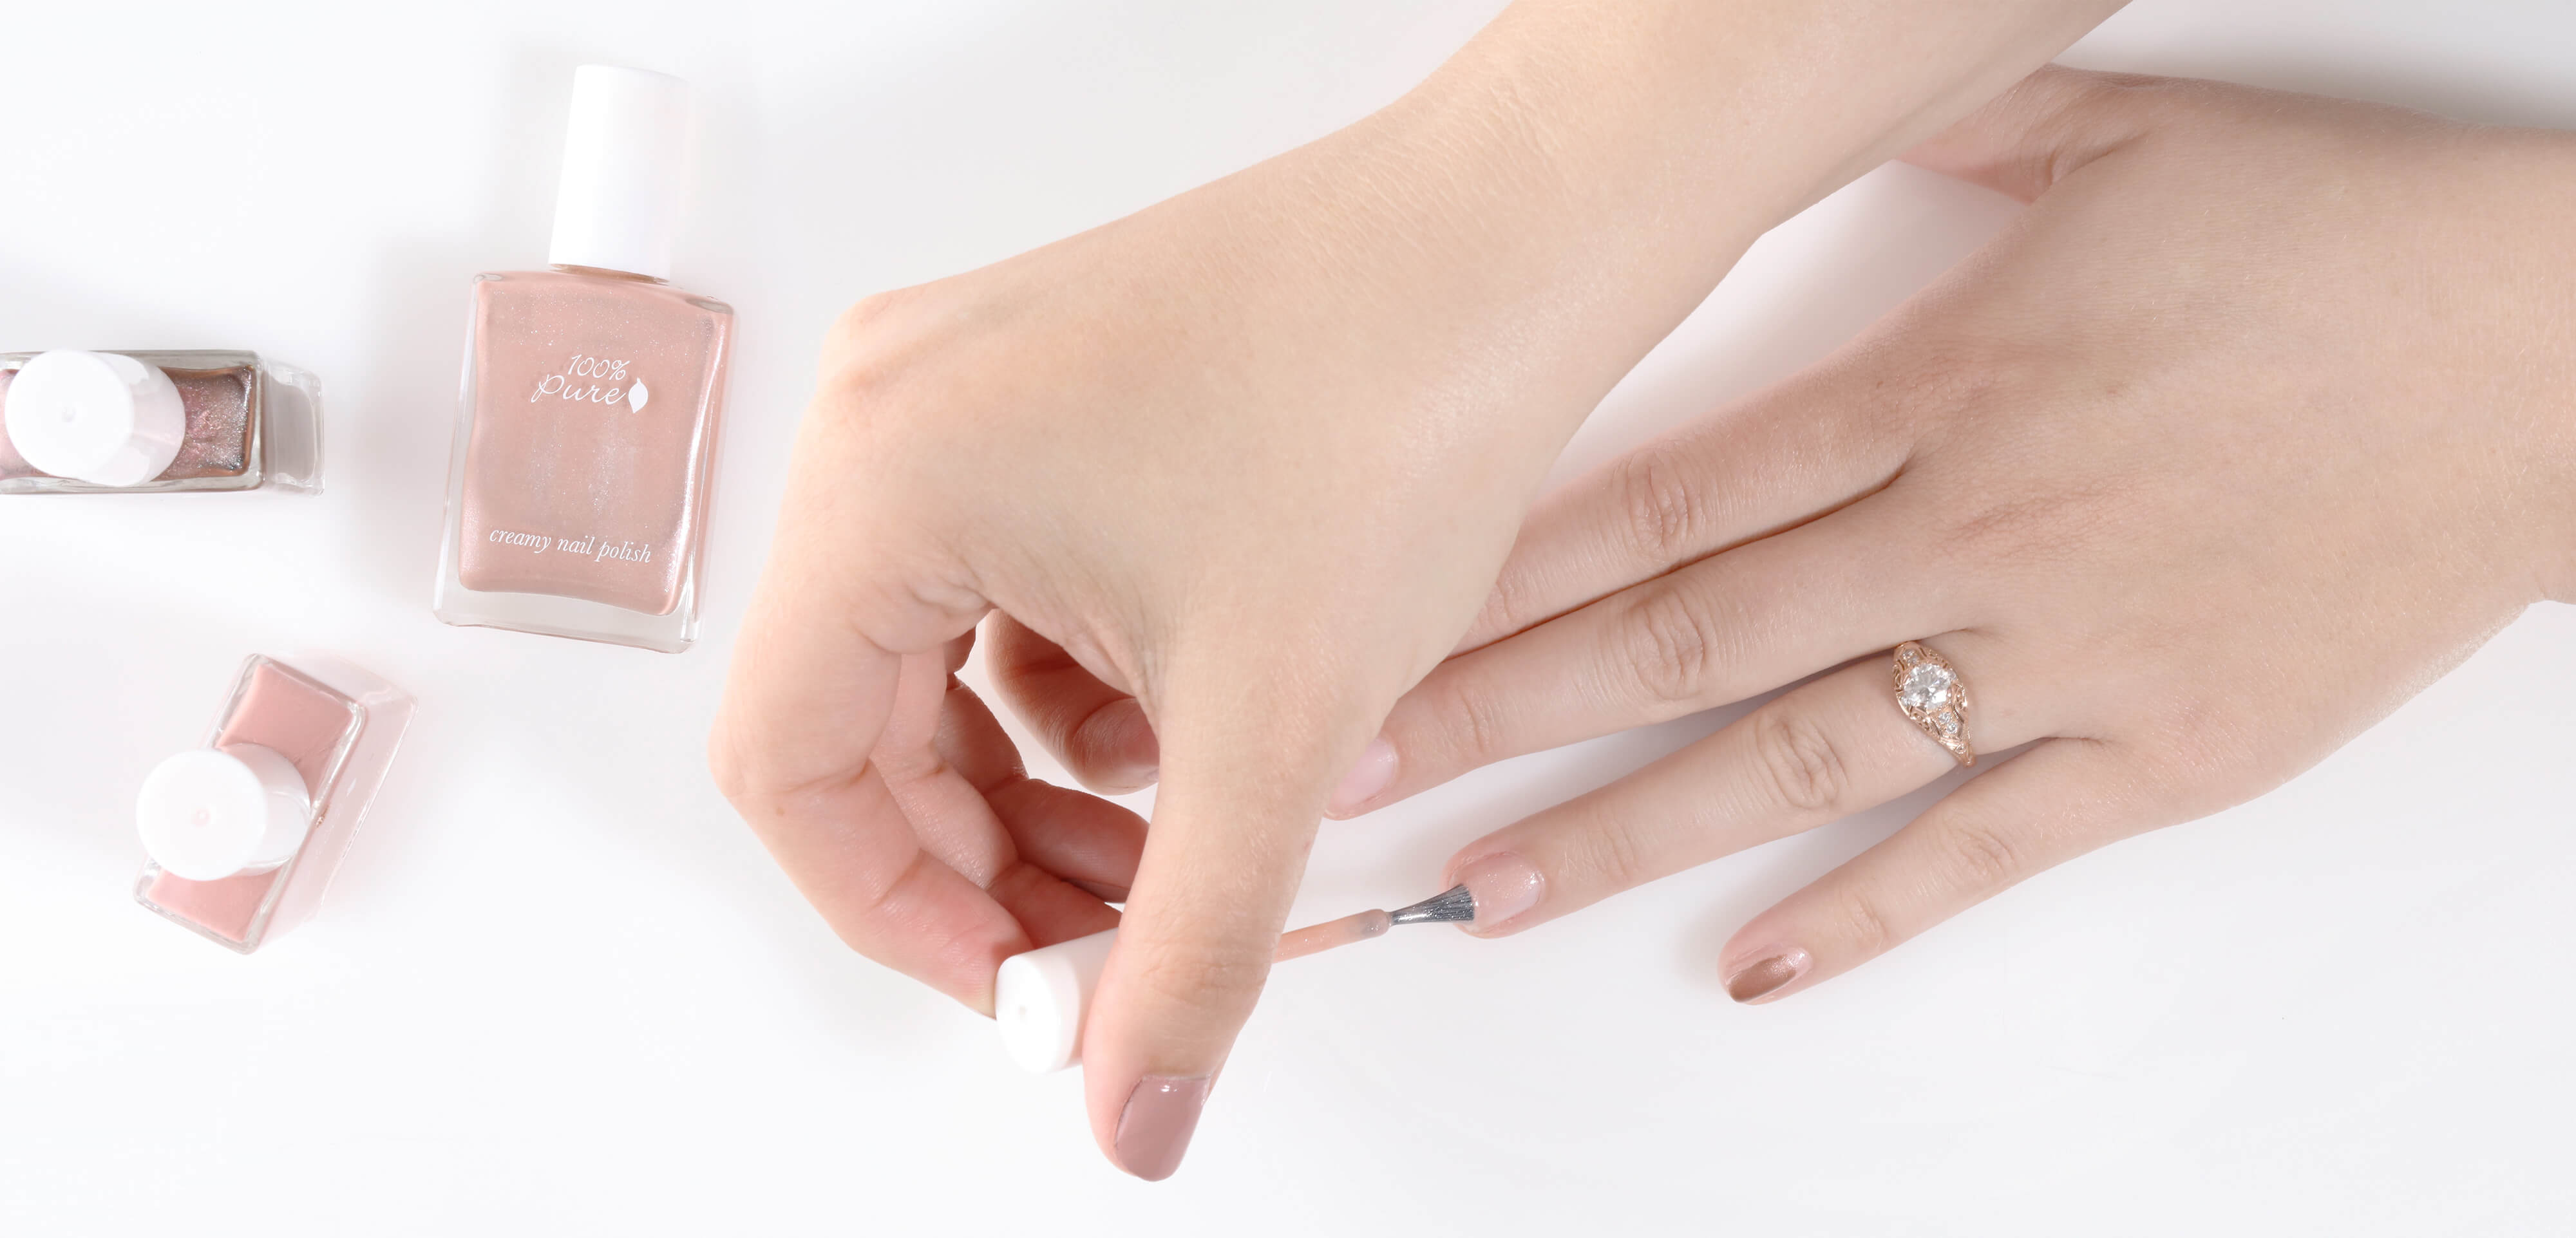
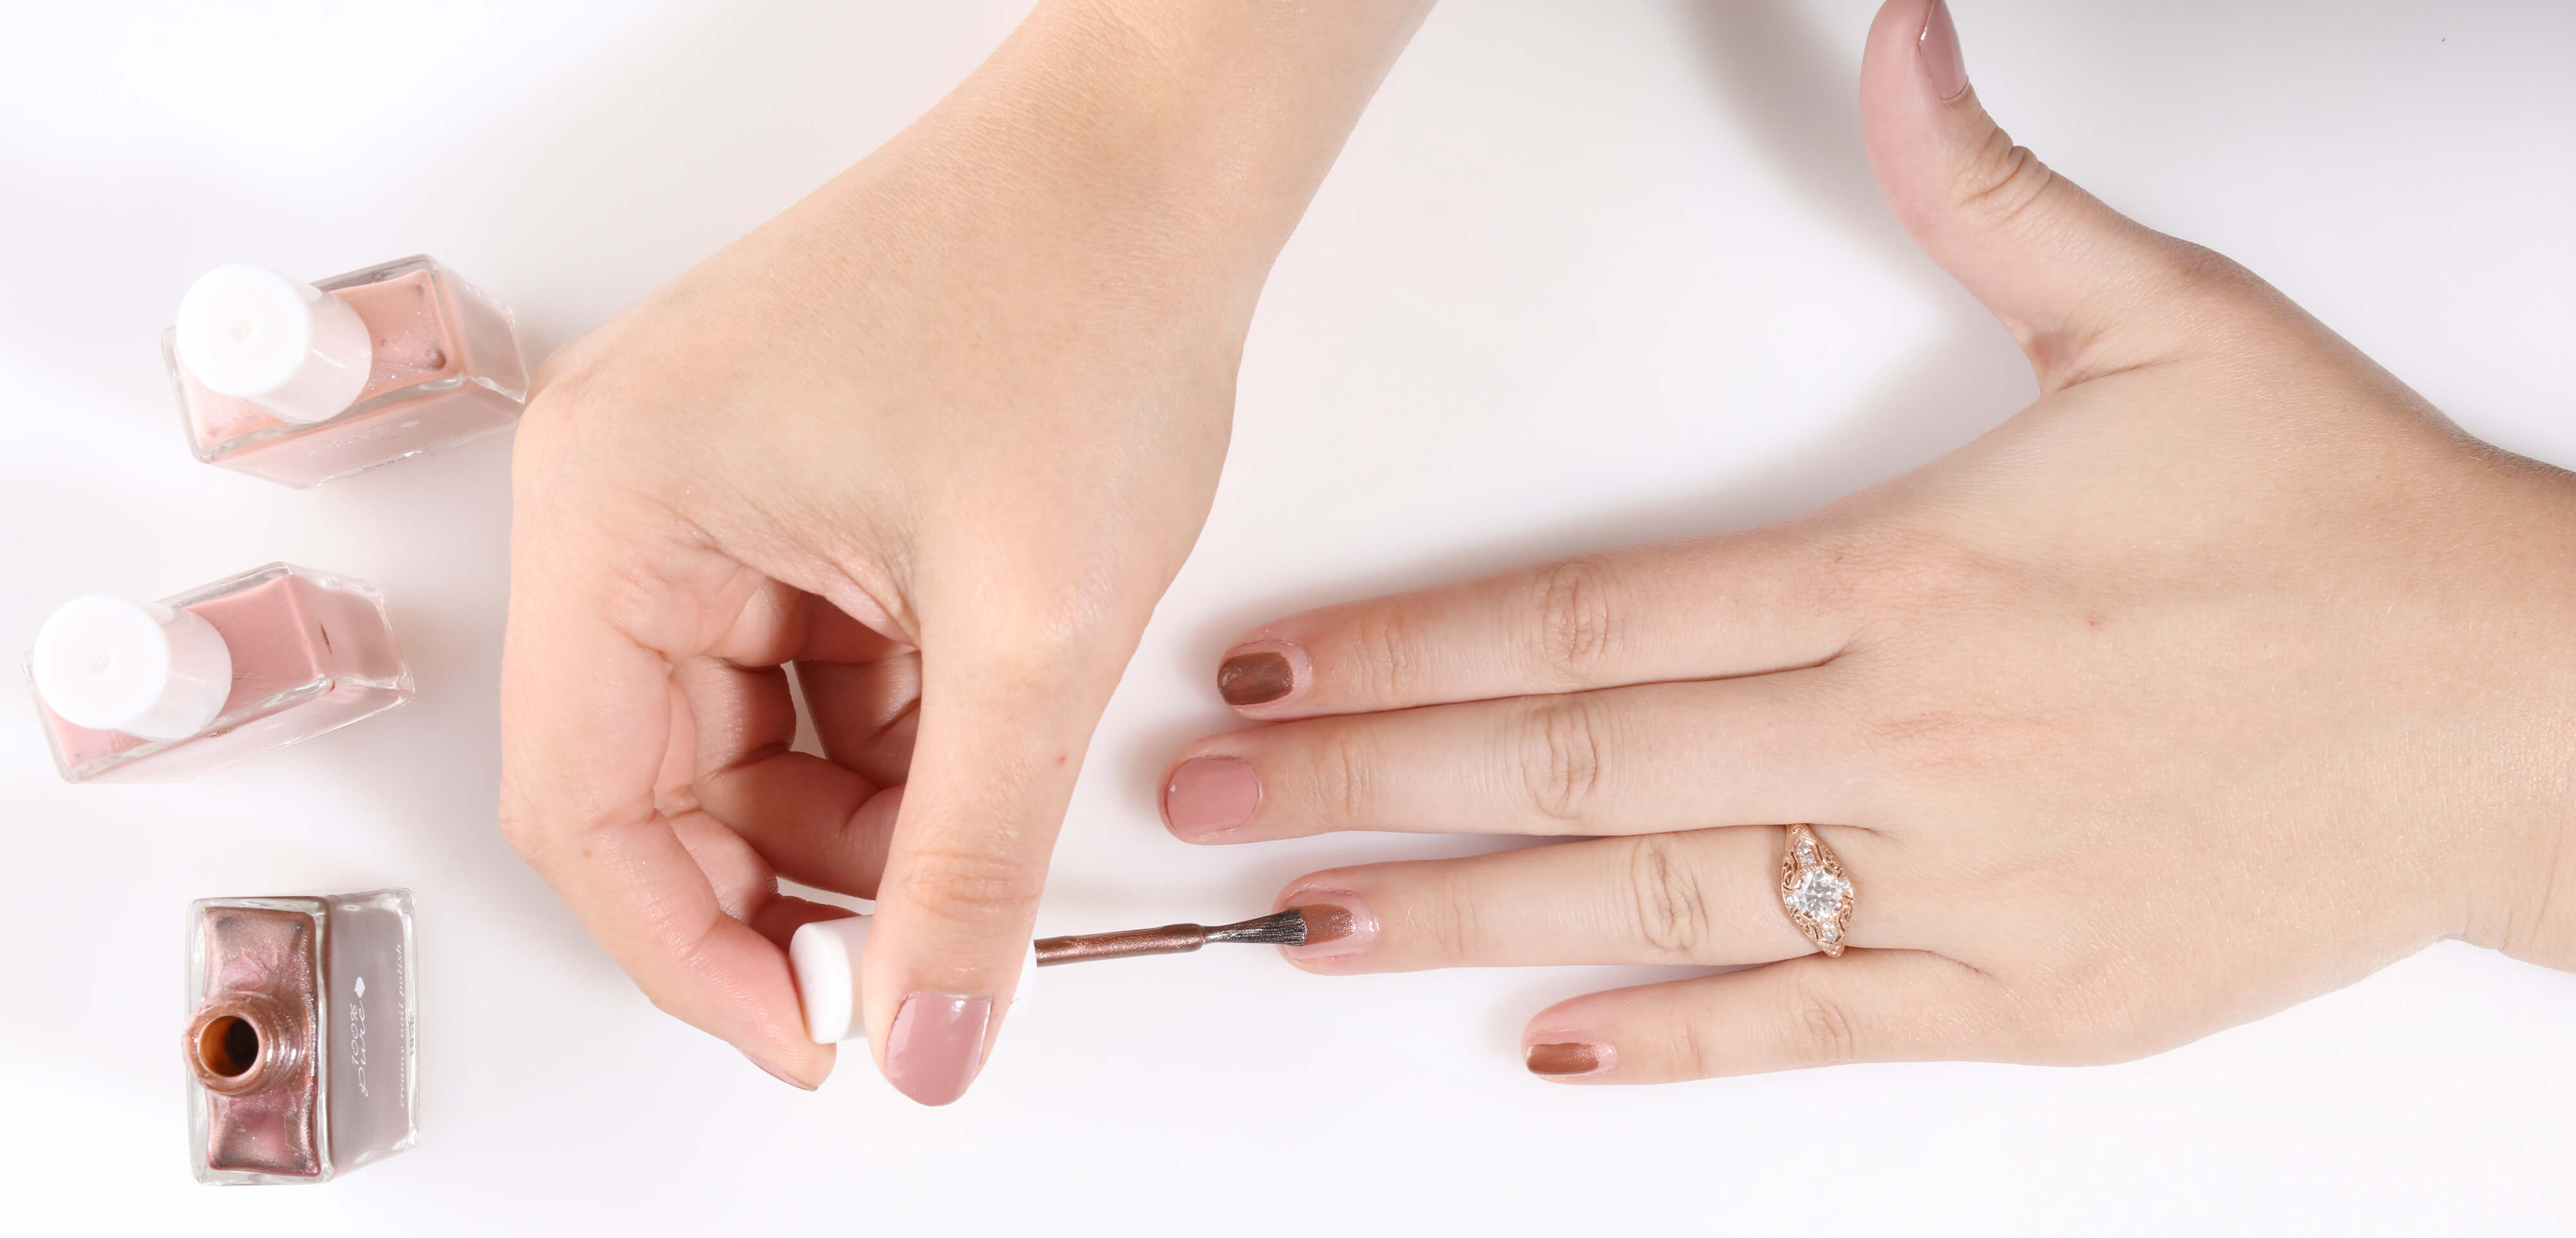
Apply your first coat of color to one finger of your choice; we started with a single coat of Truffle on our ring finger. As the darkest shade, we like this as an accent color to create a pop of interest on just one finger.
Apply your first coat of color #2 to two fingers of your choice; we applied a single coat of Pinkerton to both thumb and middle fingers.
Apply your first coat of color #3 to two remaining fingers; we applied a single coat of Velouria to our index and pinky fingers.
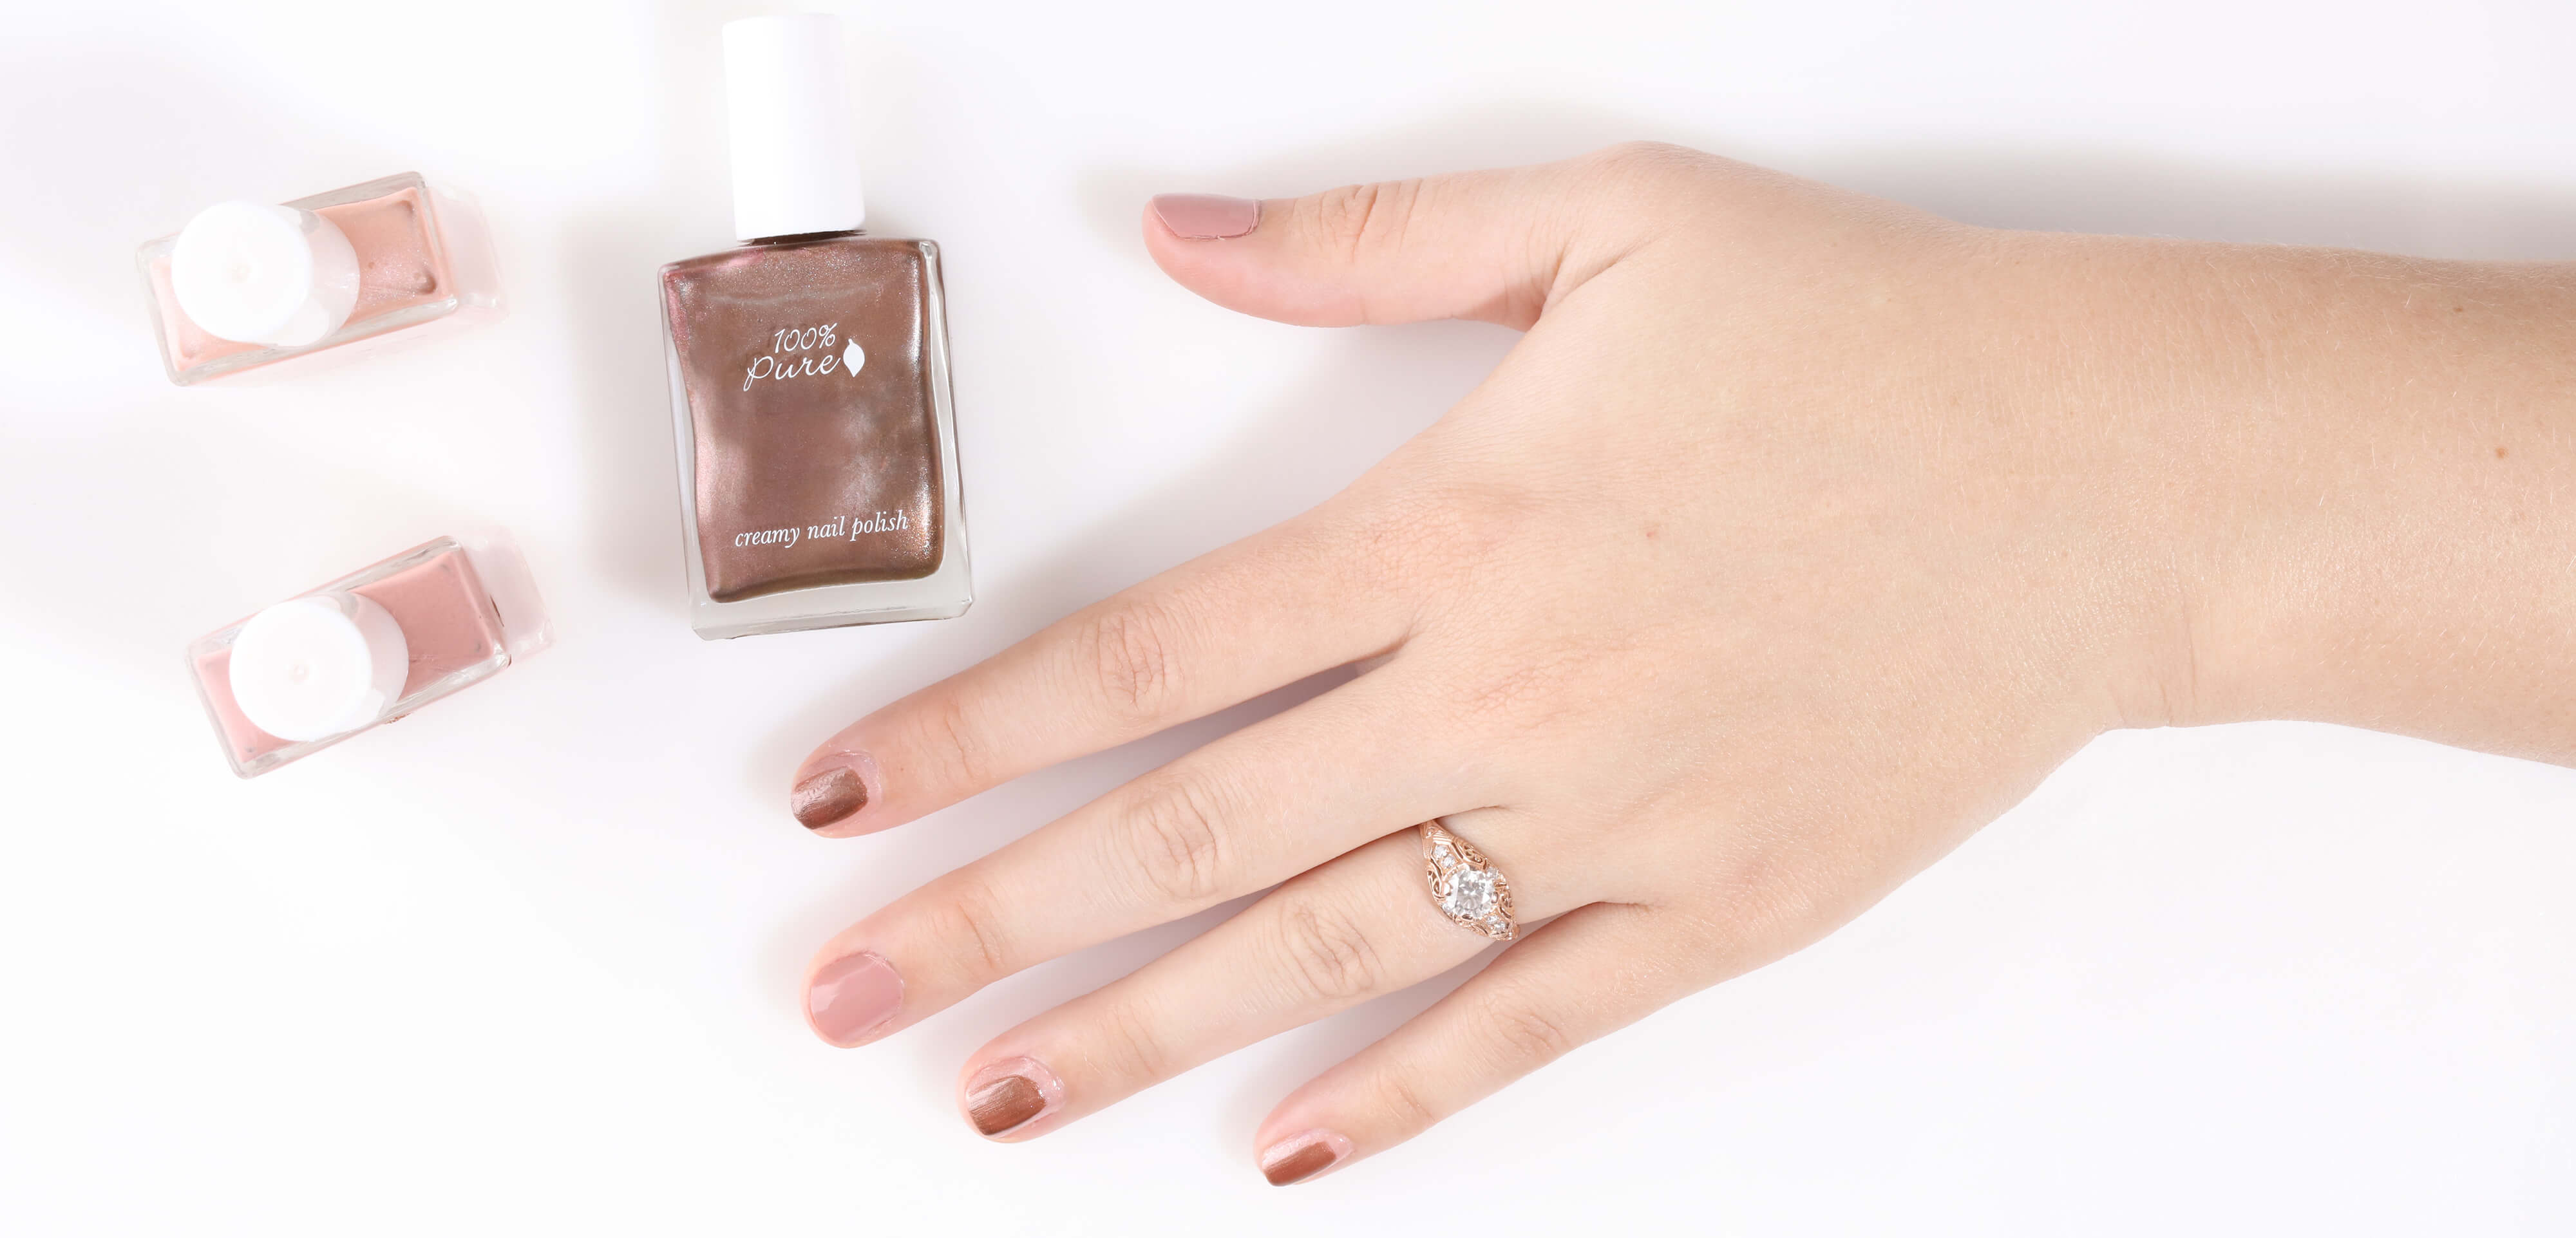
Apply 2nd coat of all colors to corresponding fingers.
After all nails are dry, apply our Glass Top Coat for a glossy finish that keeps your design protected for longer!
Not ready to go nude? Try a bright, coral-hued nail look for fall, or practice the perfect mani-pedi at home. Keep up to date with our blog feed for more how-to’s, guides, and educational content for a naturally thriving mind and body
- Tags: how-to, Makeup, September-2017
We carefully hand-select products based on strict purity standards, and only recommend products we feel meet this criteria. 100% PURE™ may earn a small commission for products purchased through affiliate links.
The information in this article is for educational use, and not intended to substitute professional medical advice, diagnosis, or treatment and should not be used as such.