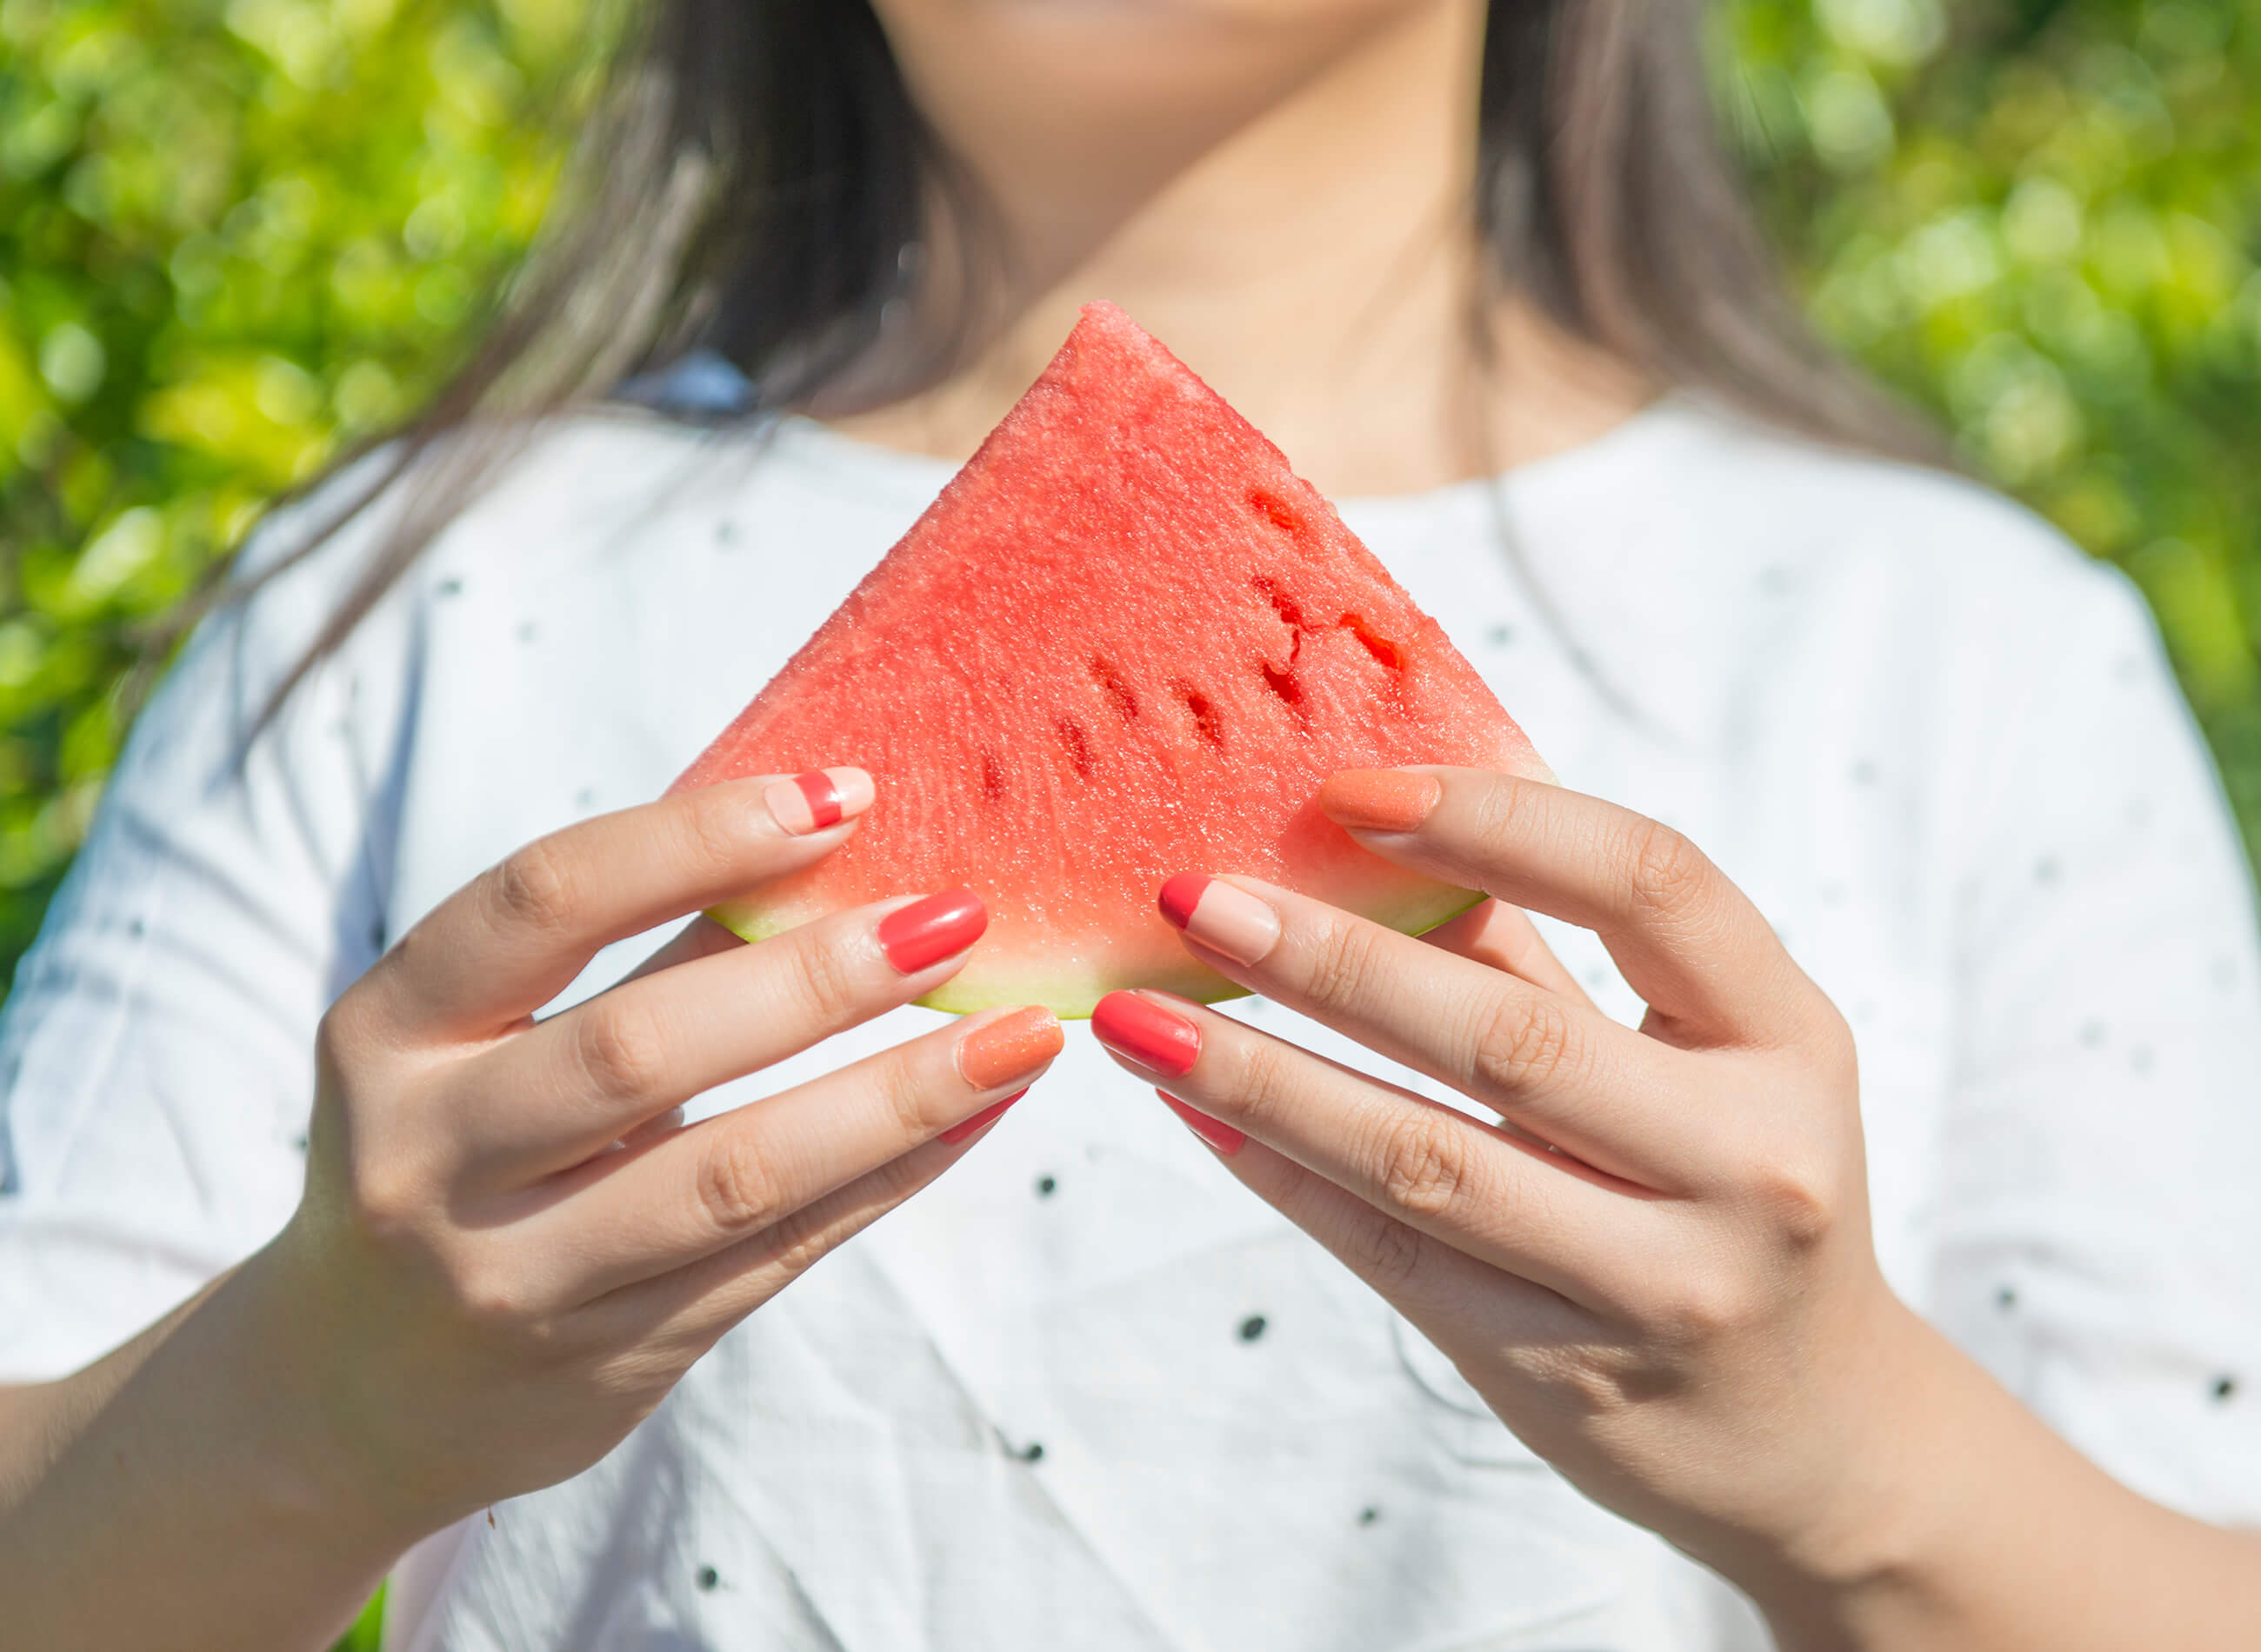
Easy nail design with melon-inspired shades in only 6-steps!
Still feeling those summer vibes? Already tackled the perfect manicure and pedicure with our 10-FREE nail polish formulas? Then it’s time to dig your nails into the last weeks of summer with this coral-hued medley of universally flattering, cruelty-free nail polishes! Using our own 100% PURE® nail polishes that are FREE of the 10 most common nail polish toxins, we’ve created a 6-step look that’s easy to follow and sure to brighten up any late summer shindig!

Products Needed:
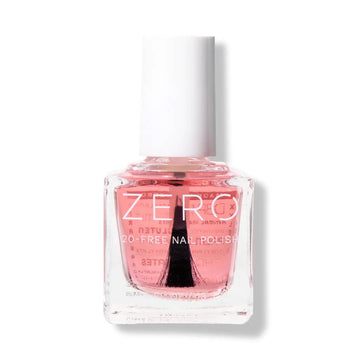
- Horsetail Base Coat Polish
- Creamy Polish: Cantaloupe
- Creamy Polish: Winter Melon
- Creamy Polish: 12:51
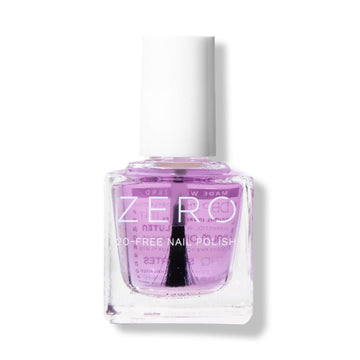
- Glass Top Coat Polish
Start with applying a single layer of our Horsetail Base Coat to clean, dry nails. Apply multiple thin layers of clear polish until you’ve covered the entire nail. Air dry for 5 minutes; heat can spread the polish and potentially slow the drying process!
12:51 is the lightest shade in this trio, so it will need to be applied first in order to show its true color! Apply to entire index finger nail on each hand. Apply 2 coats, waiting 5 minutes to dry in between.
PRO TIP: For lighter polish colors, you’ll need to apply 2 colors to reach full opacity and avoid those pesky, translucent brush-strokes!
Apply Cantaloupe to pinky and pointer finger nails on each hand. Apply 2 coats, waiting 5 minutes to dry in between
Apply Winter Melon to middle and index finger nails on each hand. Apply 2 coats, waiting 5 minutes to dry in between.
Once all cruelty-free nail polishes are dry on your fingers, cut a few small pieces of clear tape; tap onto your hand a few times to remove excess adhesive, so the tape won’t stick too much to your nail and end up removing polish.
Who doesn’t love a little variety? In this look we’ve done a single horizontal line of Winter Melon at the center of one index nail, and for the other we’ve added a horizontal line to the tip of the nail.
- For the central horizontal line, you’ll need to take 2 small strips of tape and place over the base of the nail as well as the tip, leaving an uncovered gap in the center of the nail.
- For the horizontal line at the tip of the other nail, just add tape to the base of the nail, leaving an uncovered gap at the end of the nail.
With Winter Melon, apply a single coat to the uncovered gaps on each index finger nail, brushing gently across the edge of the tape to ensure a sharp, straight edge. Let dry 3 minutes, then remove tape. Air dry for an additional 2 minutes.
PRO TIP: Got steady hands? Skip the tape and freehand the application of Winter Melon nail polish in this step
Apply thin layers of our Glass Top Coat over your fabulous, finished nails to protect your hard work! Once you’ve covered the entire nail, air dry for 5 minutes. Time to show off your gorgeous new mani!
PRO TIP: Don’t forget to moisturize once your nail polish is dry: keep late summer skin soft and hydrated with our Hand Buttercreams! Rich cocoa, avocado, and shea butters will nourish hard working hands, while argan and rosehip oils smooth cuticles and calm the skin around your nails.
Ta-da! Say hello to your fabulous, cruelty-free nail polish look!
Check back for more how-to tips and pro tips on our 100% PURE® blog!
- Tags: August-2017, how-to, Makeup
We carefully hand-select products based on strict purity standards, and only recommend products we feel meet this criteria. 100% PURE™ may earn a small commission for products purchased through affiliate links.
The information in this article is for educational use, and not intended to substitute professional medical advice, diagnosis, or treatment and should not be used as such.


