Choosing the Right Sponge Shape and Material for A Flawless Finish
Posted on April 14, 2025 Written by: 100% PURE®
We once believed that brushes were the end-all-be-all of applying face products. We still love a good brush, but it’s safe to say that sponges have stolen the hearts of makeup fans and professionals alike.
Whether you’re new to makeup sponges, skeptical, or simply a diehard brush enthusiast, trying out a different method opens a new world. With a plethora of designs and textures at your disposal, finding the right makeup sponge can feel like finding your very own glass slipper!
We’ll guide you through the wide world of makeup sponges, and how to apply foundation with a sponge – plus how to use a wet sponge for other makeup applications.
Why Makeup Sponges?
Wondering about the perks of makeup sponges? If you learned how to apply foundation with a brush, you might wonder what exactly a sponge can do that your brush can’t. While brushes are a great tool to have in your makeup bag, let’s uncover the details on why use makeup sponges for everyday foundation.
Sponges leave a flawless finish with less effort.
Using a sponge to apply liquid and cream foundation leads to a more natural and blended look. Blending is often easier with a sponge instead of a brush, partly because you’re wetting the sponge, which makes the product spread more seamlessly. This will also prevent unnatural brush streaks on your face.
PRO TIP: If you use powder foundation, some makeup sponges may not work. Some dry powder lovers use a brush to avoid losing the product.
Sponges are great for dry skin.
You often wet a sponge before use and apply it with a stippling motion. Less rubbing means a lower chance of flakiness. Using a dry tool increases friction, which leads to a higher chance of flaking in dry skin. Another plus for dry skin is that the moisture retained in the sponge will give your skin a dewy, hydrated look.
The Benefits of Using Makeup Sponges
The makeup tools we use are the most significant factor in achieving a seamless, blended look, and makeup sponges are an elite tool for achieving this coveted look. From seamless blending to creating a perfect makeup finish, a wet sponge is the go-to tool for foundation, concealer, and everything in between!
Let’s check out the top benefits of makeup sponges.
Benefits of using a wet sponge vs. dry application
A wet sponge absorbs less of a foundation and creates a smoother, more natural, seamless finish compared to a dry sponge. A dry sponge absorbs a lot of a foundation but in return gives you fuller coverage. Let’s break down more of the benefits of each.
Wet Sponge:
#1. Less product waste: A wet sponge limits the amount of foundation it absorbs, ensuring more of the product goes directly onto your skin.
#2. Smoother, more natural finish: The damp sponge helps to infuse the product for a more luminous and healthy-looking finish.
#3. Ideal for foundation application: A wet sponge is generally preferred for applying foundation, allowing it to blend seamlessly and evenly.
#4. Better for lighter coverage: If you prefer a more sheer or natural look, a wet sponge is your best bet.
Dry Sponge:
#1. Fuller, more matte coverage: A dry sponge can deliver a fuller, more matte finish, making it a good option for those who want heavier coverage, want to build up the product, or are applying powder products.
#2. Better for applying powder products: A dry sponge is often preferred for applying powders like setting powders or blushes, preventing the powders from clumping.
#3. Good for baking: Some use a dry sponge to bake powder, creating a more baked look.
#4. Ideal for denser application: A dry sponge can be used for buffing a second layer of foundation without making it appear too heavy or cakey, as it doesn't absorb excess product.
How makeup sponges create a more natural, blended finish
While brushes can often lead to streaks, smudges, and caking, a makeup blender’s spongy texture helps absorb any excess product, making it easier to blend your makeup to create a seamless look. Makeup sponges achieve a natural, blended finish by evenly distributing makeup, minimizing product waste, and creating an airbrushed finish.
A makeup sponge’s unique shape, texture, and material, combined with the wet application technique, helps create a smooth, blended finish. But to get this seamless look, it’s important to use a high-quality, multi-purpose non-latex sponge – it will blend like a dream!
The difference between makeup wedges and beauty blenders
Makeup wedges take the form of a long, skinny triangle. Its harsher ridges mean a more concentrated, intense application. Makeup wedges are great for targeting blemishes or smaller areas of the face; with heavier coverage.
Beauty blenders have a tapered tip and a full, rounded edge for blending out the foundation. The tapered end is great for the eye and nose area; the rounded edge is suited to your cheeks, forehead, and chin. Beauty blenders are great for seamlessly applying and blending foundation in wide and small areas.
How sponge application benefits dry skin types
Using a makeup sponge, especially when damp, can benefit dry skin by preventing makeup from settling into dry patches, creating a more natural, airbrushed finish, and helping the makeup blend seamlessly. The sponge's soft, gentle texture can also help to hydrate the skin and lock in moisture.
How to Pick the Right Foundation Sponge
Sponges come in several different shapes and materials, and some will work better than others for certain types of applications. They will lend themselves to different techniques like how to put on foundation with a sponge, or how to build and set your coverage. First, we’ll go through the different types of makeup sponge shapes followed by makeup sponge material choices!
SHAPES
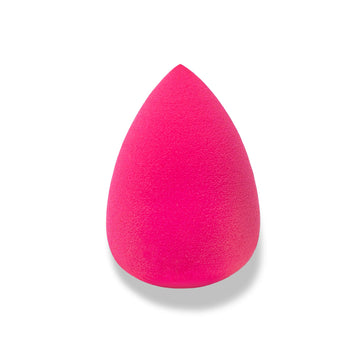
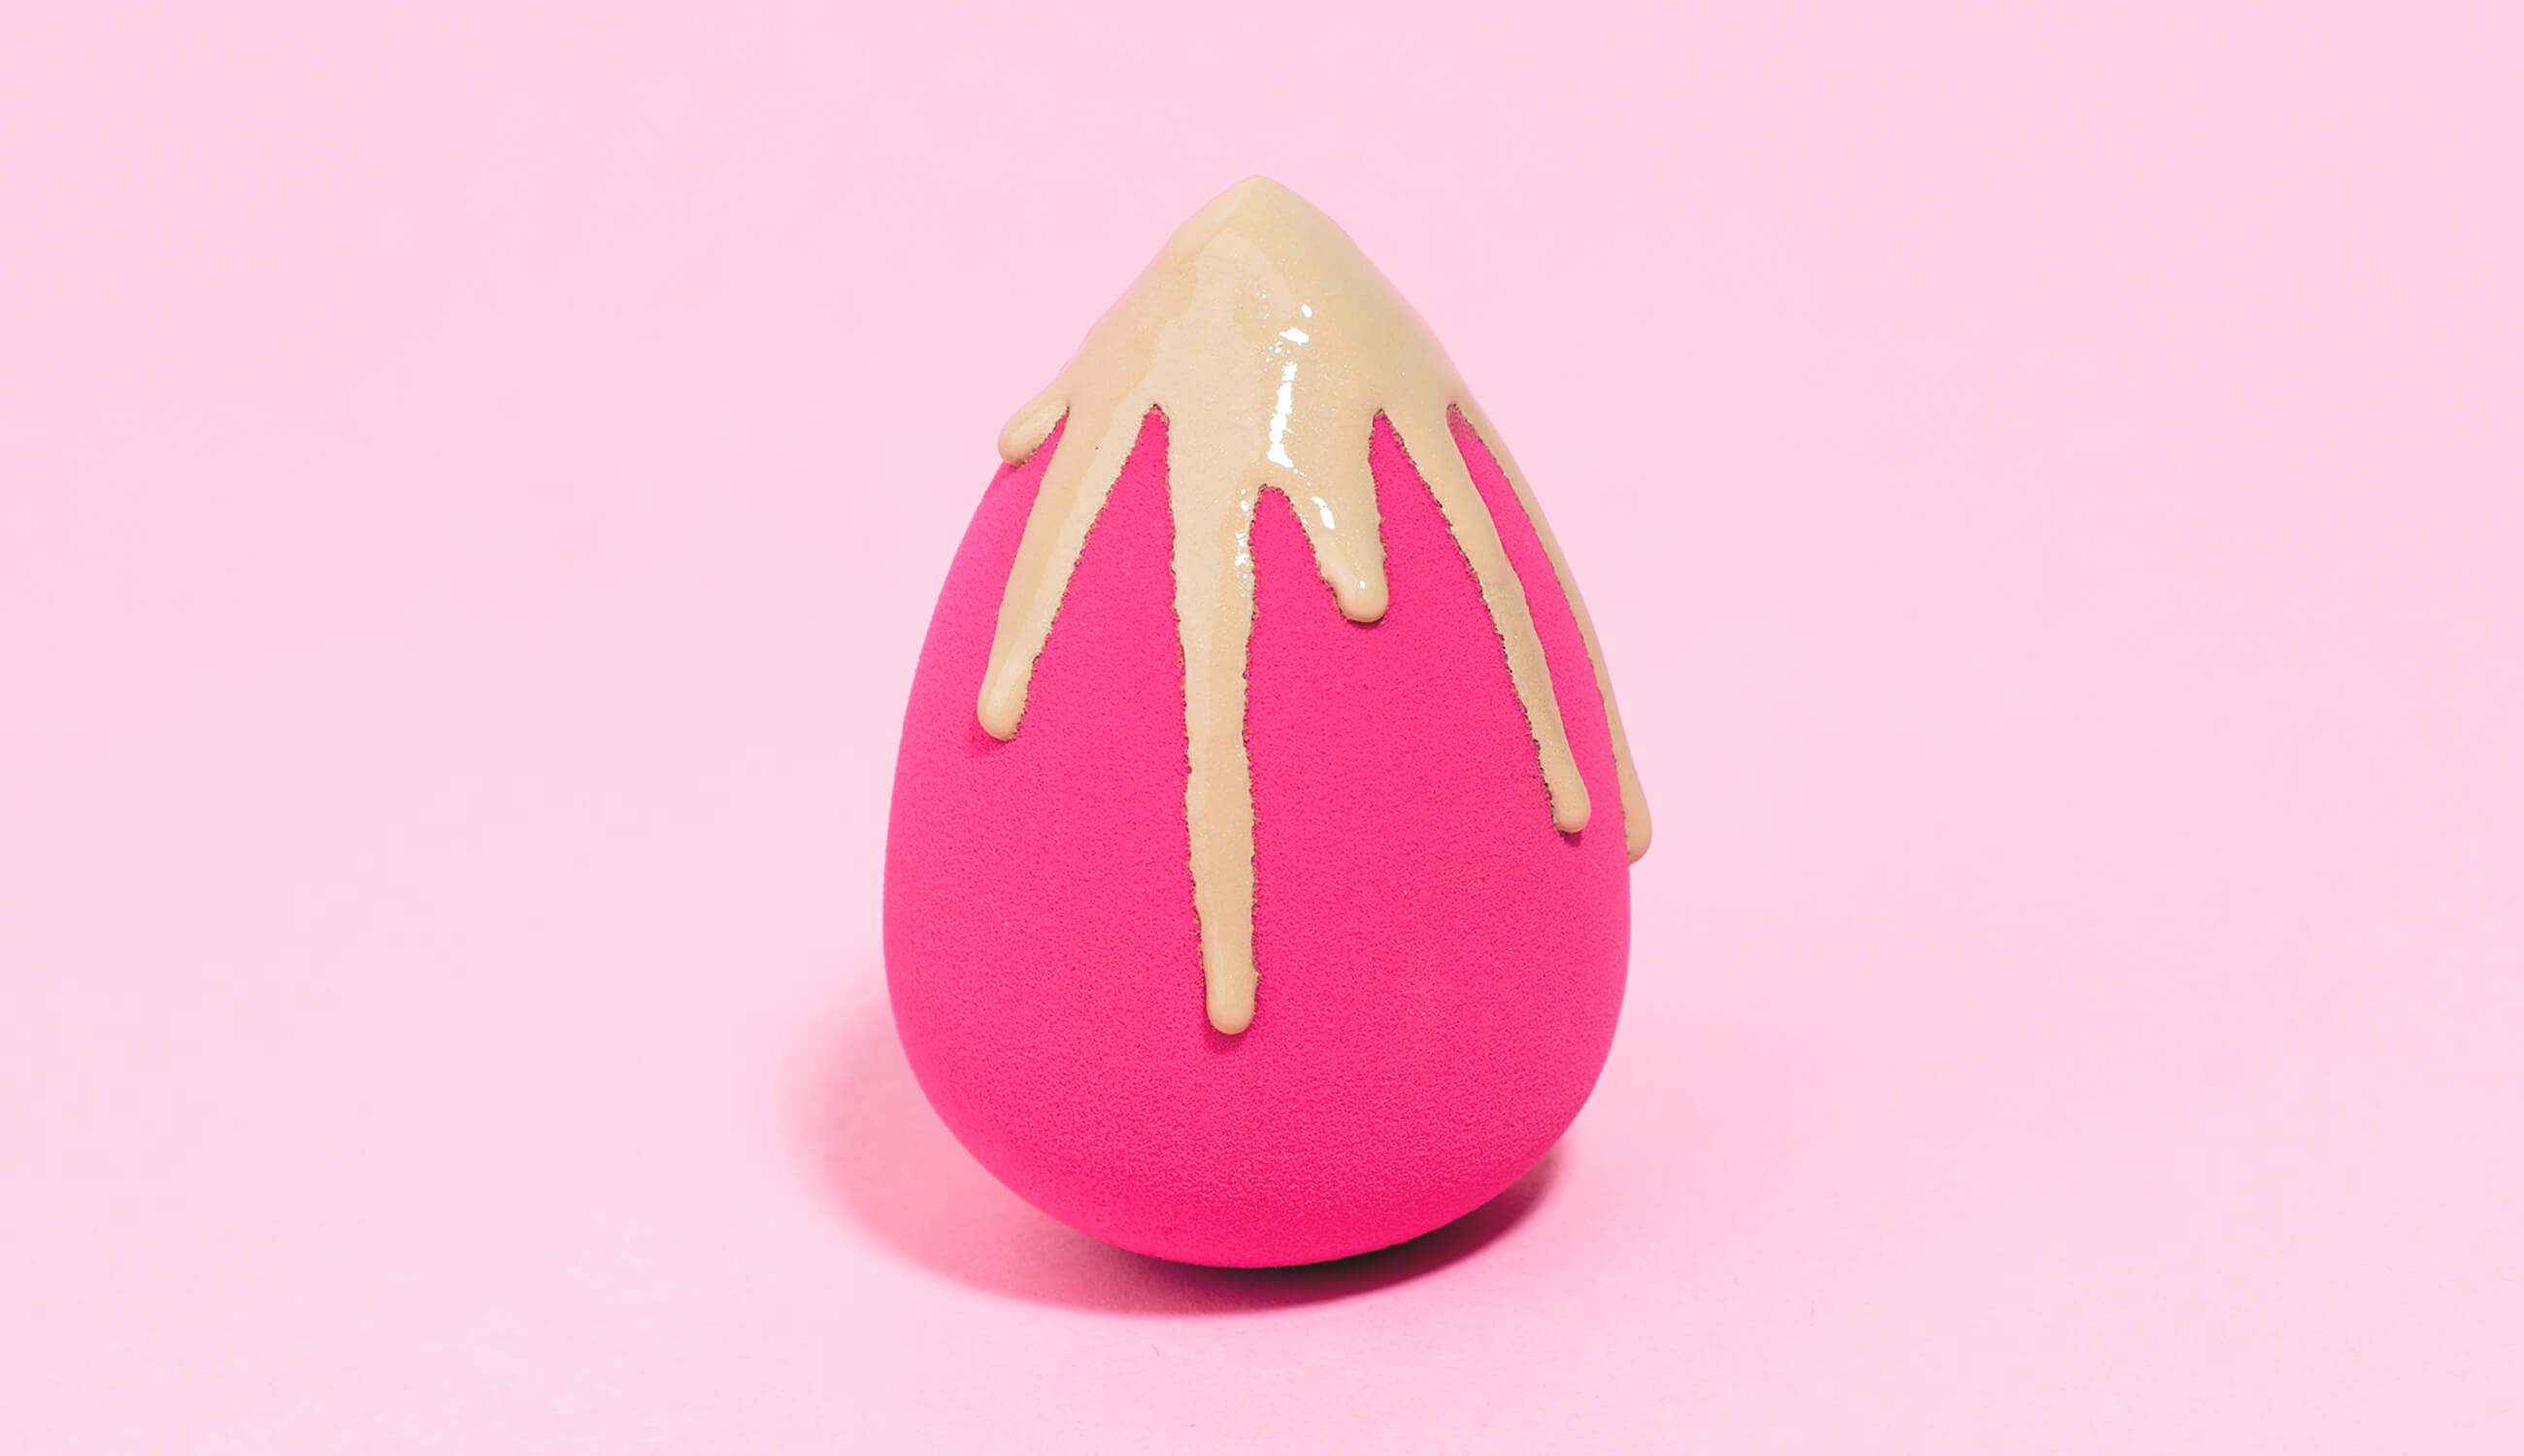
#1: Teardrop
Our Non-Latex Makeup Blender has a tapered tip and a full, rounded edge for blending foundation. The tapered end is great for the eye and nose area, while the rounded edge is suited for the cheeks, forehead, and chin.
Great for: Seamlessly applying and blending foundation in wide and small areas.
#2: Wedge
This sponge is shaped like a long, skinny triangle. Its harsher ridges allow for a more concentrated, intense application.
Great for: Targeting blemishes or smaller areas of the face; heavier coverage.
#3: Beveled
This shape includes a tapered side and a slanted flat edge. The tapered side is best for detailing, and the flat edge is great for packing on pigment for heavier coverage.
Great for: Applying foundation to broad and small areas of skin.
#4: Hourglass
This sponge has a wide, tapered edge that slopes down into a smaller center and out again to a wide, rounded edge—similar to a glass soda bottle. Its curvy silhouette makes it better for a softer and broader application.
Great for: Applying foundation to larger areas of the face; lighter coverage.
#5: Flat
These sponges are commonly made from a spongy latex material and come in either a circle or soft-edged square shape. You’ve probably known a flat sponge or two in your time: they’re often provided in drugstore foundation compacts and have a distinct rubber-like smell.
Great for: Applying pressed powders for setting or baking.
#6: Oval
These sponges are also a part of the flat family. The thicker the material, the better they are for applying liquid and cream foundations. If using a teardrop-shaped sponge feels too cumbersome, try these flat versions on for size.
Great for: Those who have trouble using traditional makeup sponges.
MATERIALS
Now let’s discuss the types of materials from which sponges can be made. Some are easier to learn how to put on foundation with a sponge because they blend a little easier; others require less cleaning. Also, keep in mind that there are durable sponges and single-use ones; while single-use sponges make hygiene easier, they also contribute to more environmental waste!
#1: Latex
This material has a rubbery feel. It isn’t porous, so it’ll transfer plenty of product to your skin. Many makeup sponges you find will be made of latex – it’s one of the most popular materials.
Great for: Heavier coverage, matte formulas.
#2: Non-latex
Our Non Latex Makeup Blender foam may be a little more porous than latex, meaning it can absorb more product. This often leads to a lighter, more natural application.
Great for: Those with allergies to latex, who don’t like the rubbery smell of traditional sponges or those who want to customize their coverage level.
#3: Silicone/Jelly
Sponges advertised as “jelly” are usually made of silicone. Like latex, silicone is a non-porous material so it won’t absorb foundation like the others; for this reason, these sponges are also easier to clean. The downside is they don’t buff as well as other types of sponges, so the finish may not look as seamless or natural. You can’t dampen these either, which may mean a more matte finish.
Great for: Those who prioritize easy cleanup and product conservation.
PRO TIP: Silicone sponges won’t have to be changed as frequently as other kinds of sponges. They’re much more durable, but you’ll likely have to sacrifice blending power.
How to Put on Foundation with a Sponge: 5 Simple Steps
Now comes the good stuff – how to put on foundation with a sponge! After cleansing, moisturizing, and priming, follow these steps for a seamless finish. Remember to include a broad-spectrum sunscreen in your routine, whether it’s in your moisturizer or a separate product. Some sunscreens even have a priming effect!
#1. Choose the Right Foundation and Makeup Sponge
Remember to use a foundation that suits your skin type and desired coverage. Using the tips we gave you above, choose a sponge that will complement your foundation formula.
Best choices for natural foundations - liquid, cream, and powder foundations:
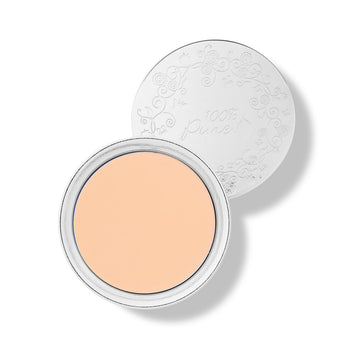
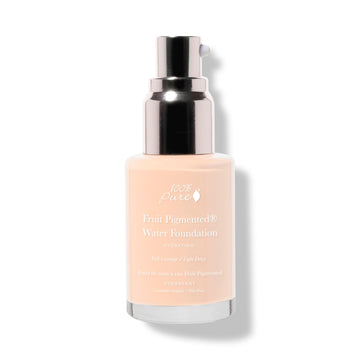
For normal to dry skin, our Full Coverage Water Foundation creates a flawless high-coverage foundation with a satin, lightly dewy finish.
For normal to dry skin desiring a hydrating, natural finish, our Fruit Pigmented® Tinted Moisturizer is an ultra-lightweight tinted moisturizer formula that refreshes and leaves skin with a dewy, hydrated glow.
For normal to oily skin, our Fruit Pigmented® Foundation Powder is a talc-free, fruit pigmented® pressed powder foundation that absorbs oil and reduces shine with medium coverage, mattifying rice powder.
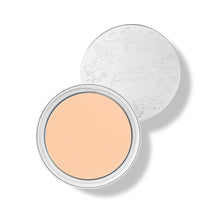
For normal to dry skin, our Fruit Pigmented® Cream Foundation offers medium-full coverage and a satin finish.
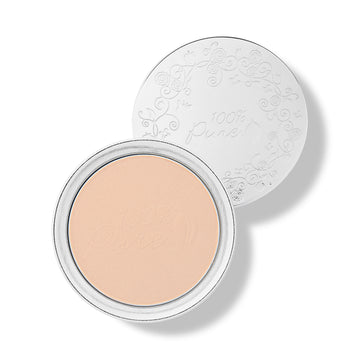
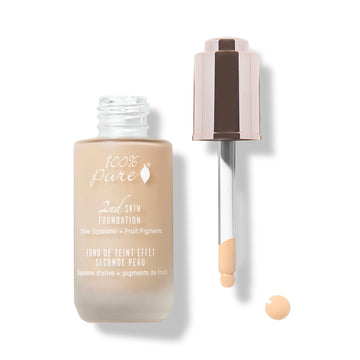
For normal skin, our Fruit Pigmented® 2nd Skin Foundation offers anti-aging benefits, medium-full coverage, and a weightless, satin-like finish.
#2. Dampen Your Wet Sponge
So, why does a wet sponge prevent cakey makeup and streaks? A wet sponge minimizes product absorption, ensuring more makeup reaches your skin and less is wasted on the sponge. Additionally, a wet sponge allows for smoother blending, preventing the makeup from being pulled or streaked across the skin.
Wet your sponge, then squeeze out any excess water to avoid over-absorption. You don’t want your sponge to drip! The exception here is when you’re applying powder; wetting the sponge before using a powder formula will only cause your foundation to cake up.
#3. Use a Stippling Motion for Application
Avoid rubbing motions; using the stippling technique for makeup application will prevent streakiness and minimize tugging of the skin. Pressing and bouncing a makeup sponge with gentle stippling motions prevents streaks by distributing the product evenly and blending seamlessly.
This technique helps avoid dragging the sponge, which can leave marks and uneven coverage. By using the sponge to "bounce" or stipple the makeup, it's pressed into the skin, creating a smooth, airbrushed finish.
#4. Blend and Build for a Seamless Finish
To achieve light to full coverage with layering foundation using a makeup sponge, start with a light application of foundation using a wet sponge, then build up coverage by applying additional layers in areas that need more coverage. Use stippling motions (dabbing rather than swiping) to blend and prevent streaks. For a full coverage look, apply extra layers, focusing on areas like blemishes or dark circles, and use a concealer for added coverage.
#5. Set Your Foundation for Long-Lasting Wear
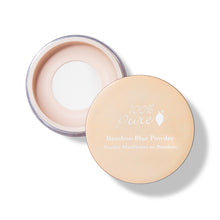
The final step for a flawless base is to use a setting powder or setting spray to make makeup last for a long-lasting finish. Our Bamboo Setting Powder is available in translucent to tinted setting powder colors and made with mattifying bamboo silica to absorb excess oil, stamp out shine, and refract light for a soft, poreless finish. This is an important step; reward your efforts by making sure your makeup look lasts.
How to Use a Makeup Sponge for Other Makeup Applications
Makeup sponges are versatile tools that can be used for various makeup applications beyond just foundation. They can be used for applying and blending cream products like blush, and eyeshadow, and even for setting powder. The key is to use the right technique and adjust the sponge's wetness depending on the product and desired coverage.
Blending Concealer – Achieve a bright, creaseless under-eye look.
#1. Damp Sponge (or Dry for Full Coverage): Damp sponges are great for under-eye concealer, while a dry sponge can provide more full coverage.
#2. Pointed Tip: Use the pointed tip to apply concealer precisely in the inner corner of the eye and around the nose.
#3. Blending: Blend the concealer with a stippling motion for a flawless finish.
Applying Cream Contour & Bronzer – Using a sponge for seamless contouring. Cream Products (Blush, Contour, Eyeshadow):
#1. Damp or Slightly Damp Sponge: Use a damp sponge for cream products to help blend them seamlessly.
#2. Dot and Blend: Dot the product onto the skin and then use the sponge to blend it out using a stippling motion.
#3. Precision: Use the pointed tip to apply cream blush or eyeshadow in smaller areas.
Buffing Out Powder & Setting Makeup – How to avoid cakiness.
To avoid a cakey look when buffing out powder and setting makeup, focus on hydration, light application, and proper blending techniques. Hydrating your skin before makeup application, using a thin layer of setting powder, and blending thoroughly can prevent the makeup from appearing heavy or uneven. Finish with a setting spray to help blend the makeup and create a more natural finish.
Dabbing on Liquid or Cream Blush – Achieving a natural flush without streaks.
To achieve a natural flush without streaks when applying liquid or cream blush, use your fingers or a brush, focusing on dabbing and blending, not rubbing. Start with a small amount of product and build gradually, blending upward and outwards to create a subtle, lifted flush.
Precision Baking & Highlighting – How sponges help set and enhance features.
Makeup sponges help with setting and enhancing features during precision baking and highlighting techniques. They excel at blending and setting makeup, creating a smooth, flawless finish. Their versatile shapes allow for precise application and blending, while their material helps absorb excess product, preventing a cakey look., while enhancing facial features.
Pro Tip: Makeup sponges are multi-use tools—they can be used for more than just foundation!
FAQs: Your Most Googled Sponge Application Questions Answered
How do I use a makeup sponge for foundation?
To put on foundation with a makeup sponge, first dampen the sponge and squeeze out excess water, then apply foundation to the back of your hand. Using the sponge, dot the foundation onto your face and blend with a dabbing or bouncing motion.
What’s the difference between a makeup brush and a sponge?
Makeup brushes and sponges offer different application results and are suited for various purposes. Brushes generally provide more precise and controlled coverage, while sponges are known for creating a more natural, seamless finish by absorbing excess product and blending seamlessly
Should I use my makeup sponge wet or dry?
For most makeup applications, it's generally recommended to use a makeup sponge damp, not dry, to achieve a smoother, more natural-looking finish and prevent product waste.
How often should I wash my makeup sponge?
For healthy skin and a flawless makeup application, it's best to wash your makeup sponge after every use or at least once a week.
What’s the best way to apply foundation with a sponge for full coverage?
To achieve full coverage foundation application with a sponge, use a dry sponge and apply foundation using a stippling motion, which is a gentle bouncing or tapping action, rather than swiping. A dry sponge is ideal for full coverage as it picks up less product, allowing for building up the desired coverage.
The best part about makeup sponges is their versatility; they’re not a one-stop shop to help you learn how to apply foundation. You can also use sponges to buffer out contour lines and apply highlighter to your cheekbones. Add a makeup sponge to your dewy skin routine or no makeup look and thank us later!
- Tags: how-to, January-2020, make up, Makeup
We carefully hand-select products based on strict purity standards, and only recommend products we feel meet this criteria. 100% PURE™ may earn a small commission for products purchased through affiliate links.
The information in this article is for educational use, and not intended to substitute professional medical advice, diagnosis, or treatment and should not be used as such.