Shortcuts for easy, everyday contour
Written by: 100% PURE ®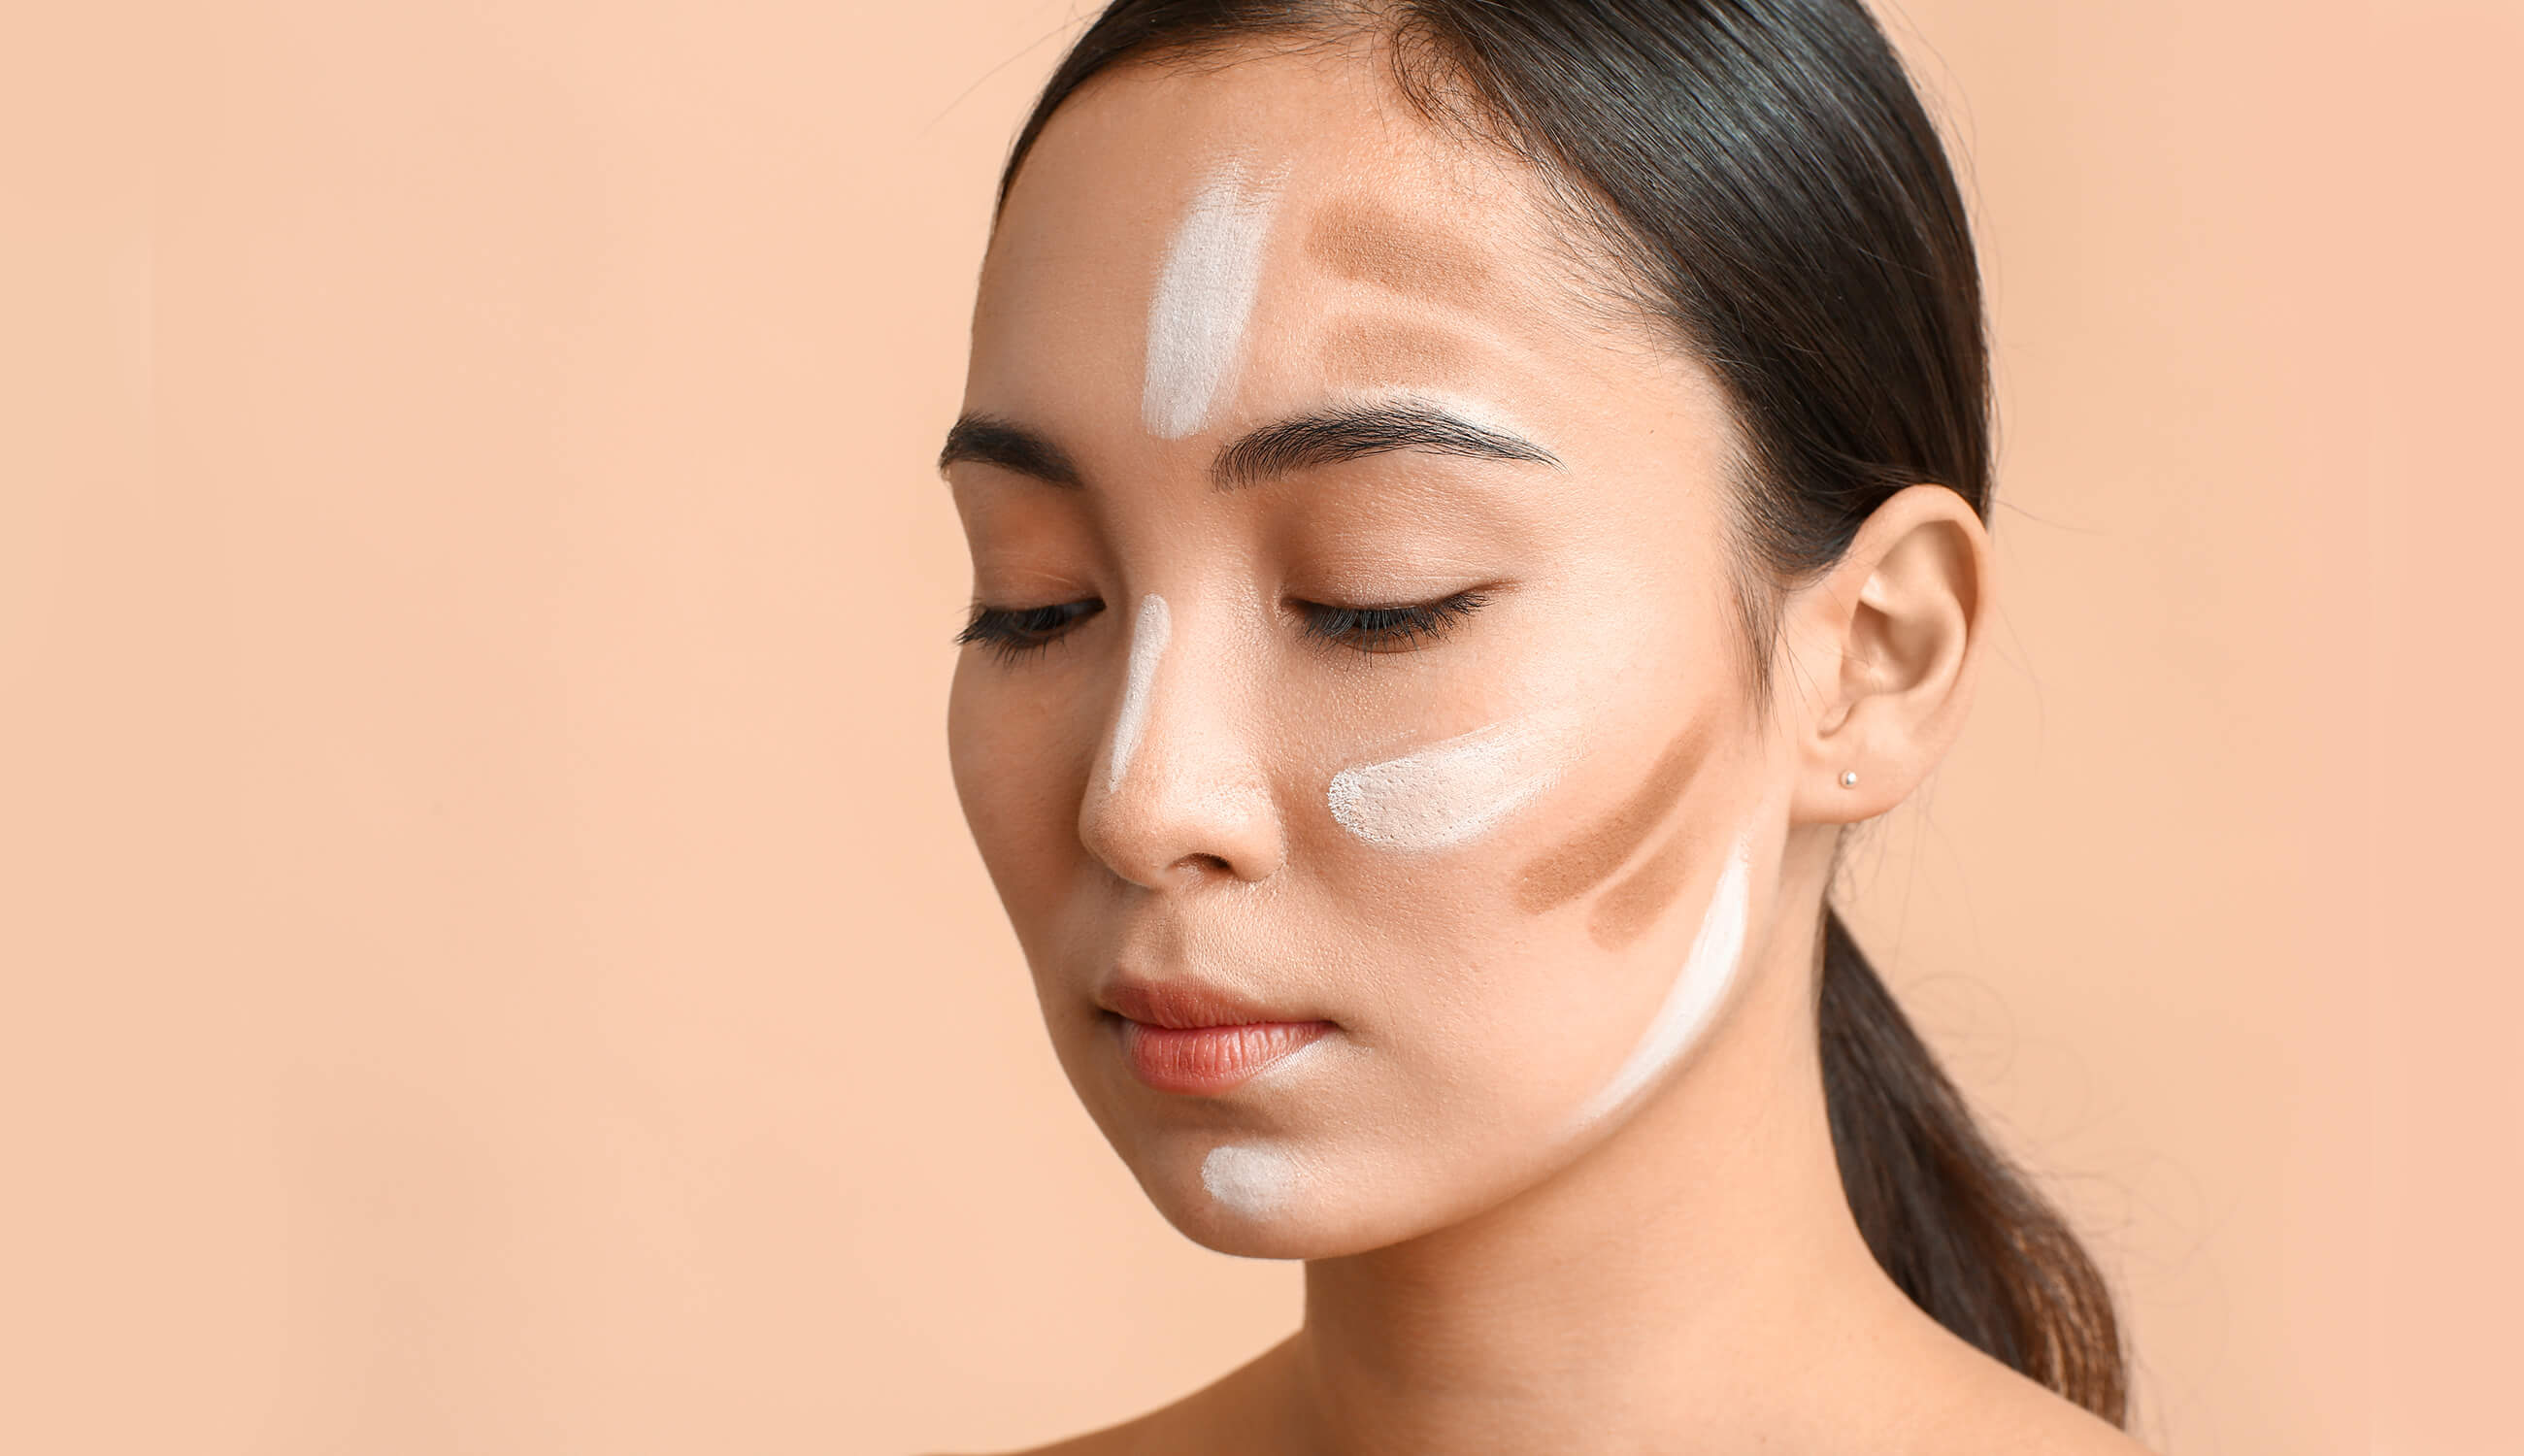
Contouring likely never crossed your mind until a certain celebrity sisterhood made the makeup trend go big. But since they popularized the look, slimming your face and enhancing your cheekbones has been as popular as shaping brows.
While the notion of contouring might seem time consuming, it doesn’t have to be with the right tips. We’re shining a highlight on how to contour in less than a minute, and shortcuts you can take to achieve a more sculpted complexion.
Unless you have a makeup artist at your side – or hours to comb through lengthy tutorials – a super-defined contoured look can be both off-putting and tough to pull off. But that doesn’t mean you can’t add a little definition with a few easy strokes!
Contouring is much more approachable when its application time gets cut in half. Anyone can do it with a few makeup tools or products! Check out these shortcuts on how to contour in a minute or less.
Start with prepped skin
Let’s face it: makeup goes more beautifully onto cleansed skin. Prep and prime using your normal skin care routine, before laying the foundation for your contour work.
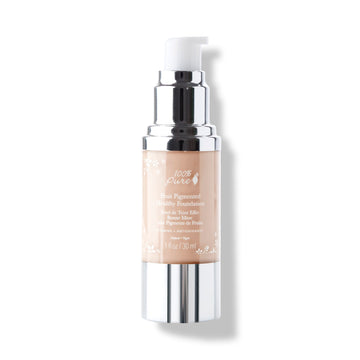
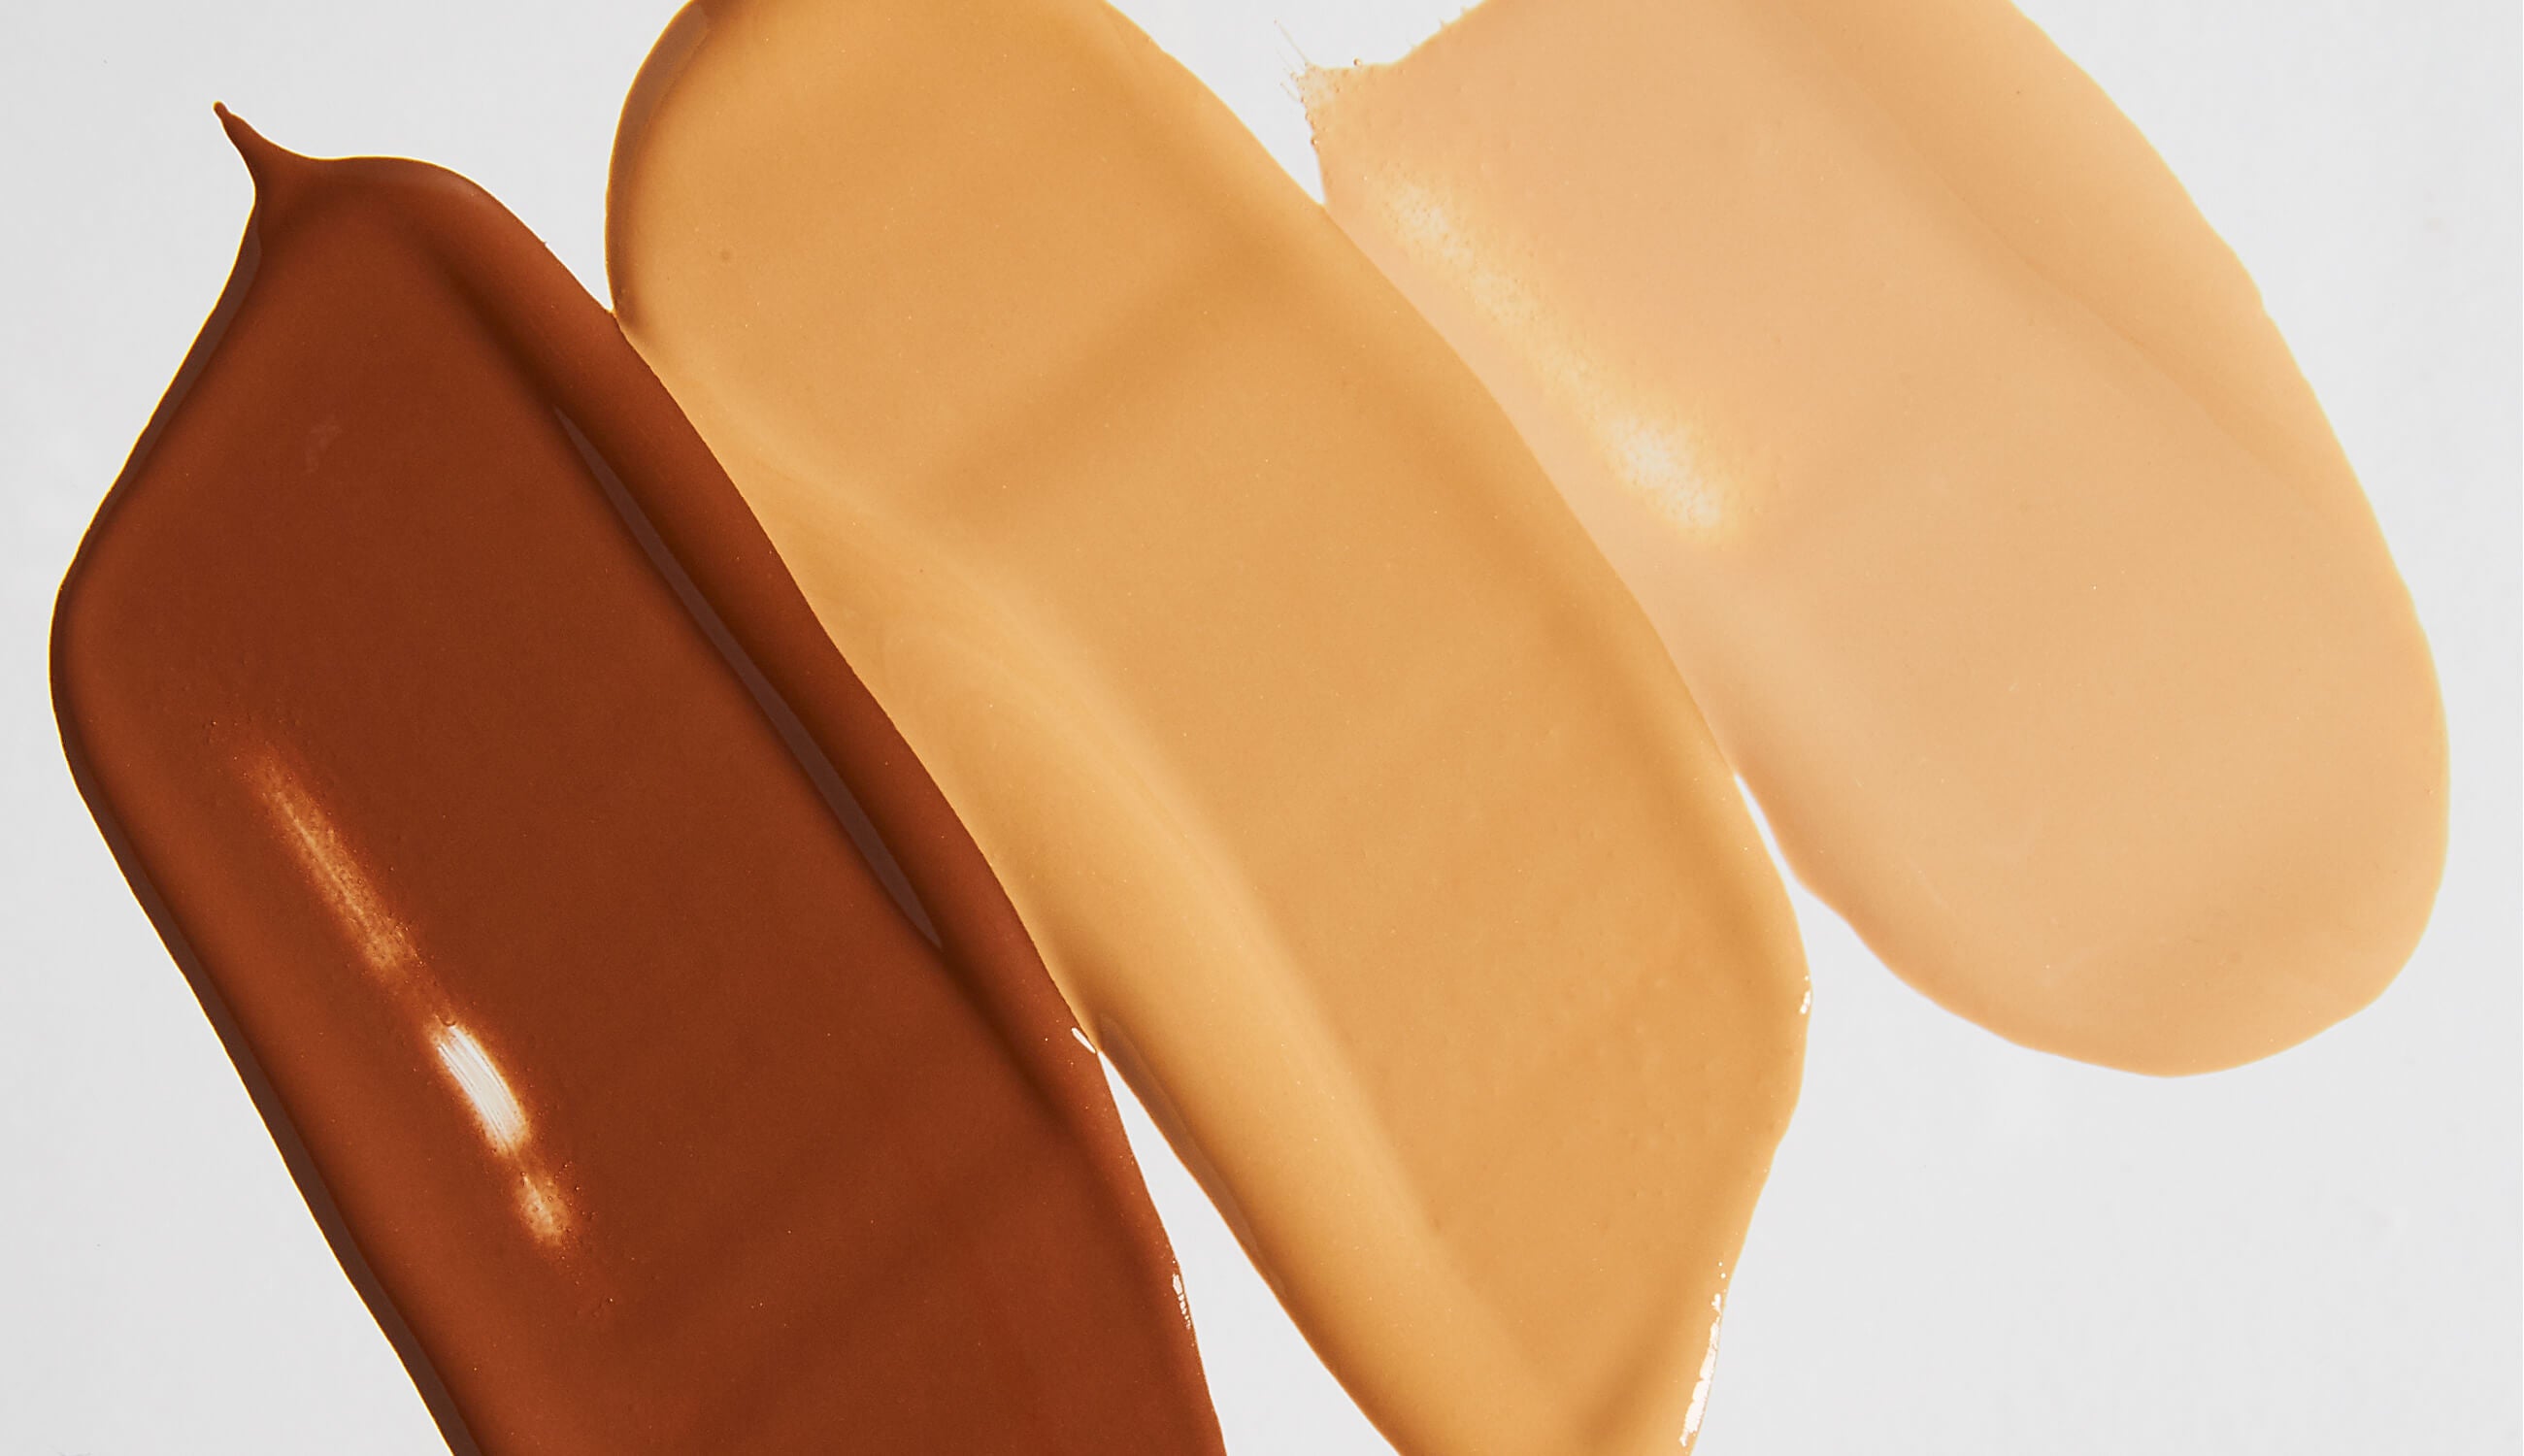
Using a foundation that will dry to a silky matte finish will help with faster blending of contour and highlights. Our full-coverage Fruit Pigmented® Healthy Foundation is perfect at providing a velvet finish, and is packed with antioxidants, vitamins, and other skin-nourishing nutrients. It’s great for all skin types, too!
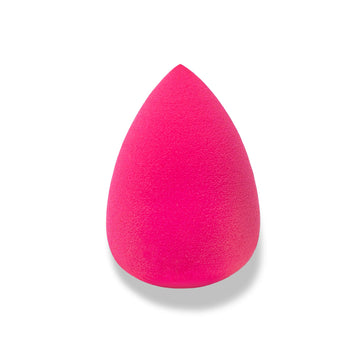
PRO-TIP: Use a kabuki brush or makeup blender to buff and blend this lightweight foundation into skin, starting at the center of the face and working outwards.
Tip #1: Use a bigger brush
If there’s one thing in our makeup arsenals we can’t ever have too many of, it’s brushes! Powder, stippling, kabuki, blush, brow – and that’s just the tip of the brush! While it’s important to have a variety of quality brushes, it’s even more crucial to have the right one for flawless application.
For achieving a professional blend and a perfectly contoured face, use a bigger/wider brush rather than a skinny brush tip. It’s tempting to have a smaller brush for more precision, but we’re looking for time-saving tips. A larger shape fits perfectly into the angles and hollows of your cheeks, and yet is soft enough to blend out contour for a natural look.
PRO-TIP: Use a skinny brush tip and a highlighter if you’re wanting to contour your nose to make it appear slimmer, or add a pop of shimmer onto your eyelids or inner creases of your eyes.
Tip #2: For definition, try highlighting alone
Who says you need to contour to achieve a sculpted look? Contouring is great for enhancing and sculpting the structure of the face, but it’s not the only trick up our makeup sleeve. If you’re looking for quick definition, highlighting will do just the trick.
Find the areas on your face you want to accentuate – the tops of your cheekbones, brow bones, cupid's bow, bridge of your nose, and chin – to create the illusion of dimension and definition. Our Gemmed Luminizers are perfect for glorious shimmer and sparkle from real gemstones, while being ultra-nourishing for your skin.
Tip #3: Go matte products for faster blending
The goal of contouring is to give yourself realistic-looking depth and dimension. It will be harder to create contours or shadows if you’re using shimmer, or products that are difficult to blend. To enhance the angles of your face, use matte products for faster blending.
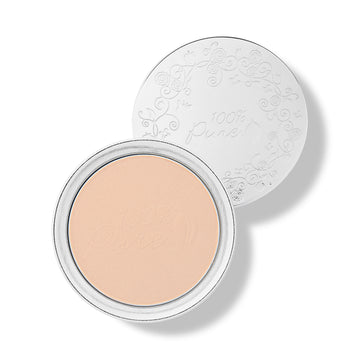
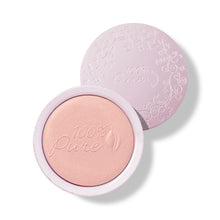
Contouring with matte products also takes less perfecting than using creams or liquids. A perfect matte base to build upon your contours is our Powder Foundation, which is infused with mattifying rice powder to absorb oil and shine. All you’ll need is a minute to apply this powder and another for contours and you’ll be on your way to a natural looking chisel.
Tip #4: Step under an overhead light
Ready for a game of not hiding but seeking... for shadows? If you’re not too sure about placement for your contour, look at yourself under a bright overhead light. Wherever those shadows fall on your face, that’s where you should place your contour.
Using an angled brush, buff contour that’s two shades darker than your skin tone to the area inside the hollow of your cheeks using swift back and forth motions. Blend well – and voila!
Tip #5: Suck in your cheeks
To cheat your way to chiseled cheekbones, simply suck in your cheeks and purse your lips to see the underline of your cheekbone. It’s okay to make a kissy face at yourself! Choose a contour that’s darker than your skin to create depth and dimension.
Next, working from the tops of the hollows of your cheeks, shade along (and just beneath) the sunken area. Stop about an inch from the corner of your mouth. Be sure to blend well so you don’t end up with a racing stripe down your face.
Tip #6: Use creams or foundations for highlighting
Highlighting is essentially bringing light to the high points of the face. Another easy and great way to highlight your face sans highlighter is to use a luminating cream, or lighter shade of your go-to foundation.
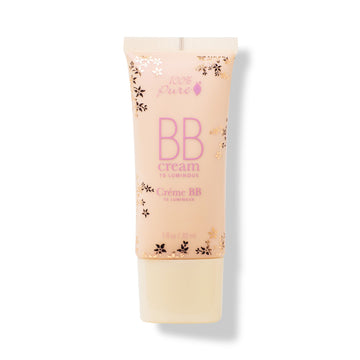
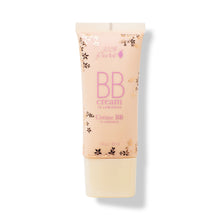
Our BB Creams are infused with light-reflective mineral pigments that when applied to the areas you want to highlight will accentuate them with a soft, incandescent glow. Another way you can shortcut using a highlighter is by using a foundation with a satin finish. Just make sure it’s 1-2 shades lighter than you would normally wear!
Hopefully with these surefire shortcuts on how to contour, you’ll feel less intimidated about the notion of contouring – and more excited to try the famed chisel look for yourself. And just think: in a minute or less you’ve created easy chiseled perfection!
We carefully hand-select products based on strict purity standards, and only recommend products we feel meet this criteria. 100% PURE™ may earn a small commission for products purchased through affiliate links.
The information in this article is for educational use, and not intended to substitute professional medical advice, diagnosis, or treatment and should not be used as such.