A detailed step-by-step guide for a DIY manicure and pedicure, from nail care to nail design inspo!
Updated on September 21, 2018 Written by: 100% PURE®
Many of us love a trip to the salon to freshen up our tips and toes. Sometimes, though, it’s not necessary to shell out cash, or even leave your house for that super spa feeling. A great way to spend an evening at home pampering yourself is doing a DIY manicure and pedicure session! We’ll help to provide you with the steps, tips and tricks for the perfect at-home spa experience.
Manicure and Pedicure 101
Manicures are a beauty treatment that often consists of fingernail shaping, trimming, painting, and cleaning. There are also treatments that can help the nails stay healthy and strong, and of course they help to make your hands look beautiful! Manicures also include physical health benefits through hand massage, which increases blood flow and circulation in the hands. And most importantly, treatments that are done without the use of harsh chemicals will protect the nails from becoming weak and brittle.
Pedicures are pretty much the same thing as manicures, except on your feet. The same rules apply here where the massage helps to increase circulation, and at the end of the pedicure routine, all you’ll want to do is wear your sandals because your toes will look so cute!
Which Nail Polish Should I Use for a Manicure and Pedicure?
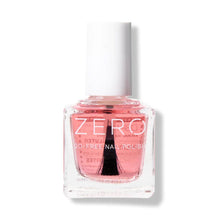
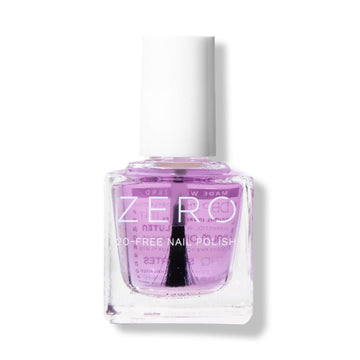
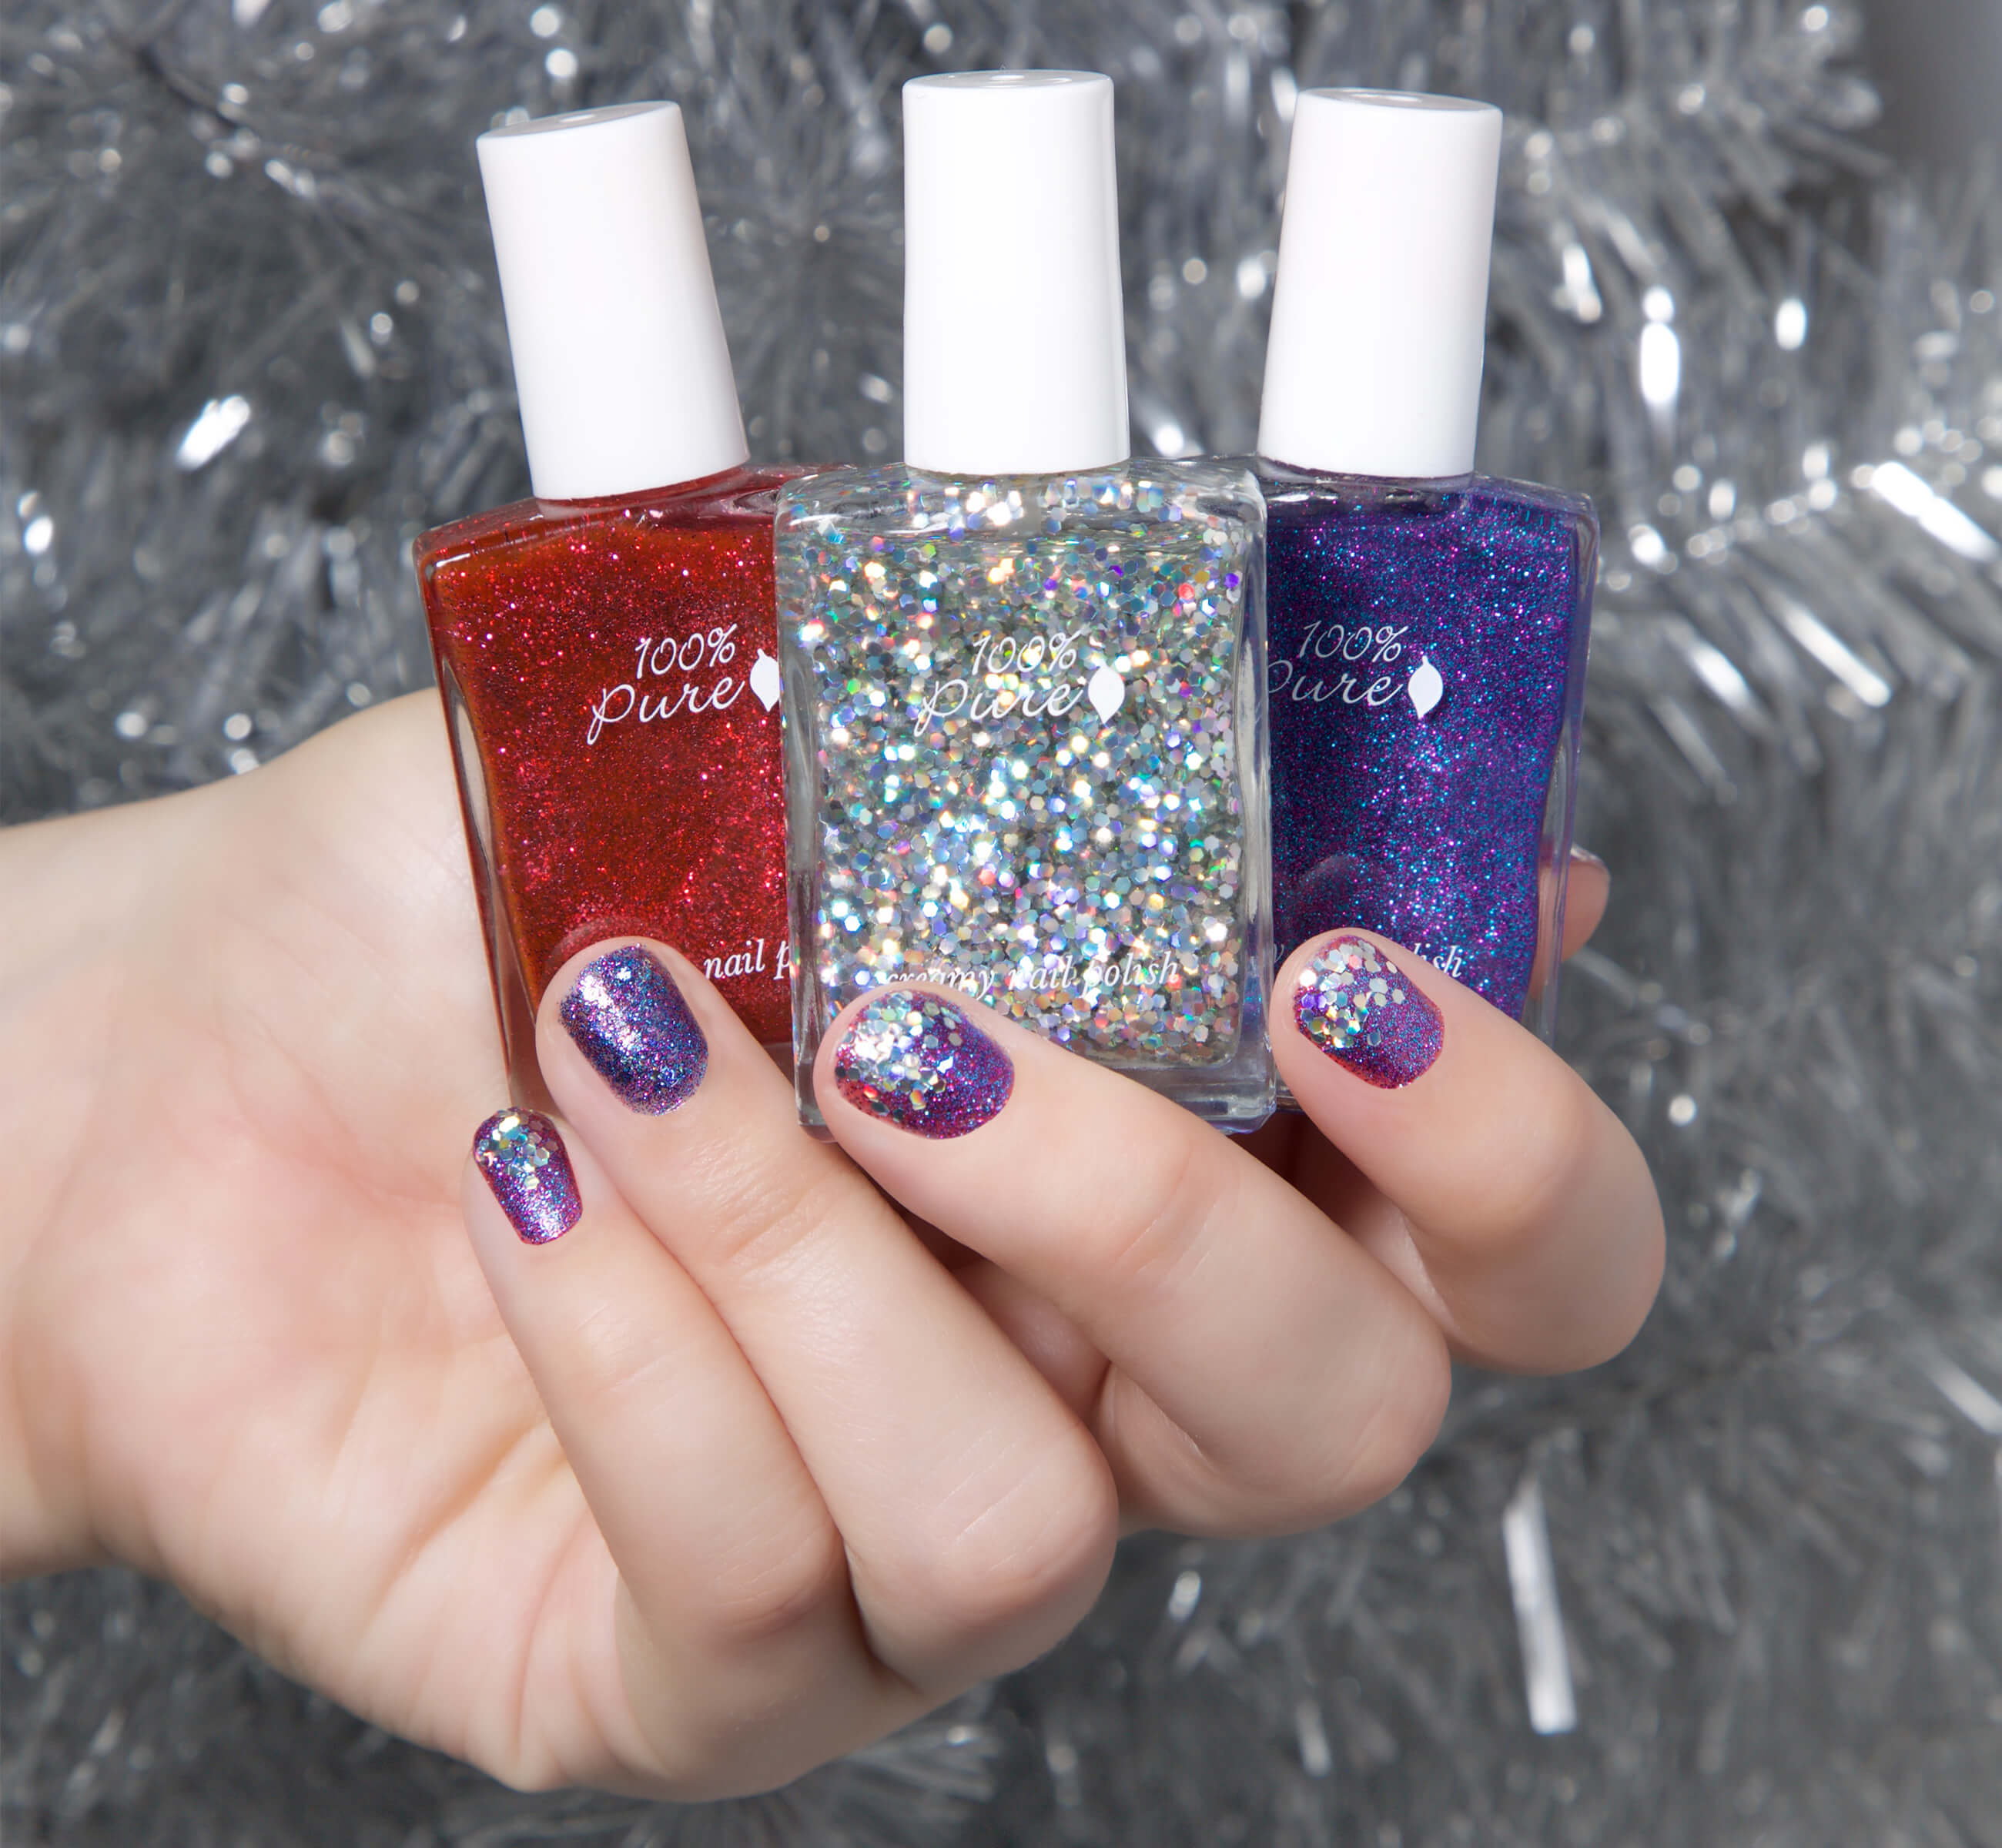
Our 10-Free Nail Polish is completely free of the top 10 toxic ingredients found in most conventional nail polishes. No formaldehyde, toluene, DBP, camphor, formaldehyde resin, xylene, parabens, fragrances, phthalates or animal ingredients - all of which can cause brittle nails, irritated skin, and other unwanted side effects. They’re cruelty-free, too!
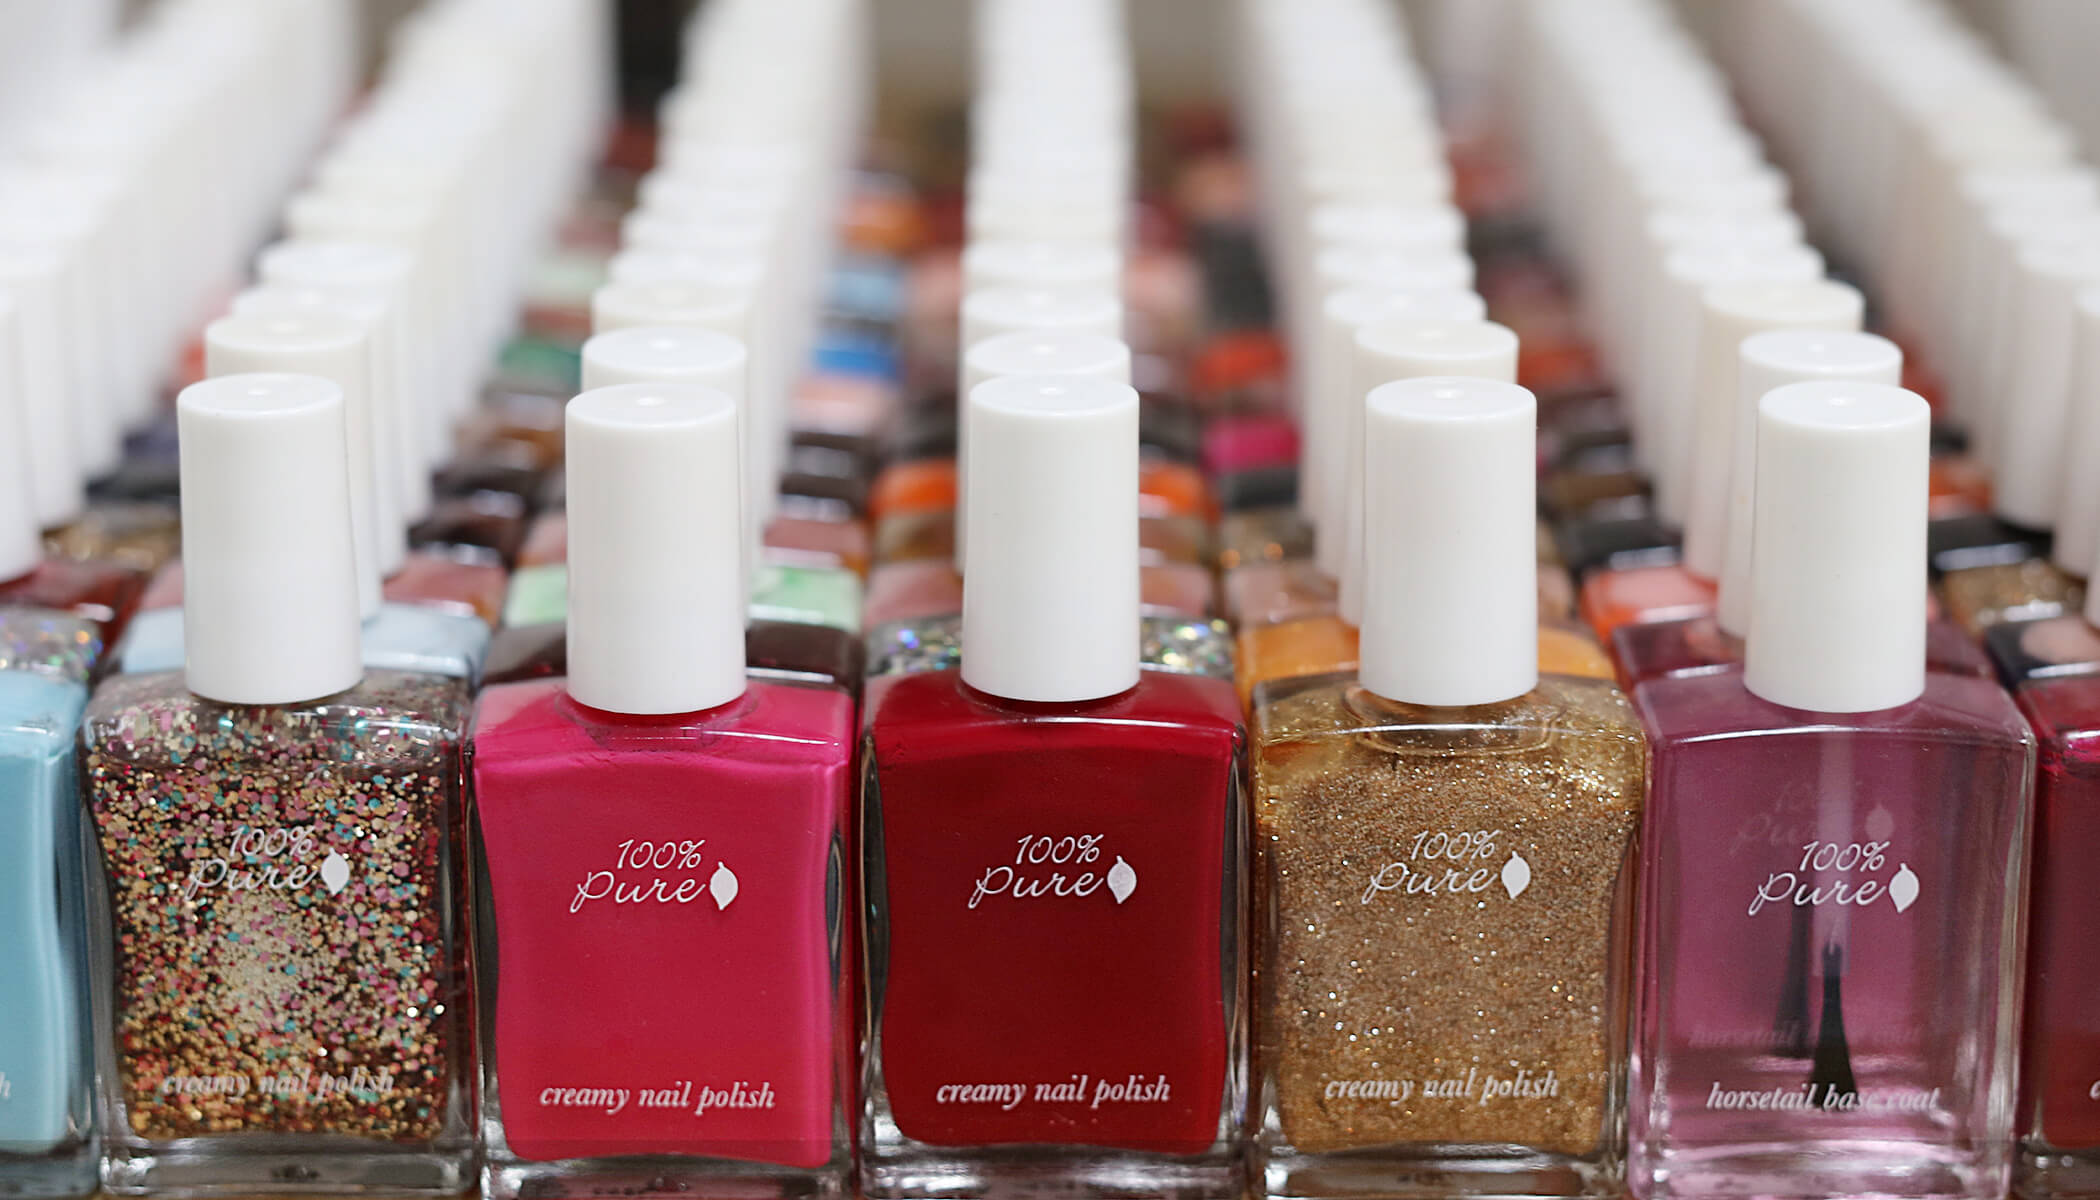
Our Horsetail Base Coat Polish formula is 10 free and can be used as a base or alone for strengthening treatment. This base coat promotes nail growth, conditions, and helps normalize the natural nail plate. Horsetail, which is a healing herb, is rich in nutrients and high in silica to promote strong, healthy nails. If you decide to use it as a strengthener, use 2-3 times per week. Remove and refresh original application.
Our Glass Top Coat Polish has a high glossy finish. It also creates an external barrier against environmental elements, keeping your new manicure and pedicure prim and flawless! It’s a transparent color enhancer, and helps to provide reinforcement and protect nails.
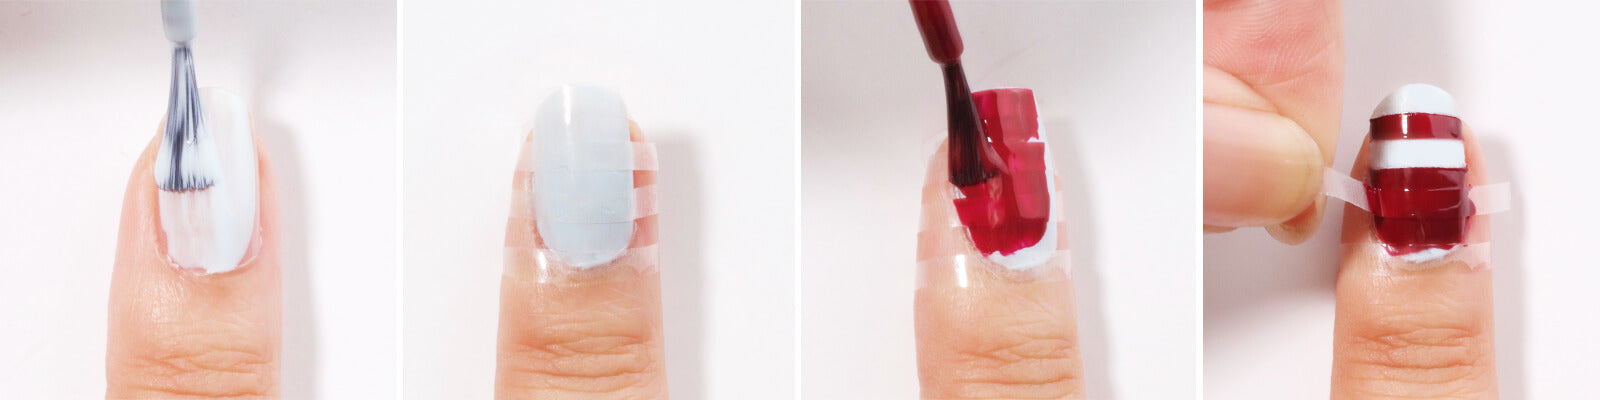
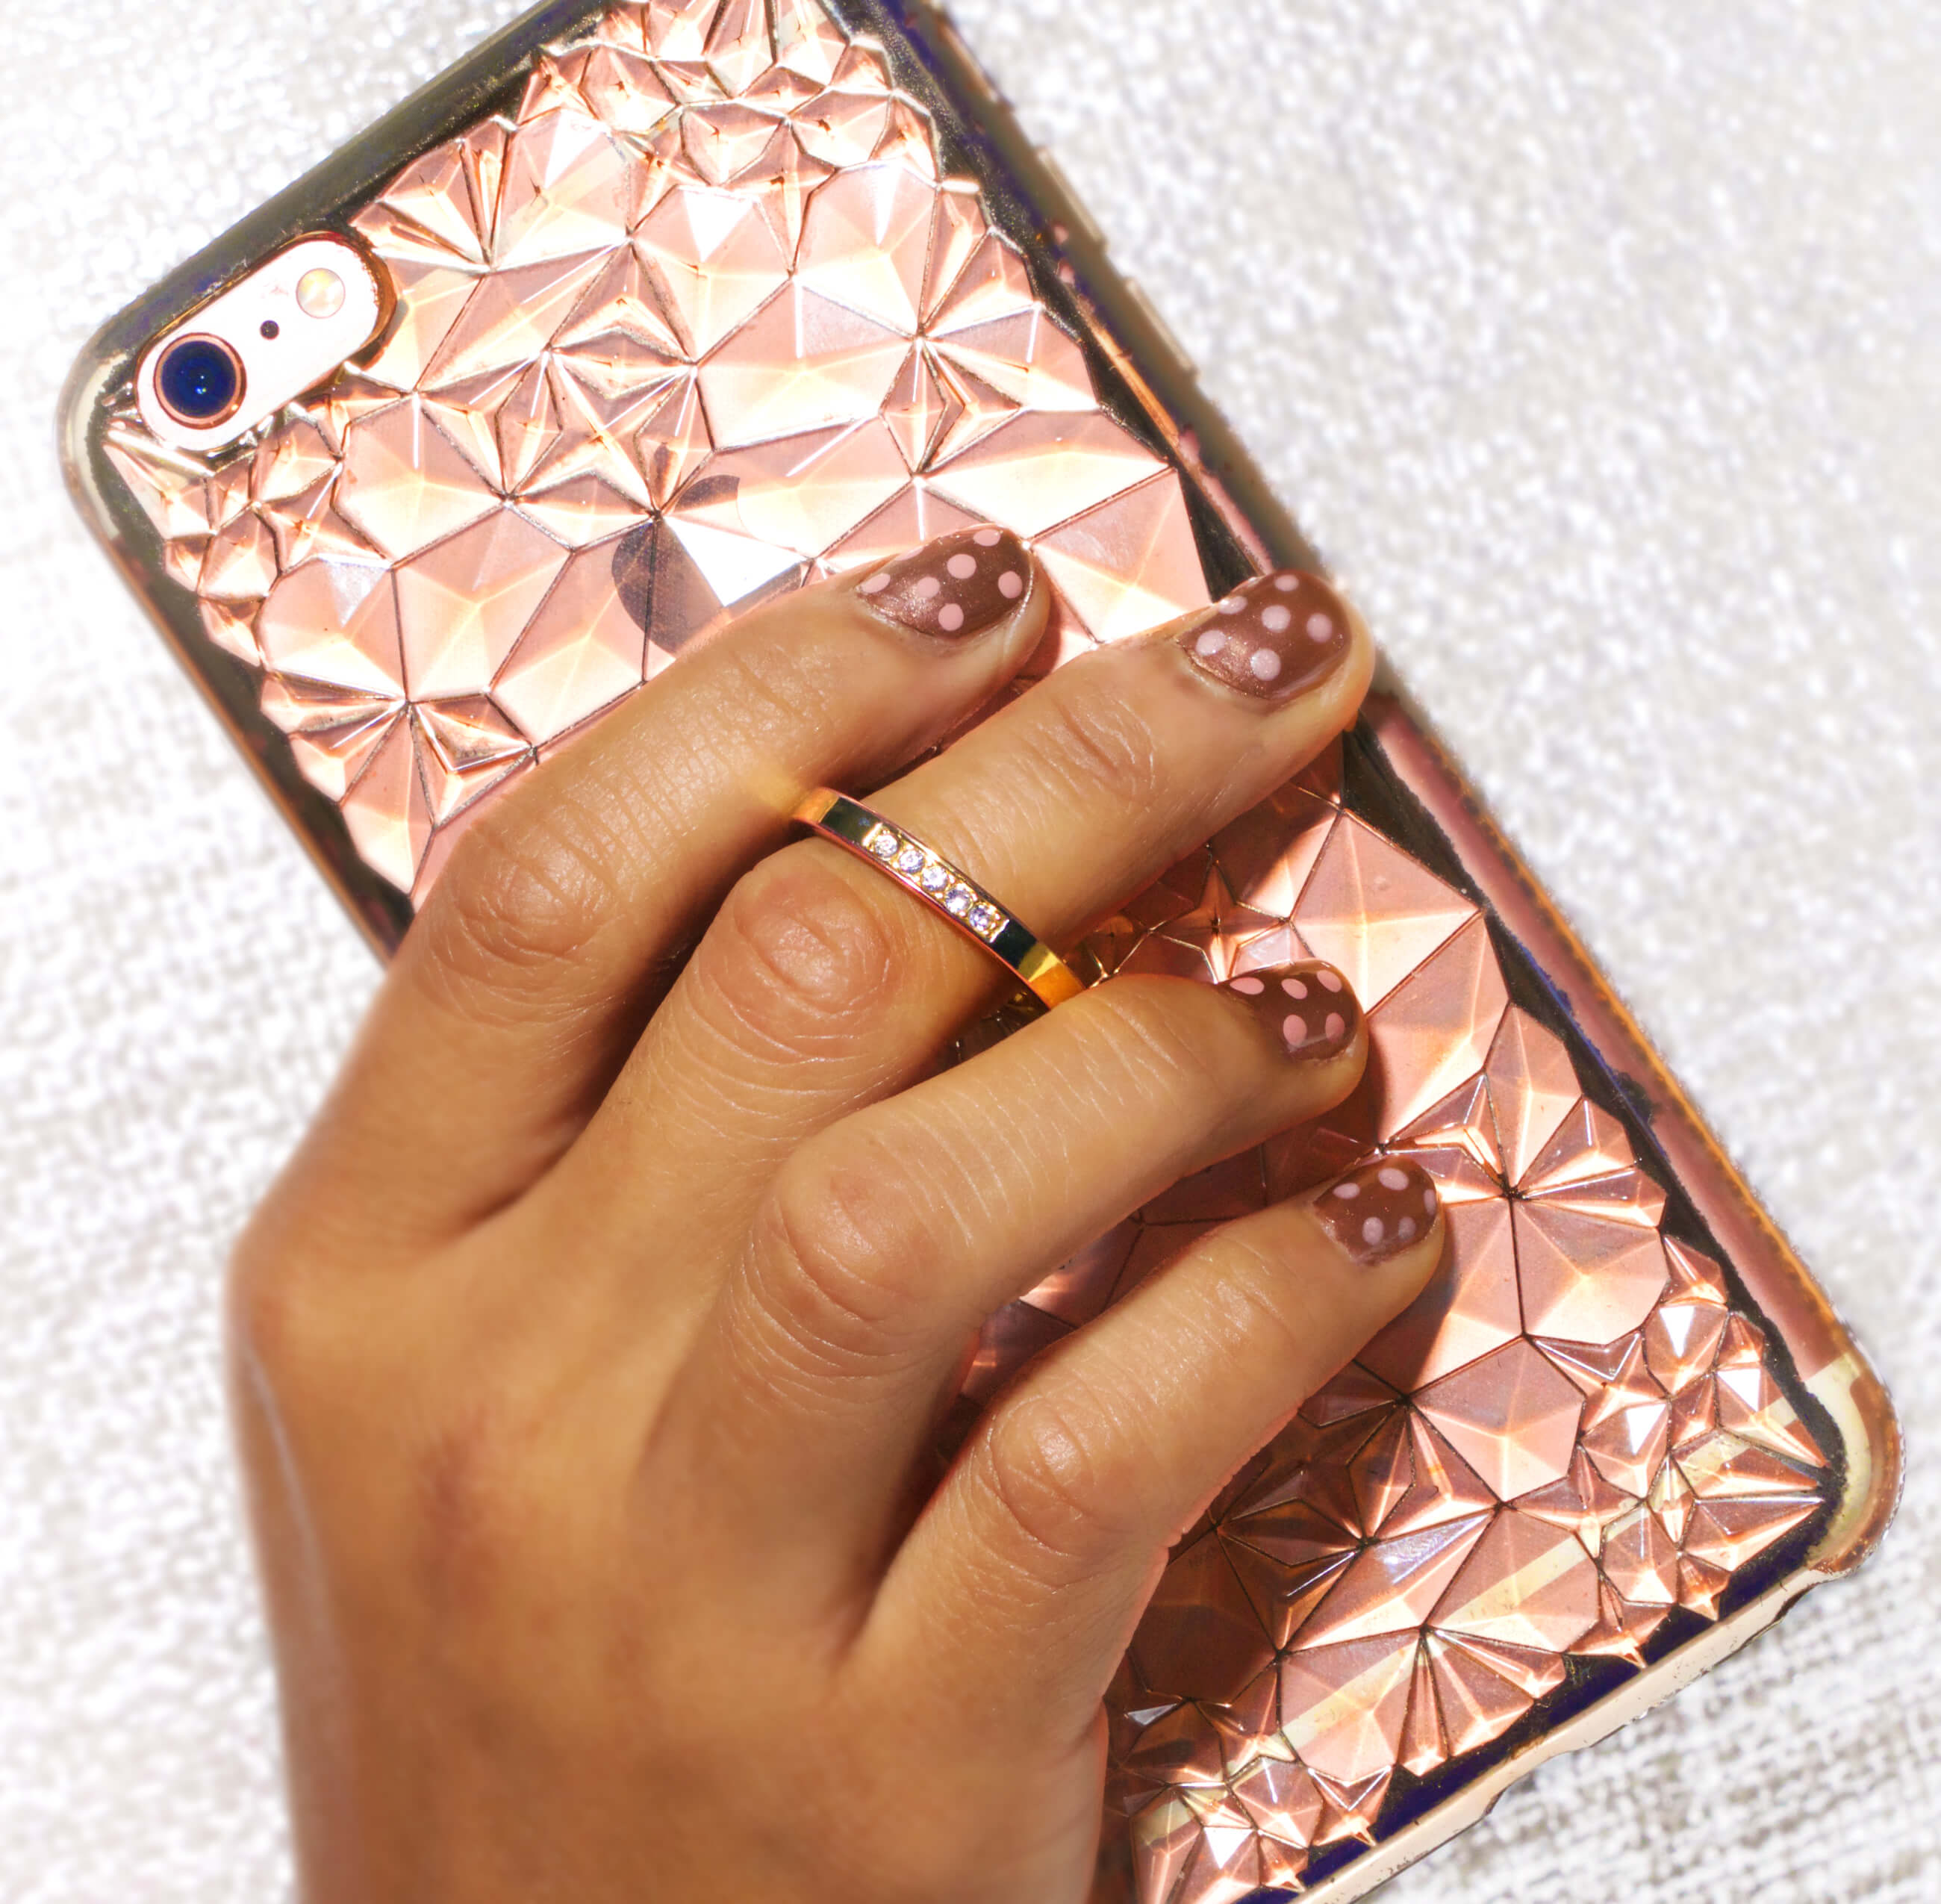
EASY NAIL DESIGNS: Nude Nails, Summer Nails, Saint Patrick's Day Nails, 4th of July Nail Art
Steps for a Manicure and Pedicure at Home
Manicure:
-
If you have any previous polish on your nails, use a natural nail polish remover to give yourself a blank canvas.
-
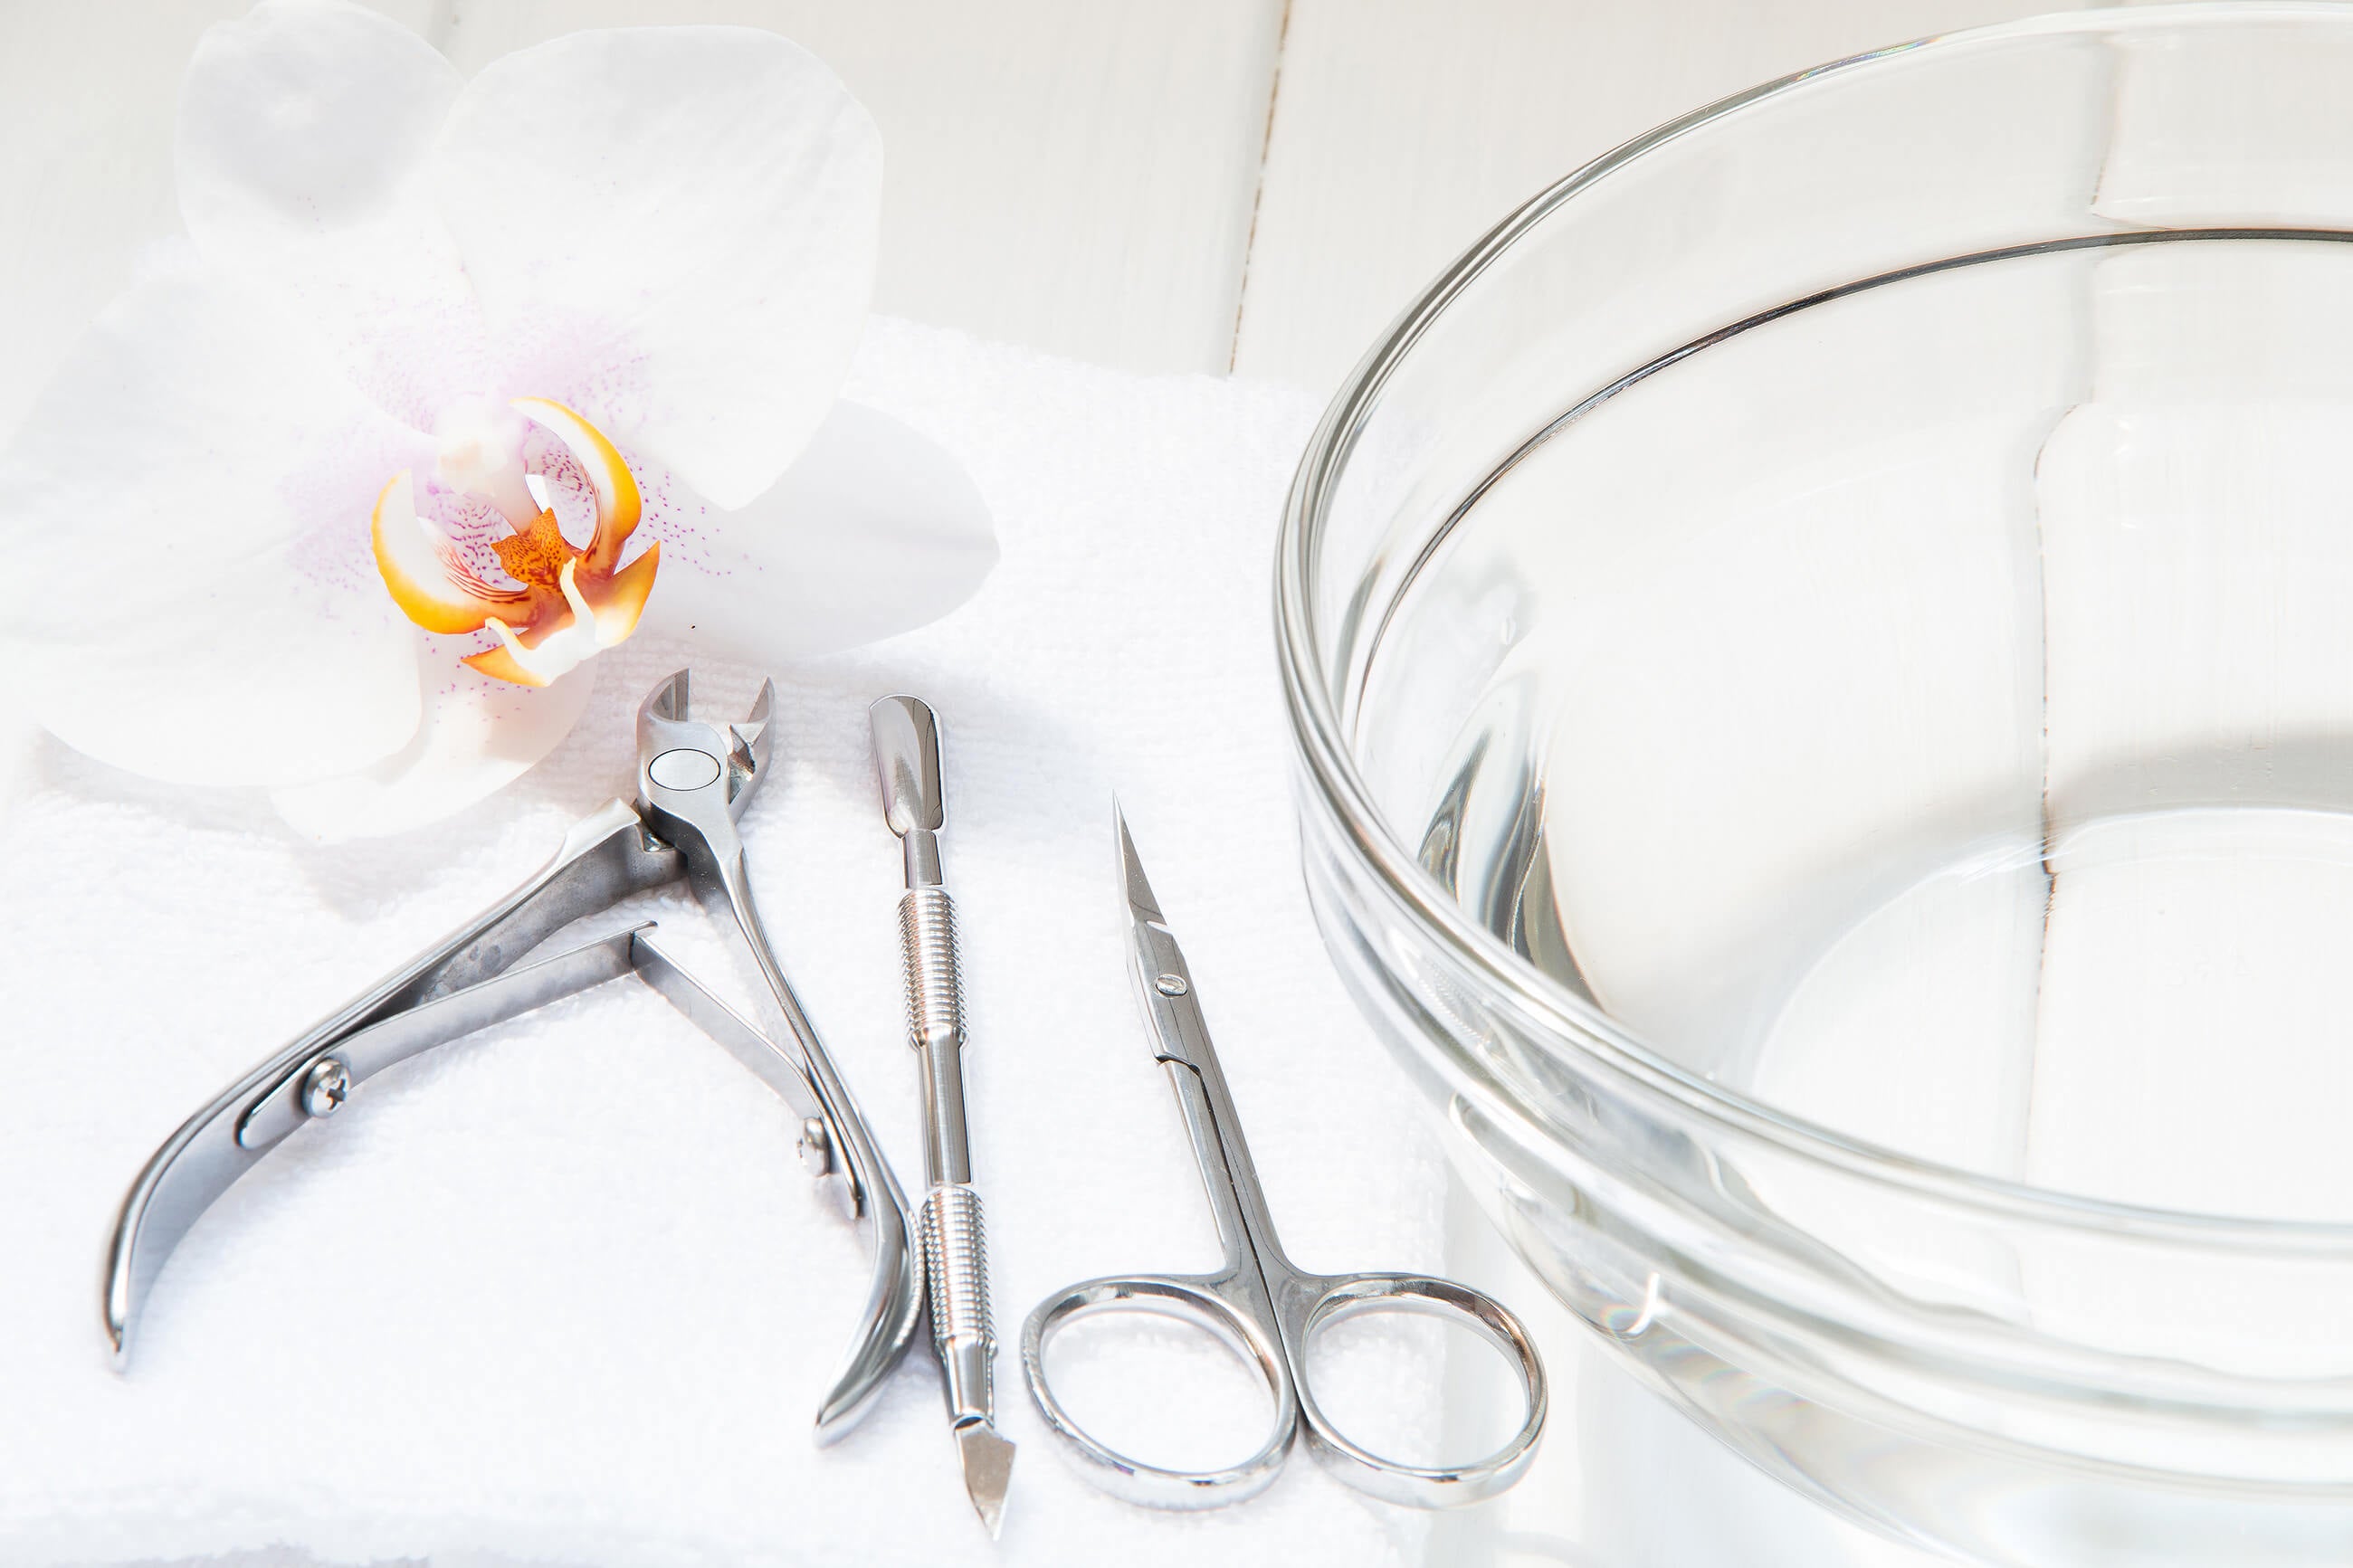
Start off your pamper session by soaking your hands in a bowl of warm water. This will help to soften the cuticles. Use a nail brush to clean under and around your nails and nail beds. Exfoliate cuticle area with a scrub; we opt for a sugar scrub with a refreshing essential oil like lavender!
-
Next, push back cuticles gently with a cuticle pusher. Alternatively, a soft wash cloth can do the trick. It’s best not to cut the cuticles because they help to protect the nails from bacteria and infections.
-
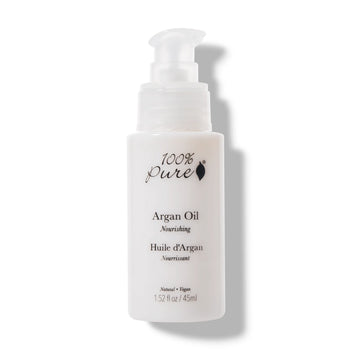
To keep cuticles healthy, apply Argan Oil or coconut oil to each cuticle and massage into the skin. This is something that you can do daily to help protect your cuticles and prevent nasty hangnails.
-
Trim nails to your desired length and shape.
-
Next file your nails, but make sure not to file back and forth. This can actually cause the nails to weaken, splinter, or snag. Instead, file from one side to the center and then file from the other side to the center.
-
Apply your favorite Hand Butter Cream and thoroughly massage your hands and forearms. Get that circulation moving! Do this step now rather than at the end of your manicure and pedicure, so you don’t risk ruining your paint job.
-
Prep for painting by removing any lotion or oil residue on your nails. If you skip this step, your polish will have a hard time adhering to your nails.You can do this by using a little witch hazel on a cotton swab, and wiping nails done one by one.
-
Base coat: start with one thin layer of our Horsetail Base Coat Polish to foundation of your manicure.
-
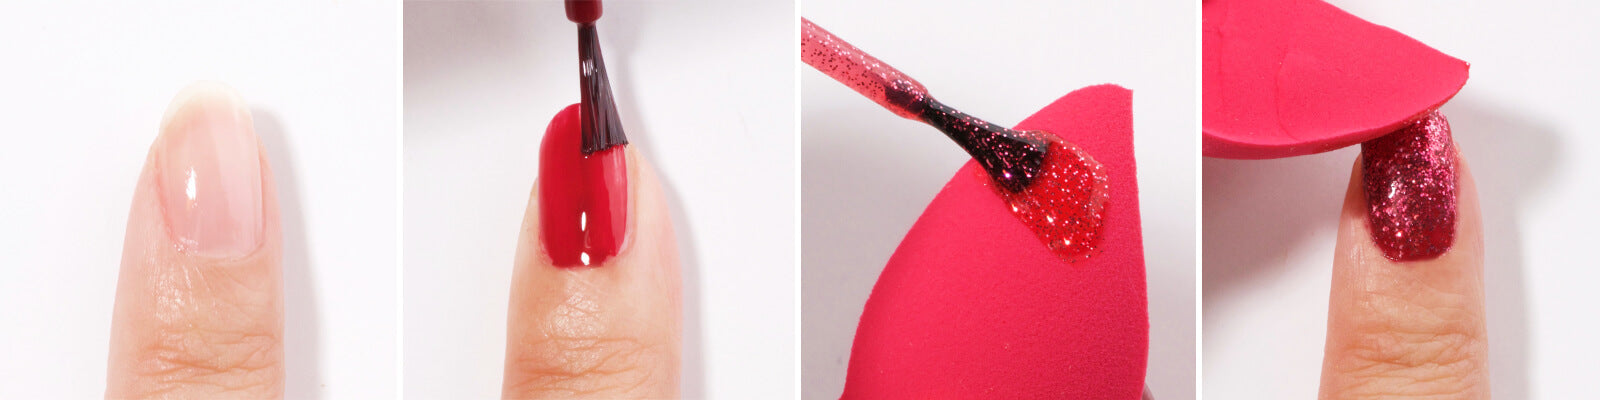
Select your favorite 10-Free Nail Polish and paint your nails! Start with the brush at the center of the nail, and then paint down each side toward the tips. Next apply a second thin coat; two coats is the usual go-to for the best opacity and longevity of the polish. Multiple thin layers is the key to success! If you blob on one or two thick layers It will slow drying time, and make your nails prone to dings and smudging.
-
To keep your manicure lasting long and looking shiny, apply our Glass Top Coat Polish and allow to dry for 15 minutes.
Pedicure:
-
Find yourself a large basin that you can fit your tootsies into. Fill it with warm water, and some detox bath soaks. This is a wonderful way to relax your feet, stimulate circulation, and give them a nice, soothing soak.
-
Scrub from your toes to your calves with a bath sponge or soft bristled brush to give them a good exfoliation. If you happen to own a pumice stone, you can exfoliate the rougher areas of your feet. Make sure you are gentle with it though. It shouldn’t be painful. Scrub your toes with a nail brush to get your nails squeaky clean.
-
Next, push back cuticles just as you do with a manicure. Like we mentioned before, it’s best not to trim the cuticles to avoid infection. Apply coconut or Argan Oil here too, to keep the areas around the toes moisturized.
-
Trim nails to your desired length. Be careful not to trim them too short as this can cause painful ingrown nails.
-
Next, file your toenails from one side to the center and then file from the other side to the center.
-
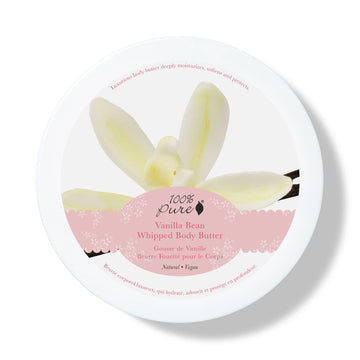
Apply your favorite Whipped Body Butter to your feet to get them feeling baby soft. Then make sure to remove any residue from nails before painting.
-
Keeping your toes separated will help to make the paint job easier. You can weave cotton or tissue between your toes, or you can purchase nifty toe separators made from foam!
-
Apply the Horsetail Base Coat Polish followed by your favorite 10-Free Nail Polish, then finish off with our Glass Top Coat Polish. Let your nails dry a few minutes between coat applications. After the top coat is applied, allow nails to dry for about 15 minutes before walking around.
Extra Tips for a Perfect Manicure and Pedicure
-
Always use a base coat and top coat. If you want to walk away with a salon quality manicure and pedicure done at home, you’ll need to stick to these crucial steps to properly protect your nails from start to finish.
-
Clean your tools after your last manicure and pedicure. To avoid bacteria build up and infection, clean your tools after each use.
-
Moisturize beforehand! Moisturize with a hand lotion or body lotion beforehand so your newly painted nails can dry safely.
-
Avoid using Q-Tips to clean nail polish mistakes. Q-Tips aren’t ideal for this detailed procedure. Instead, opt for a makeup brush dipped in natural nail polish remover to touch up any smudges.
-
Roll - don’t shake! - your nail polish bottle. This will prevent bubble formation for a smoother manicure and pedicure.
-
Do your manicure and pedicure in a cool, dry environment. So your nail polish can thoroughly dry in between layers.
-
Use fresh 10-Free nail polish. If your nail polish resembles salt water taffy, it’s time to pick up a fresh bottle. Been over 12 months? Start fresh with a new 10-Free Nail Polish shade you’ve been eyeing.
There you have it! Now you’re ready to perform a DIY manicure and pedicure! You can enjoy this bit of self-pampering in the comfort of your own home, using 10-Free Nail Polish as a cleaner alternative to conventional products. Now go forth and get your polish on!
- Tags: Body, September-2018, Shopping Guides
We carefully hand-select products based on strict purity standards, and only recommend products we feel meet this criteria. 100% PURE™ may earn a small commission for products purchased through affiliate links.
The information in this article is for educational use, and not intended to substitute professional medical advice, diagnosis, or treatment and should not be used as such.