6 simple steps for creating a sultry nude smokey eye look
Written by: 100% PURE®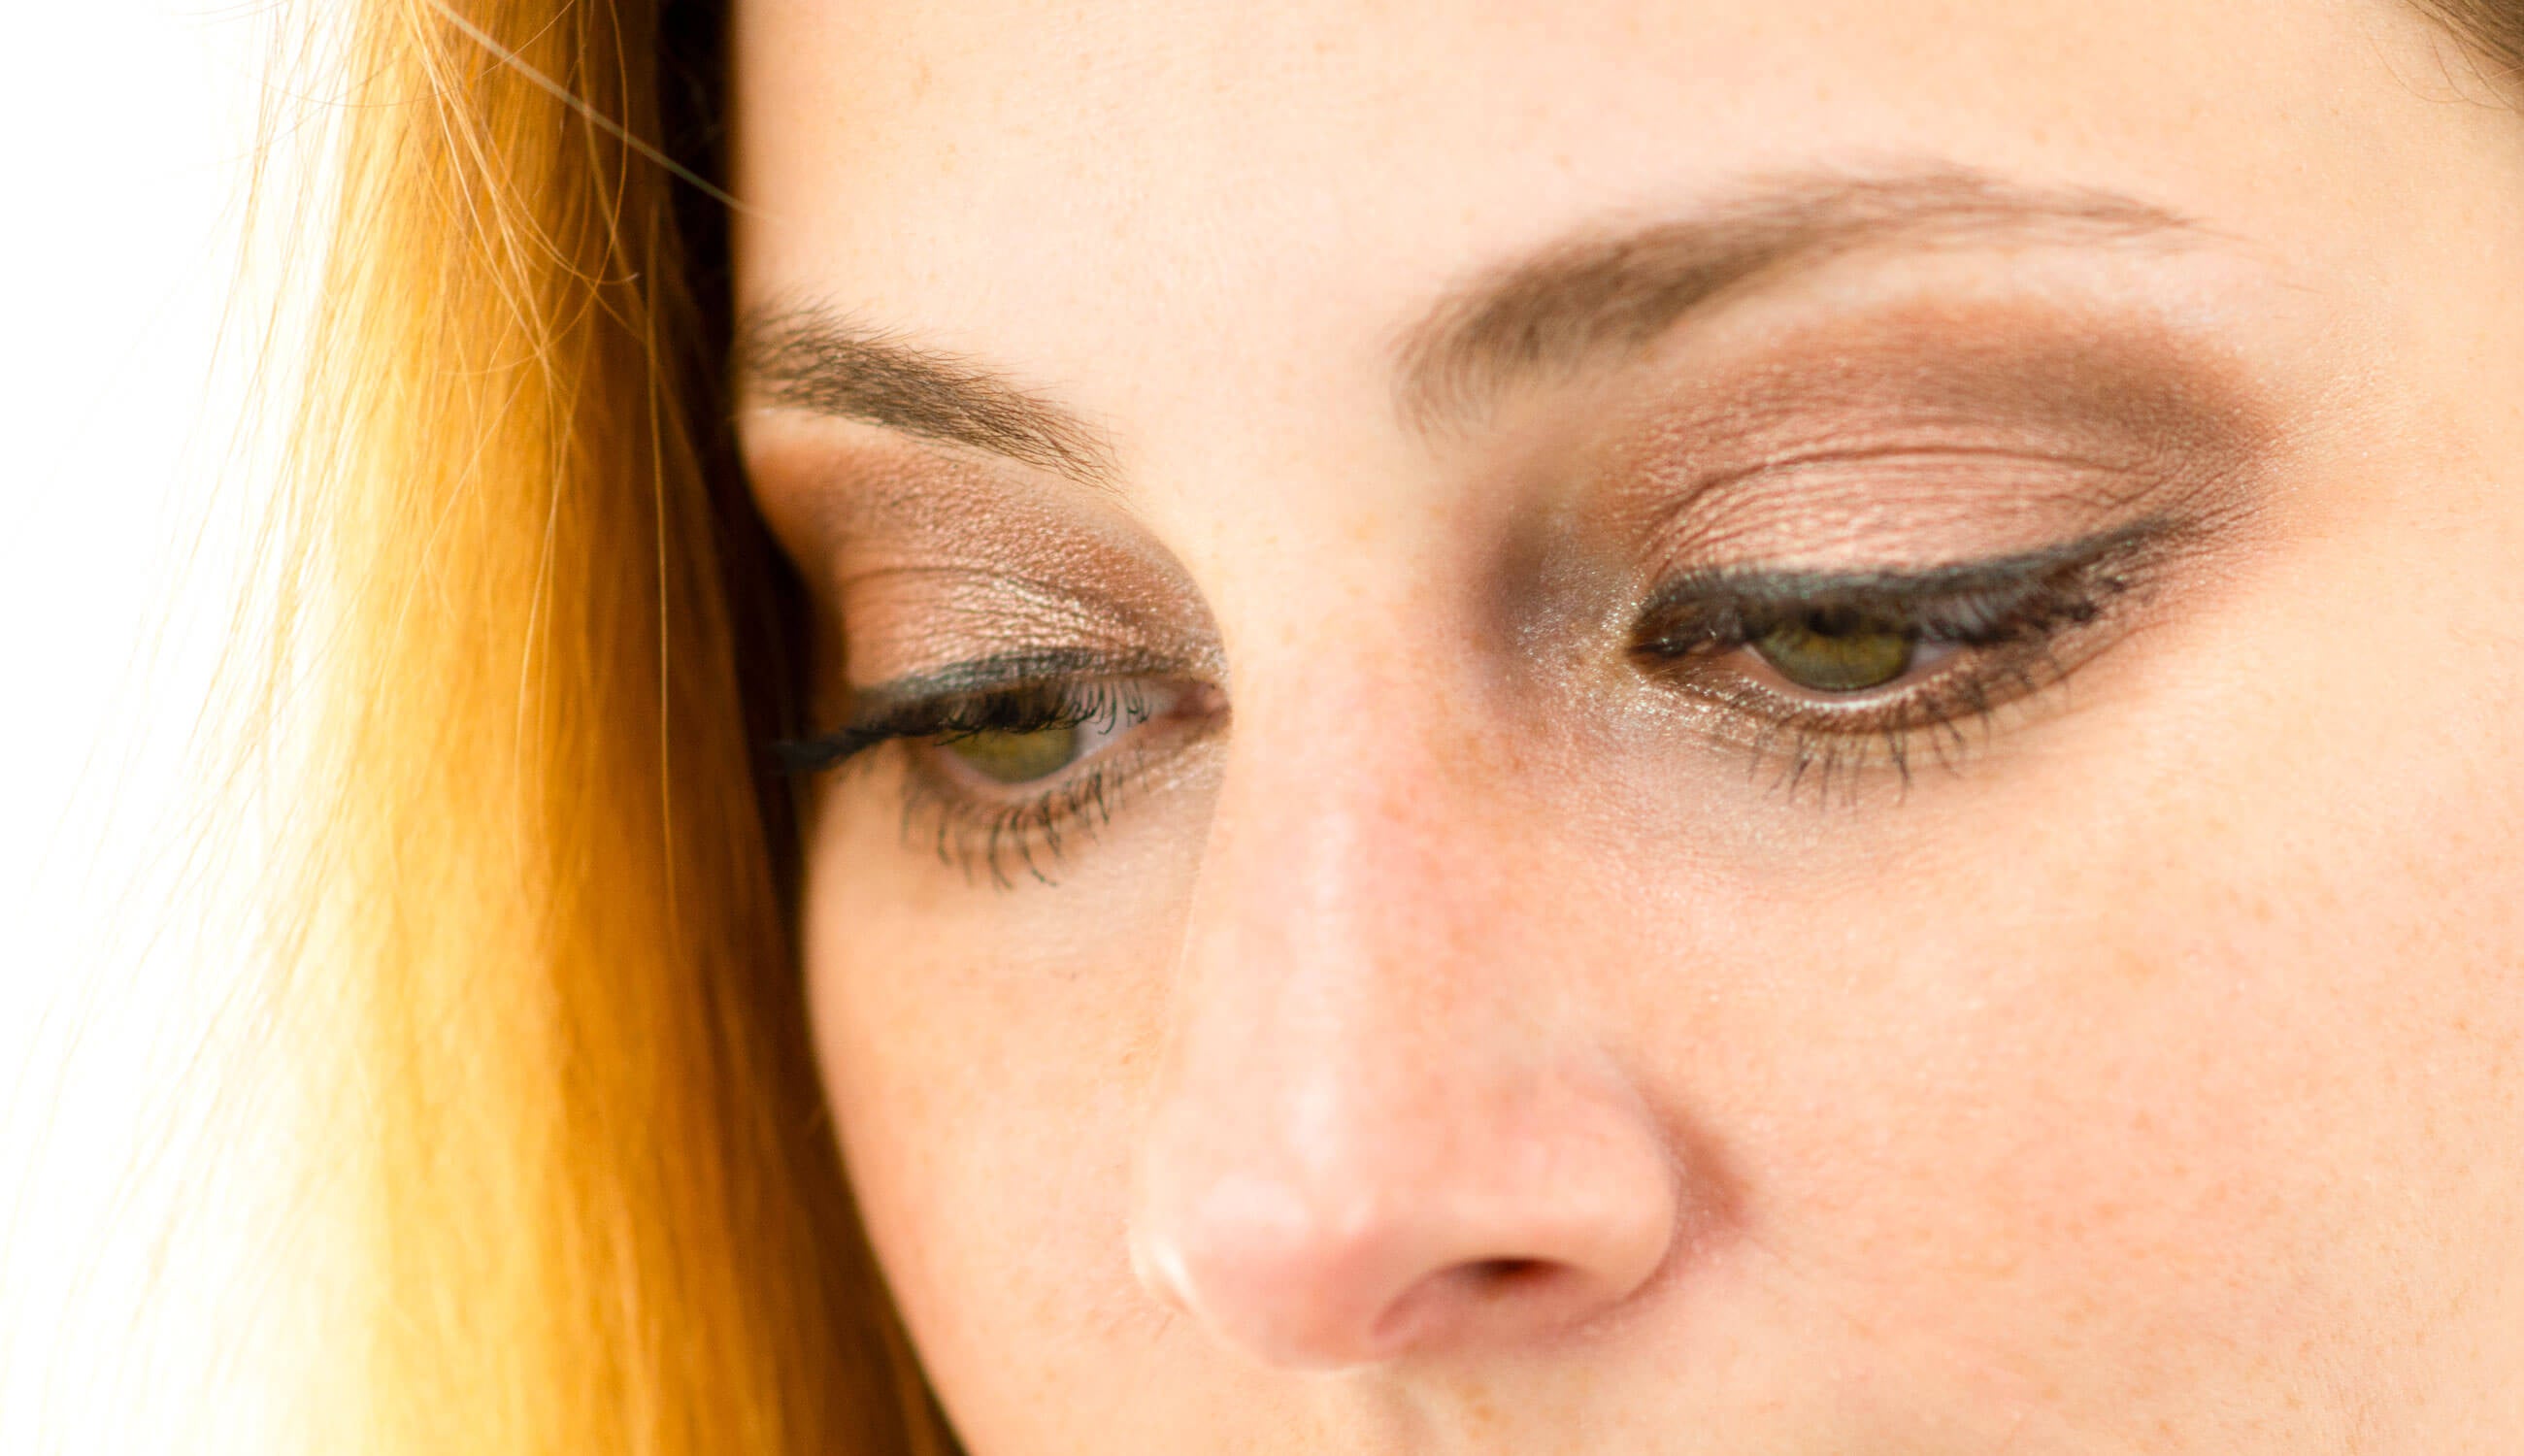
One of the most timeless - and easily the most popular - eyeshadow looks is the smokey eye. The traditional and most common execution for a smokey eye is to use literal “smoke” colors like grey and black. But why restrict yourself? After all, everything is better in the nude!
Today we’re putting a twist on the traditional smokey eye, for a look that’s a little softer but just as sultry. We’ll walk you through our simple six-step guide for creating a universally flattering, nude smokey eye with our Better Naked Palette.
What You’ll Need:
1. Makeup primer (we used silicone-free Luminous Primer)
2. Fruit Pigmented® Satin Eye Shadow: Halo
5. Cruelty Free Flat Shader Brush E30
6. Cruelty Free Crease Brush E40
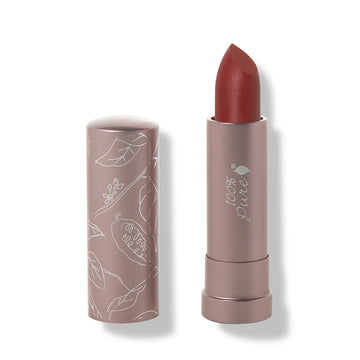
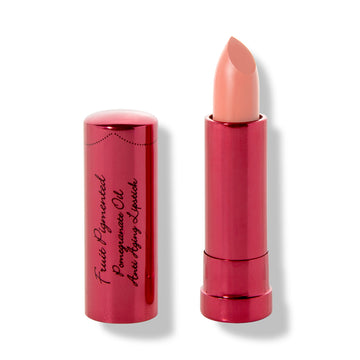
7. Your signature shade of nude lipstick
Skin Prep
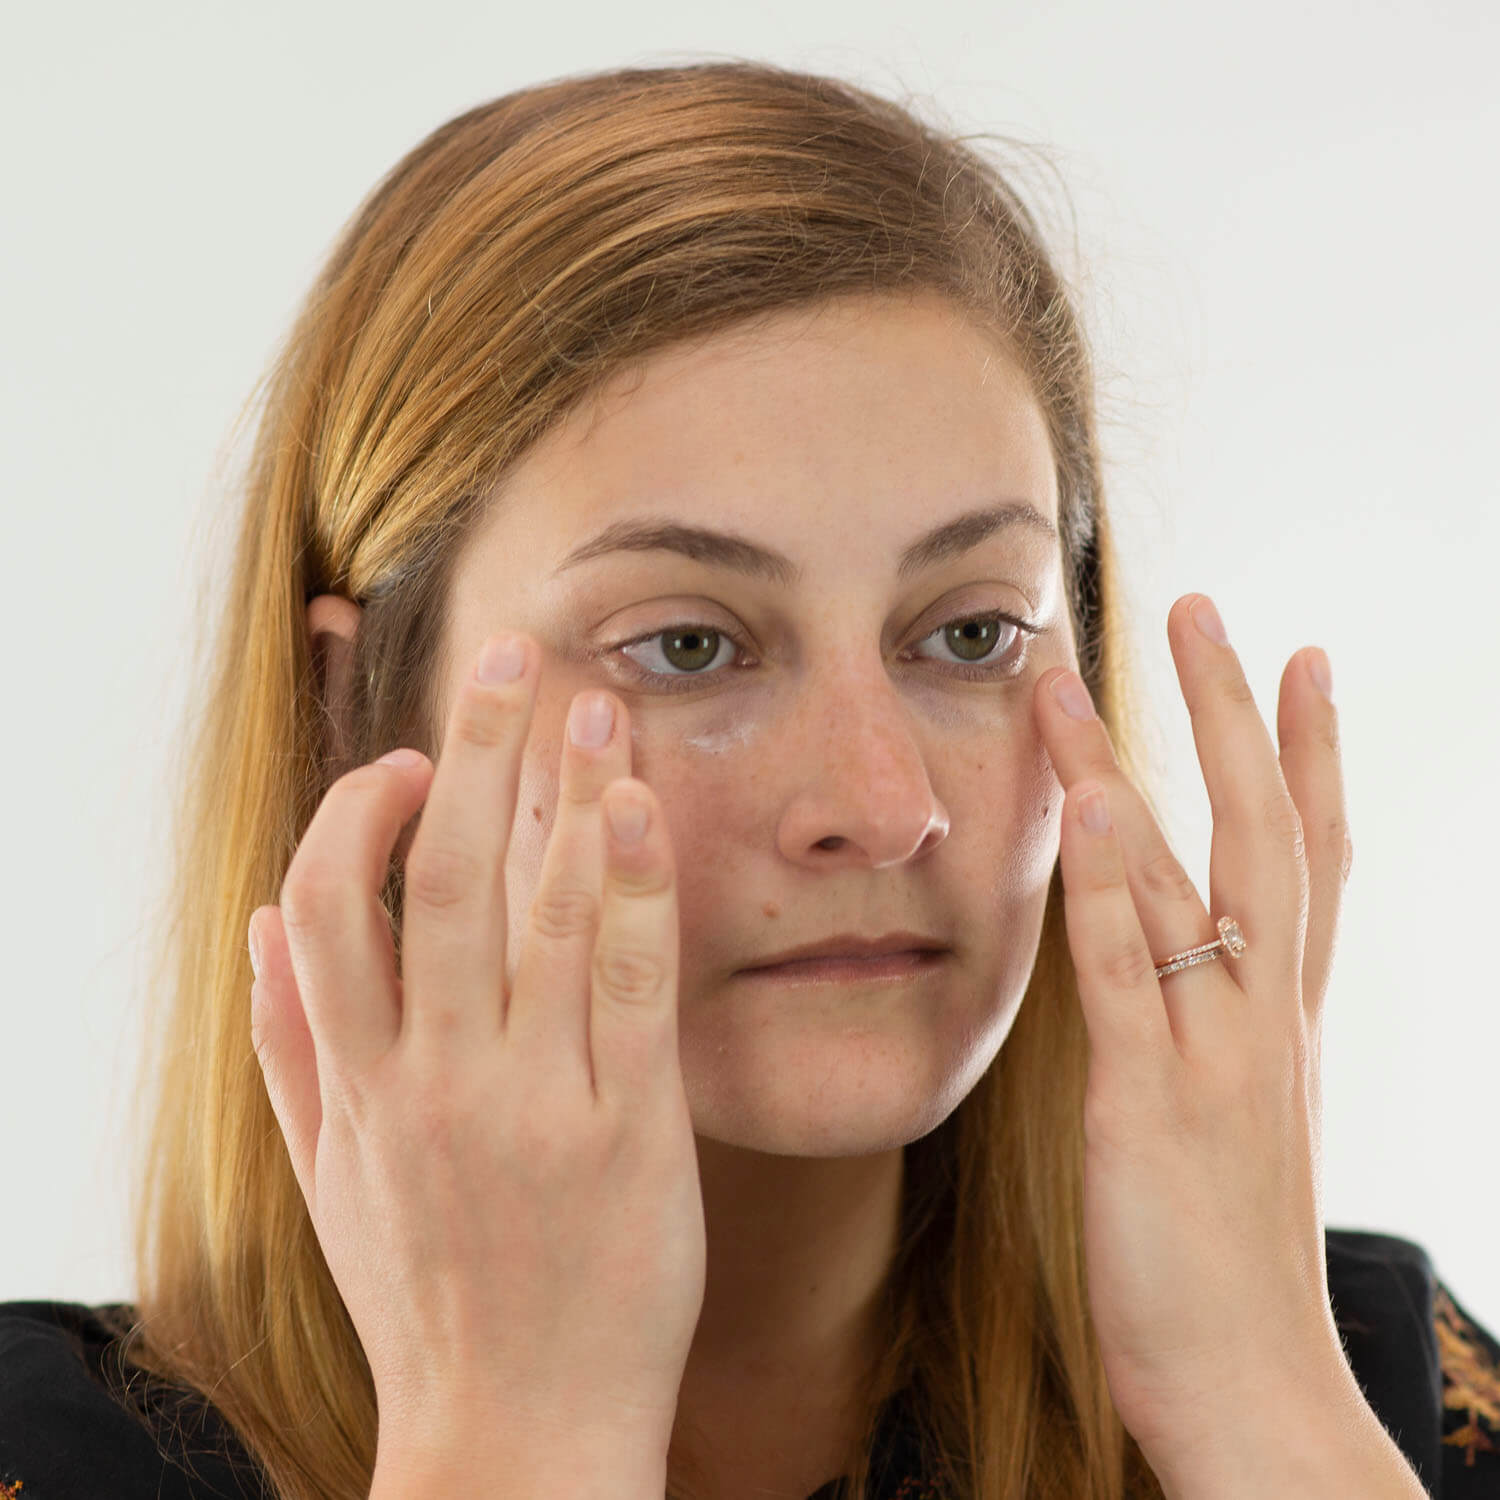
To start your flawless makeup application, make sure that the eye area is clean, dry, and well-hydrated. Our Coffee Bean Caffeine Eye Cream is great for helping to moisturize, as well as reduce dark circles and puffiness. Dark circles can really put a damper on your eye makeup look, by creating the appearance of tired, smudged raccoon eyes.
Primer
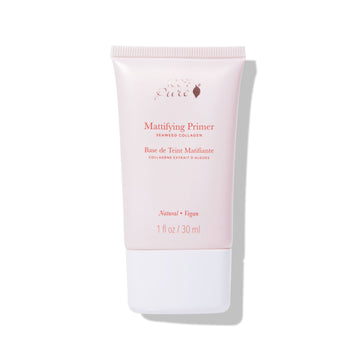
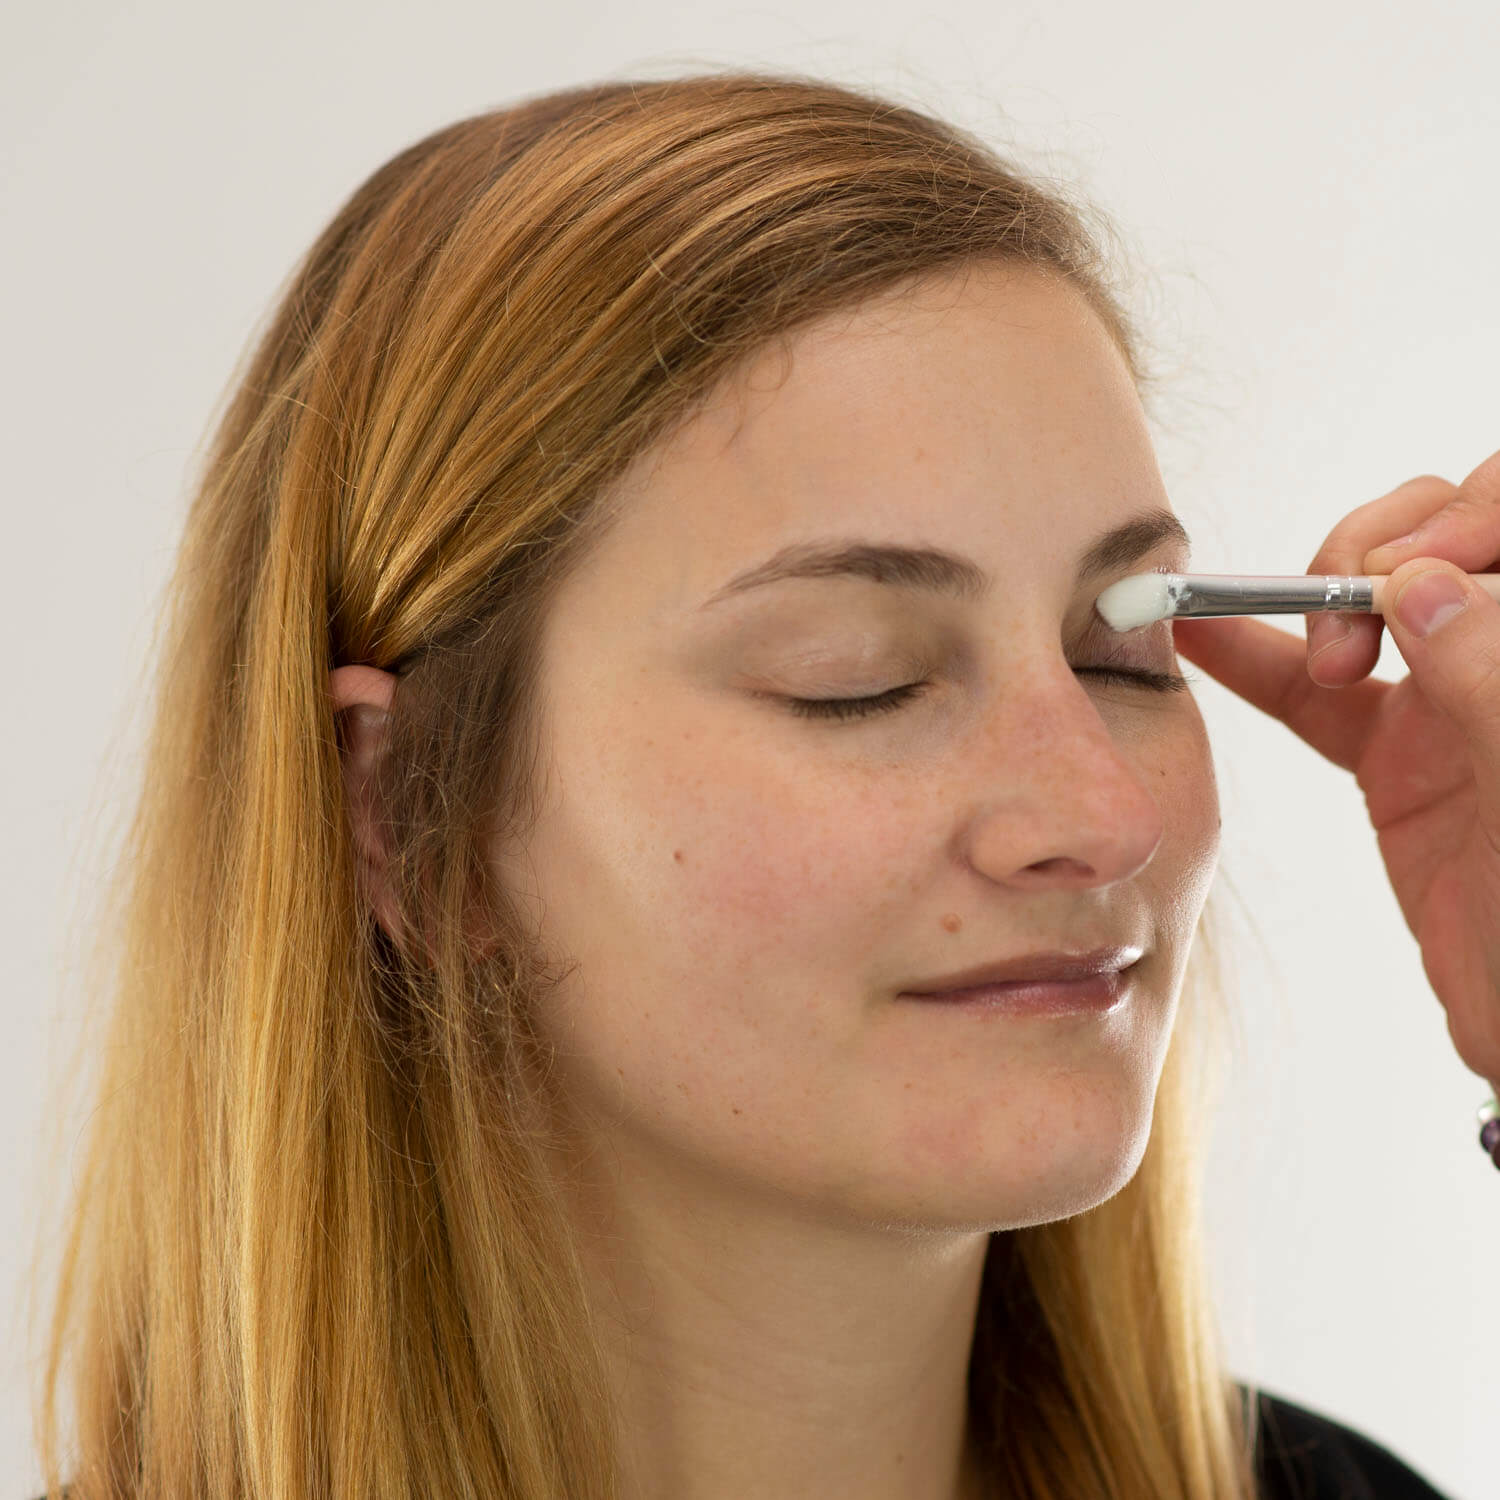
To help your makeup last all day (and all night), it’s wise to invest in a primer. We’ve got two nourishing, silicone-free primers that promote flawless makeup application for face and eyes. If you’re using matte eyeshadows for your smokey eyes, pick up our Mattifying Primer. If you want your application to be a little more shimmery and radiant, our Luminous Primer would be your best bet. Apply your primer of choice evenly over cleansed, moisturized skin and eye area, and allow to set for 90 seconds before starting your look.
6 Step Nude Smokey Eye Tutorial
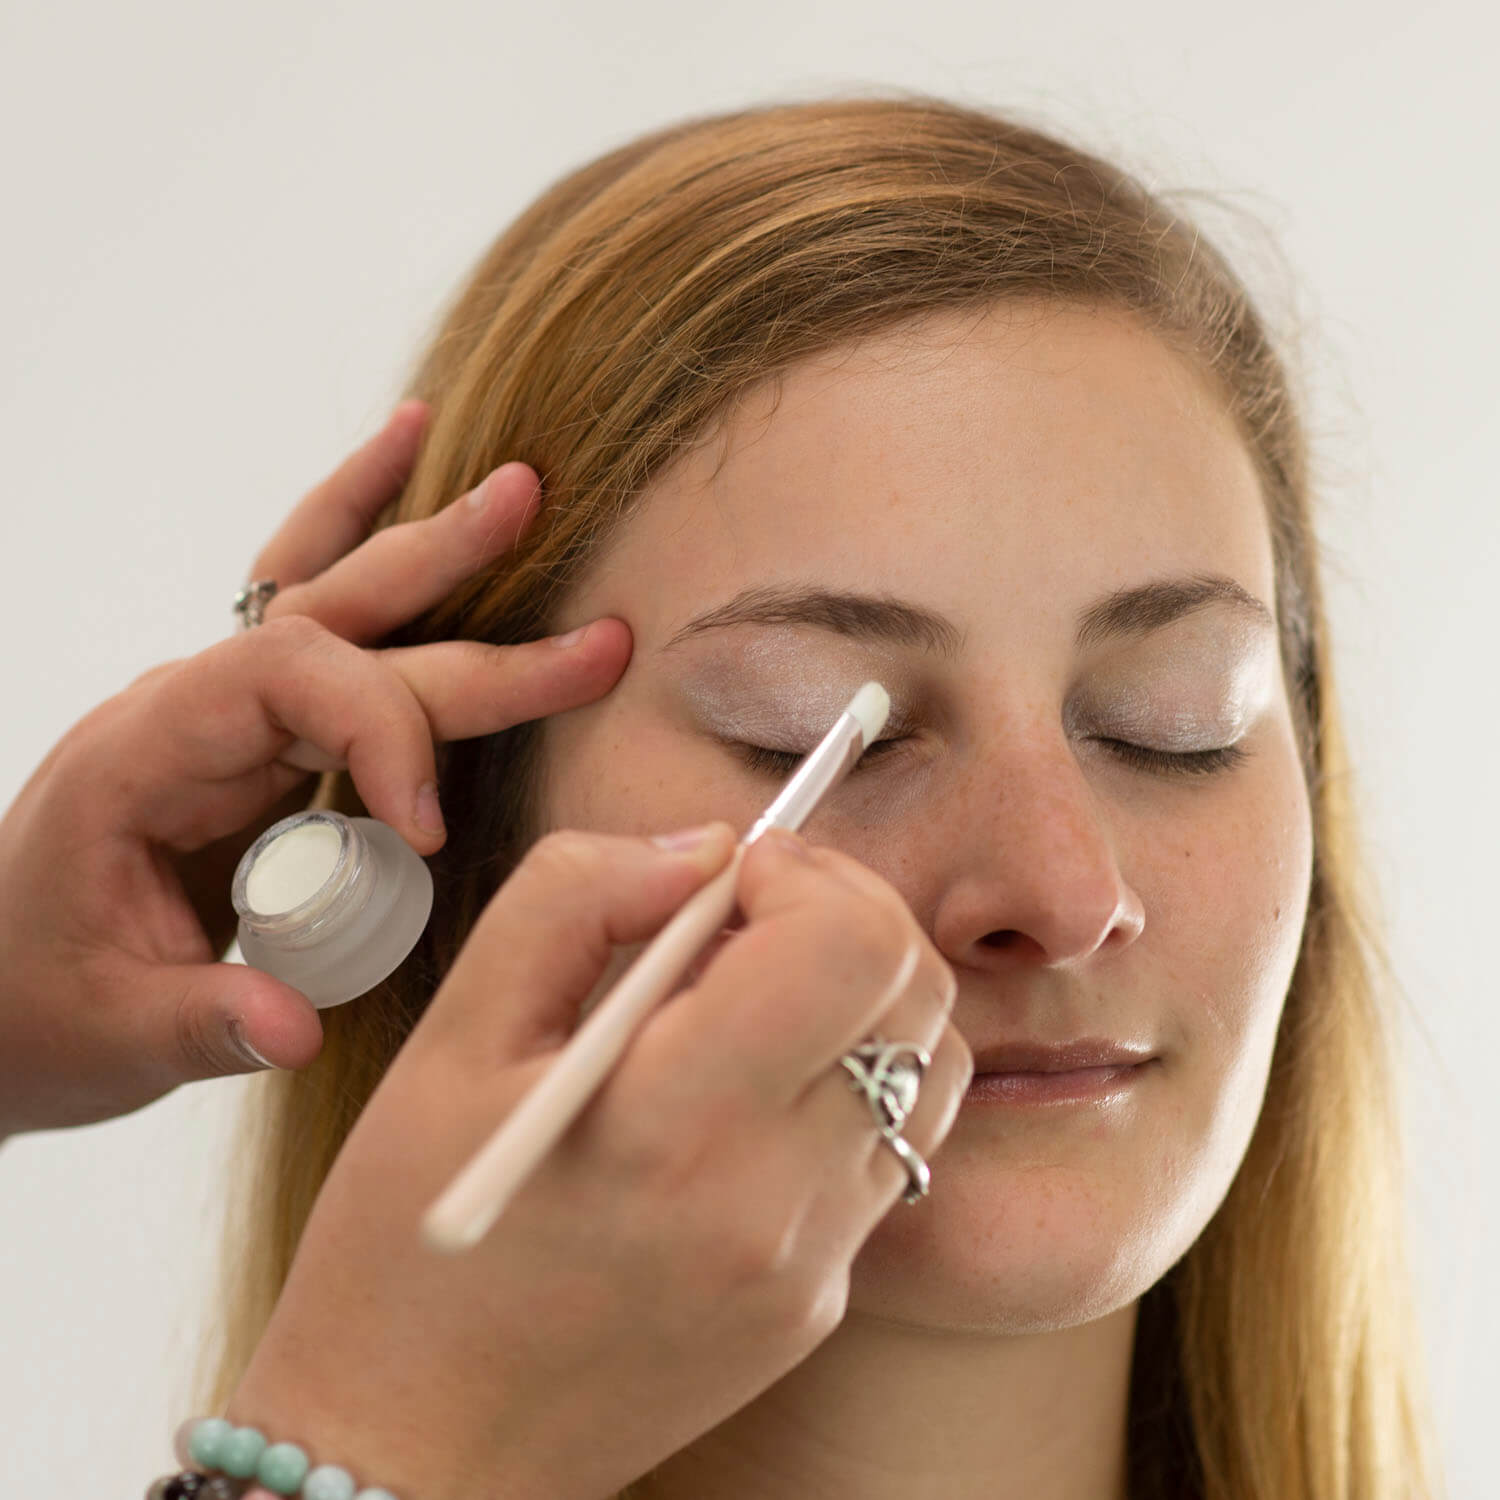
Step 1: Base
Apply your eye shadow base all over eyelids with Satin Eye Shadow: Halo, using Cruelty Free Flat Shader Brush E30. Halo is a pearly, shimmery white, perfect for creating a luminous base. An eyeshadow base enhances color payoff, so you’ll want to cover the entire eyelid. Our satin eyeshadows moisturize with avocado butter and rosehip oil for smooth, long lasting makeup application.
Bring the shadow up to the brow bone for highlight, and to the inner corner of the eye for an eye-brightening effect. You may want to re-apply to the corner of the eyes, after the final steps are completed. Alternatively, you can use the Better Naked highlighter, “Fox”, for some inner corner shimmer.
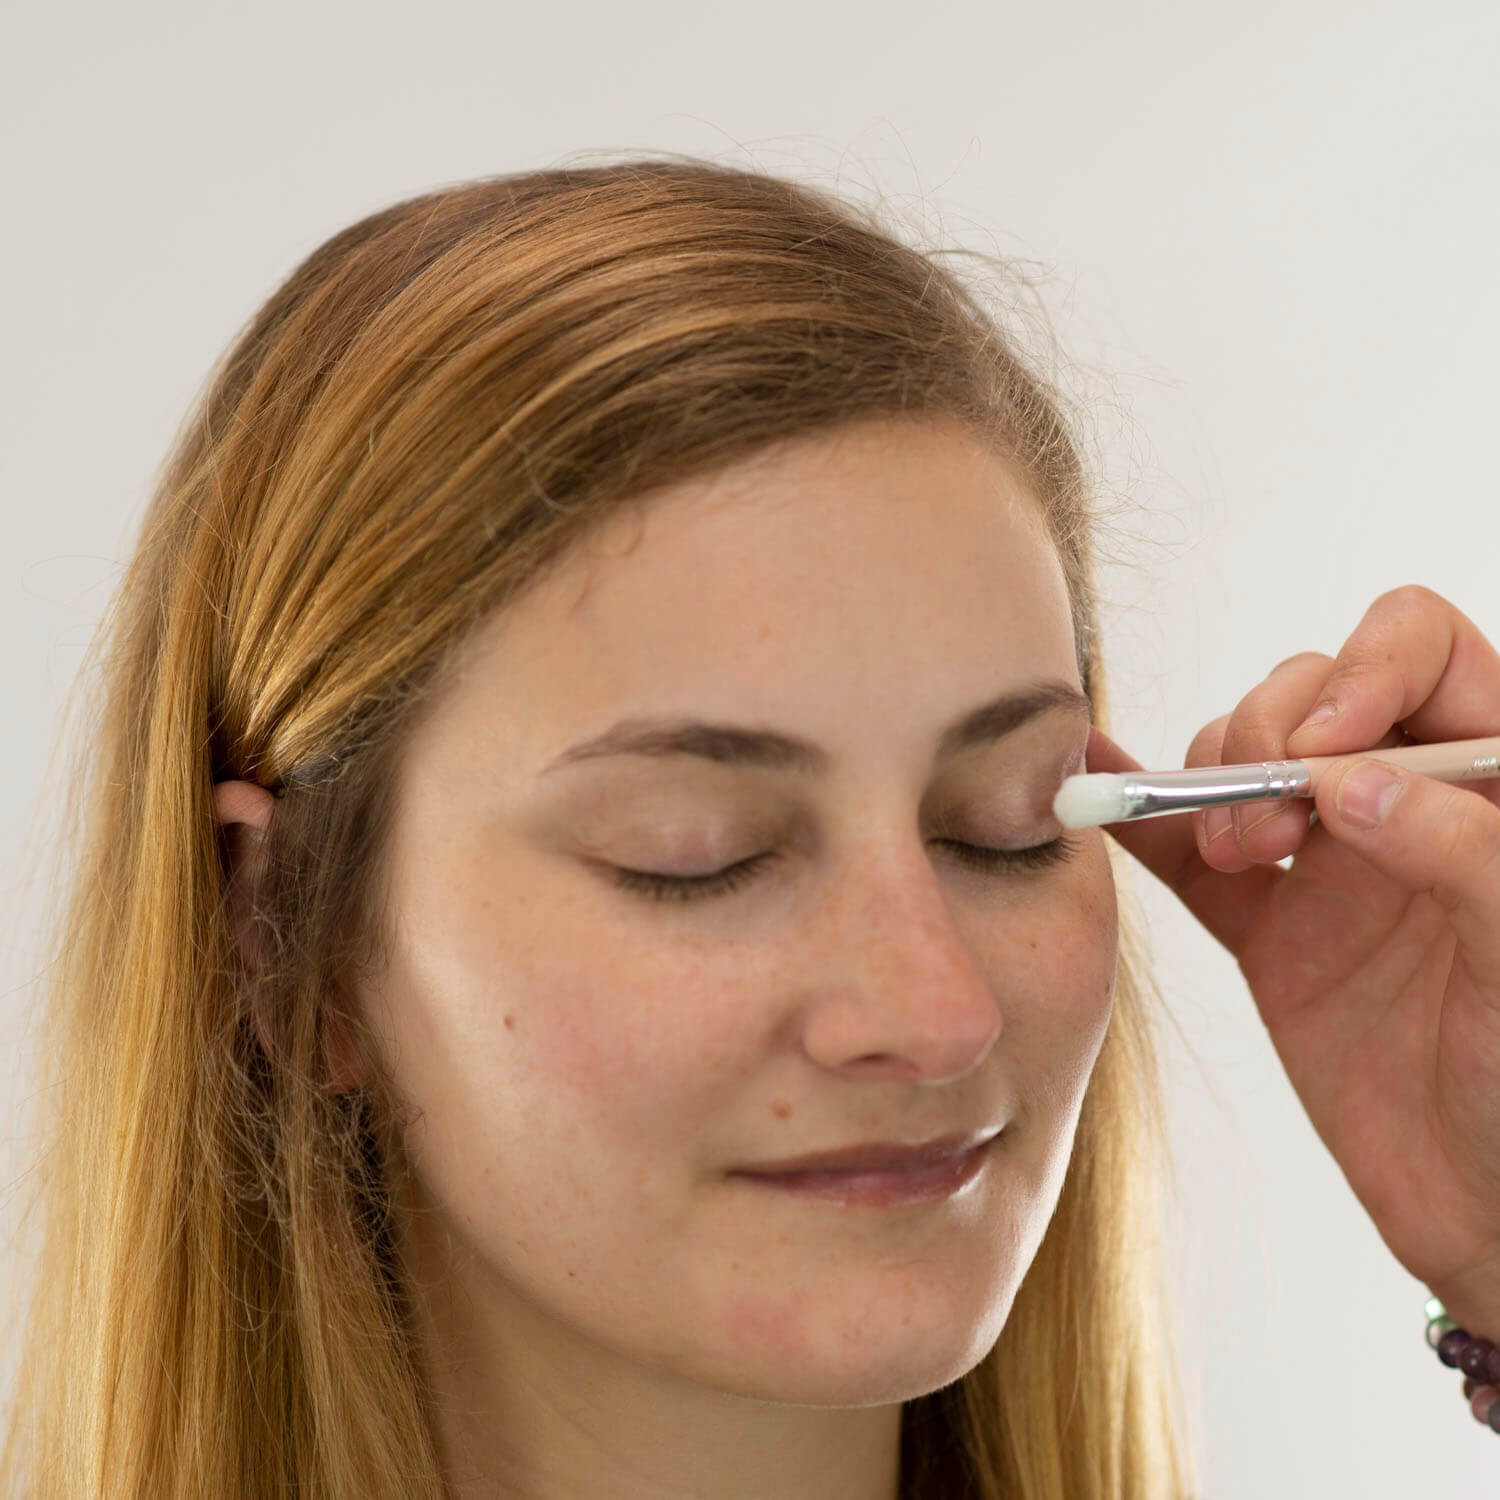
Step 2: Highlight
The next step for achieving nude smokey eyes is to use the lightest shadow shade in the pallet, called “Kitty”. Apply this shade all over the lid, and above the crease, stopping just below the brow bone. This base shade will peek out from behind the darker shades of smokiness. Finish by applying along the lower lash line, too.
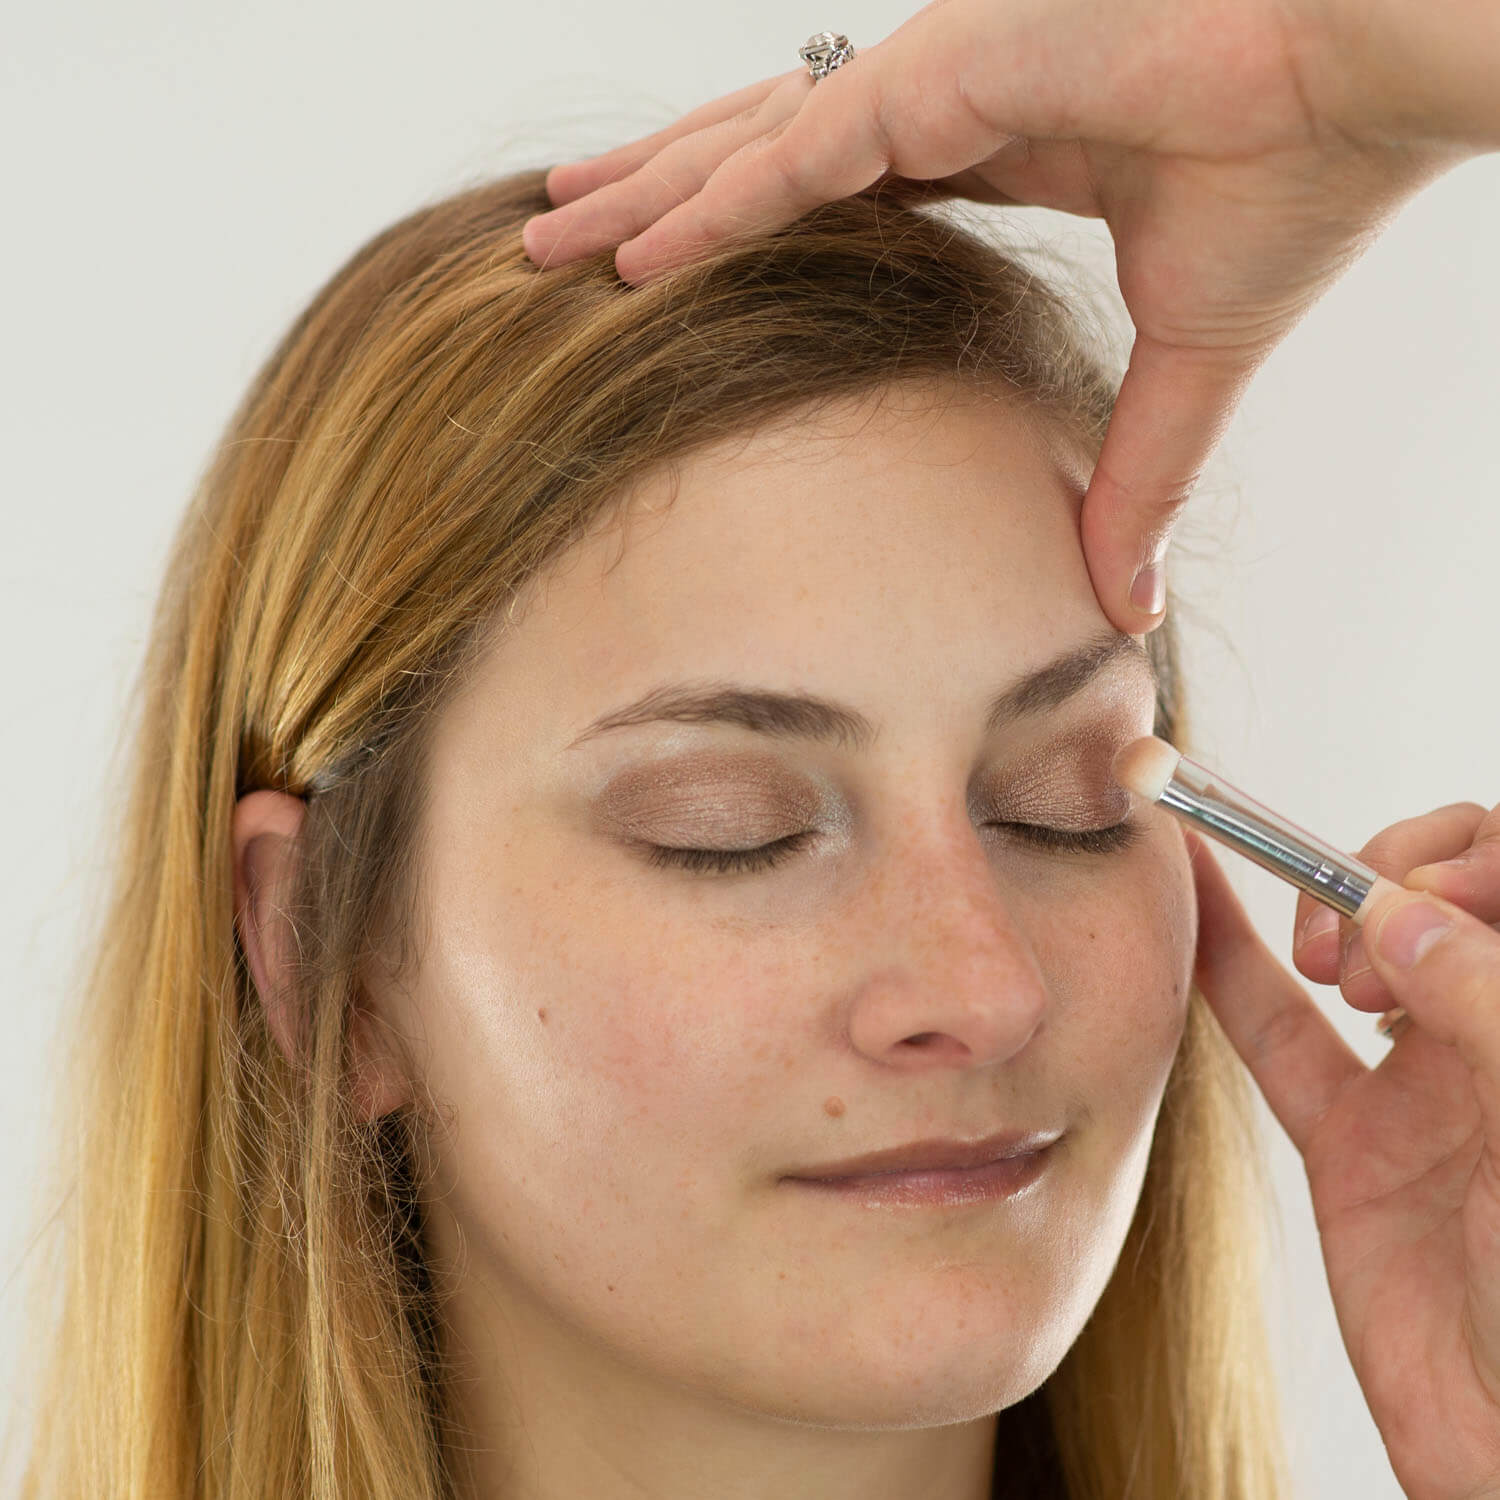
Step 3: Blend
To create a dimensional gradient and seamless blend, apply shade “Bear” and blend from the outer corners toward the inner corners in the crease. We recommend applying this with our Cruelty Free Crease Brush E40. Use a back and forth, windshield wiper motion to blend it out. Apply this shade below the lash line, either two thirds of the way, or along the whole bottom lash line -- depending on your preference.
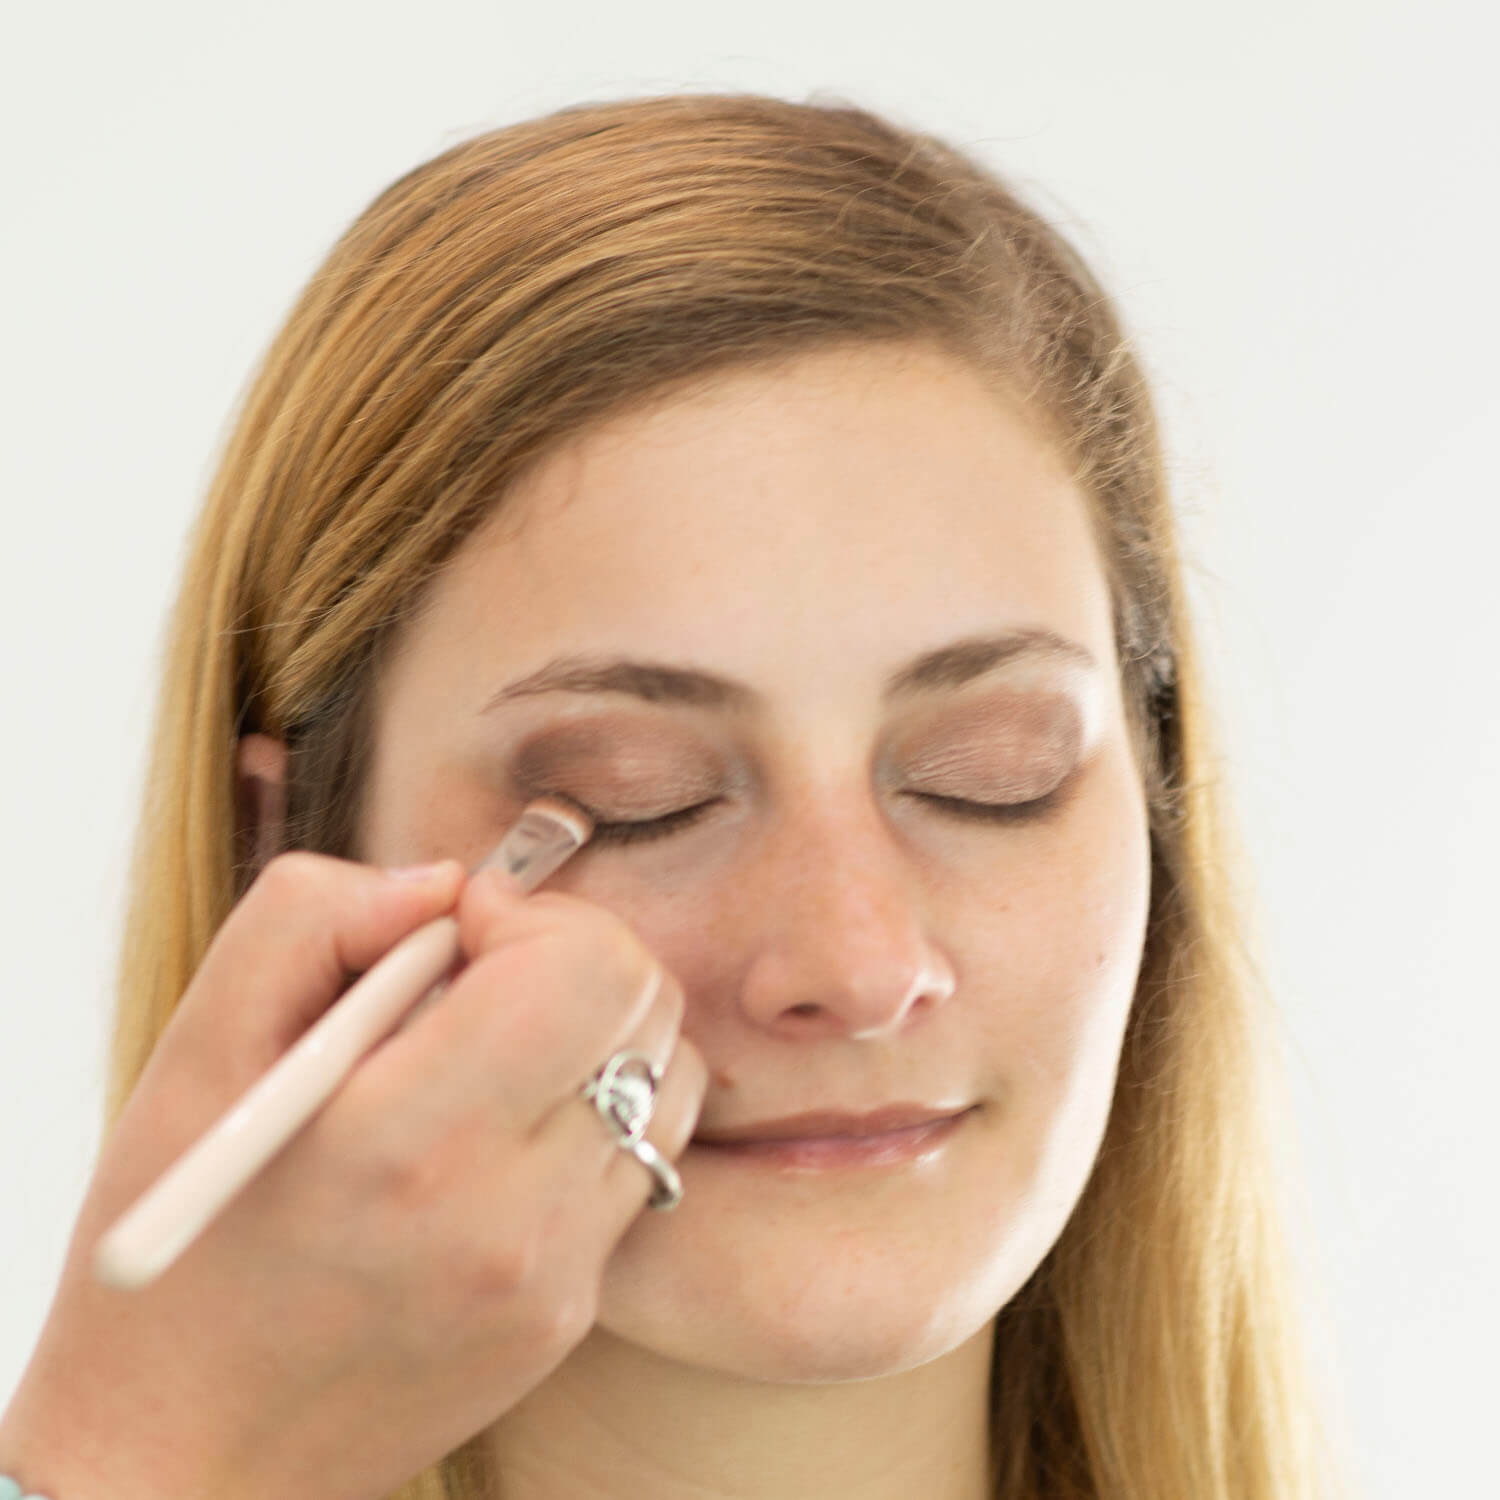
Step 4: Add Depth
The final, darkest shade of eyeshadow adds depth, drama, and dimension to the look. Beginning from the outer corner of your eyelid, add the color “Butterfly”. Blend this about one third of the way into the crease, and make a slight V shape by applying to the lashline and connecting it to the crease at the outer corner. Finally apply this to the outer corner of your bottom lash line, blending it into the existing shadow that you previously applied.
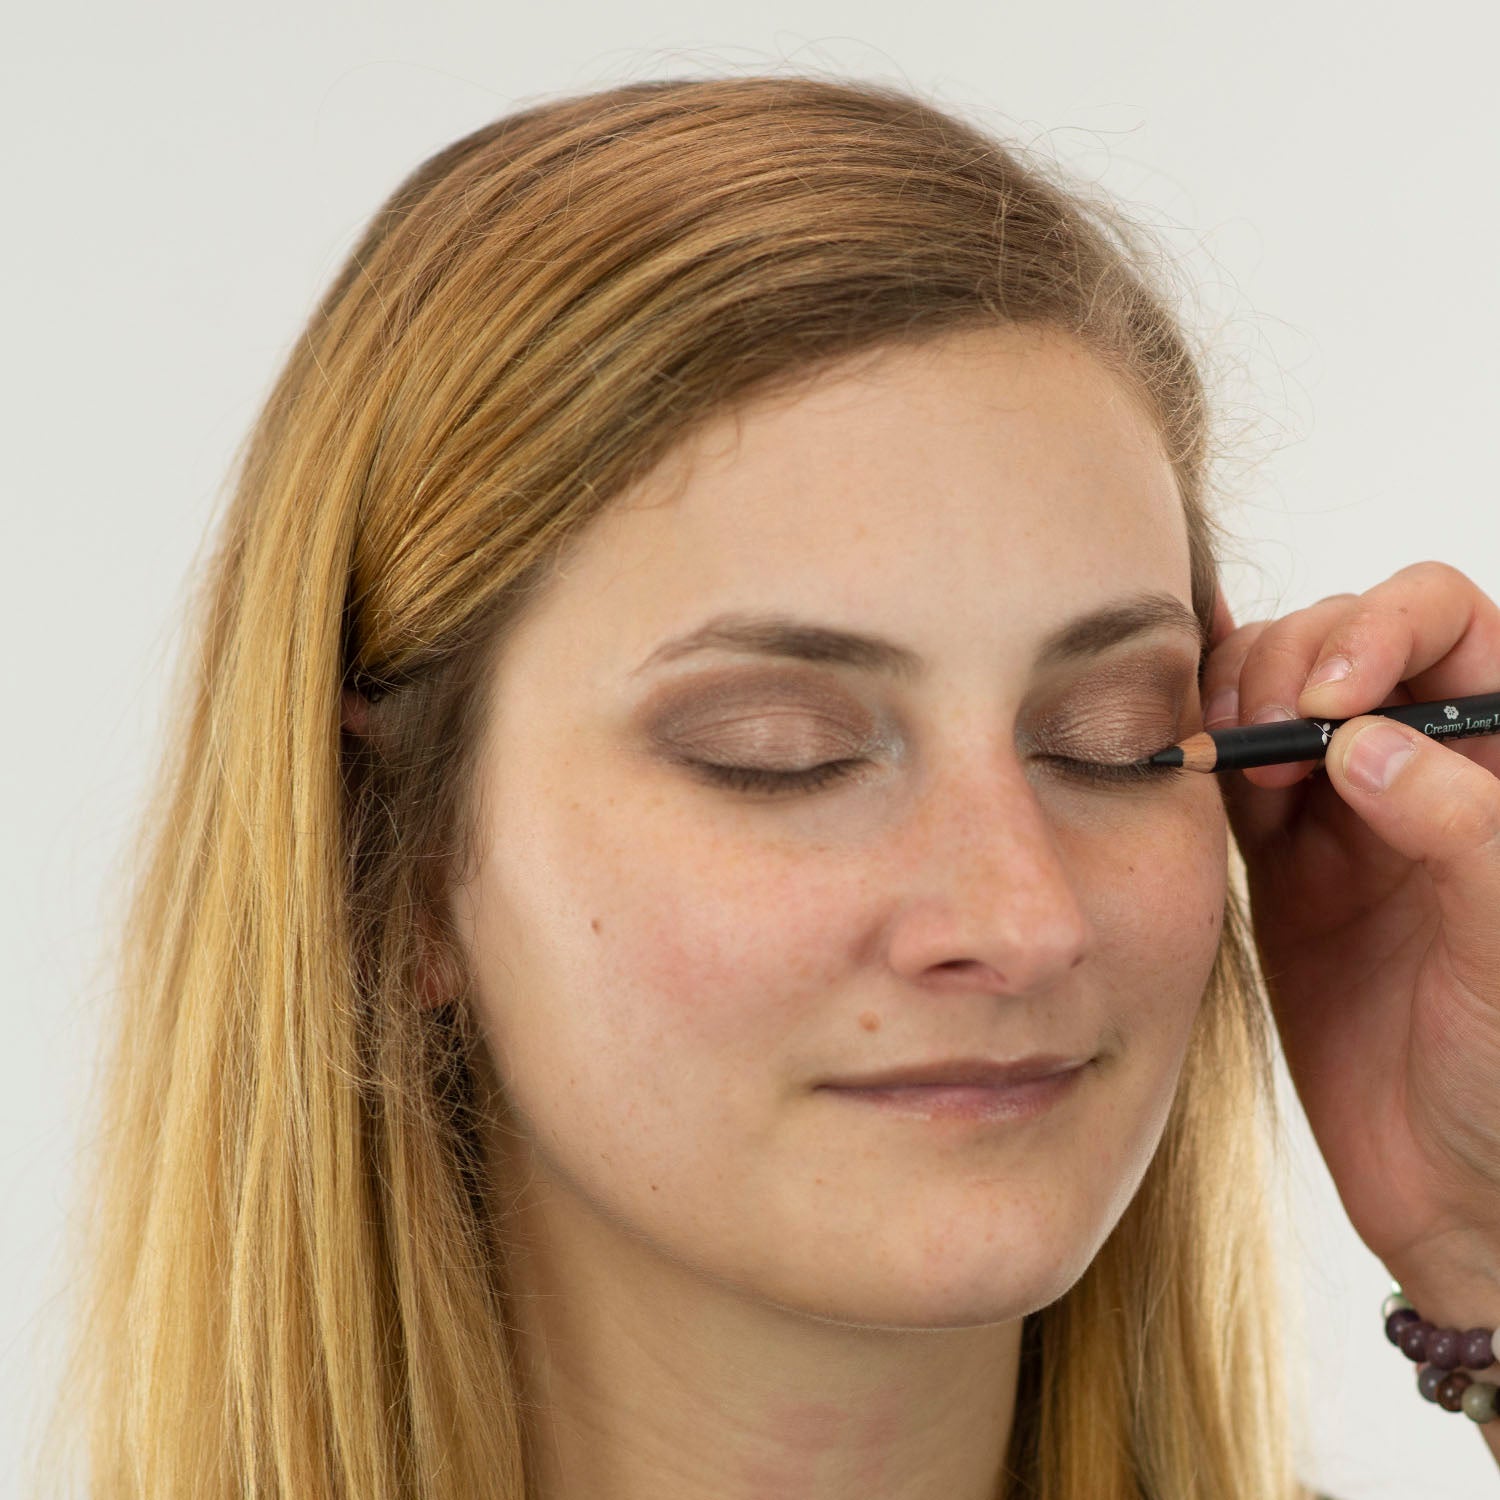
Step 5: Eye Liner
This eye liner step is crucial for anchoring your smokey eye look, by defining and drawing the focus to your eyes. For this look, we applied Creamy Long Last Liner: Blackest to the upper lash line to give subtle definition to the eye.
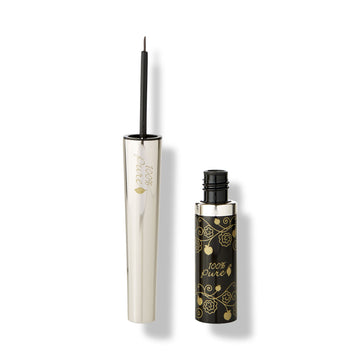
For a more vampy look, trace winged eyeliner along upper lash line with Long Last Liquid Eye Liner: Black Tea, and just use Blackest pencil to line the lower lash line. For the most flattering winged eyeliner for your eye shape, draw the tail following the natural curve of your bottom lid. As always, stick to short strokes for more precision. Or check out our ultimate breakdown on how to do winged eyeliner in 3 easy steps.
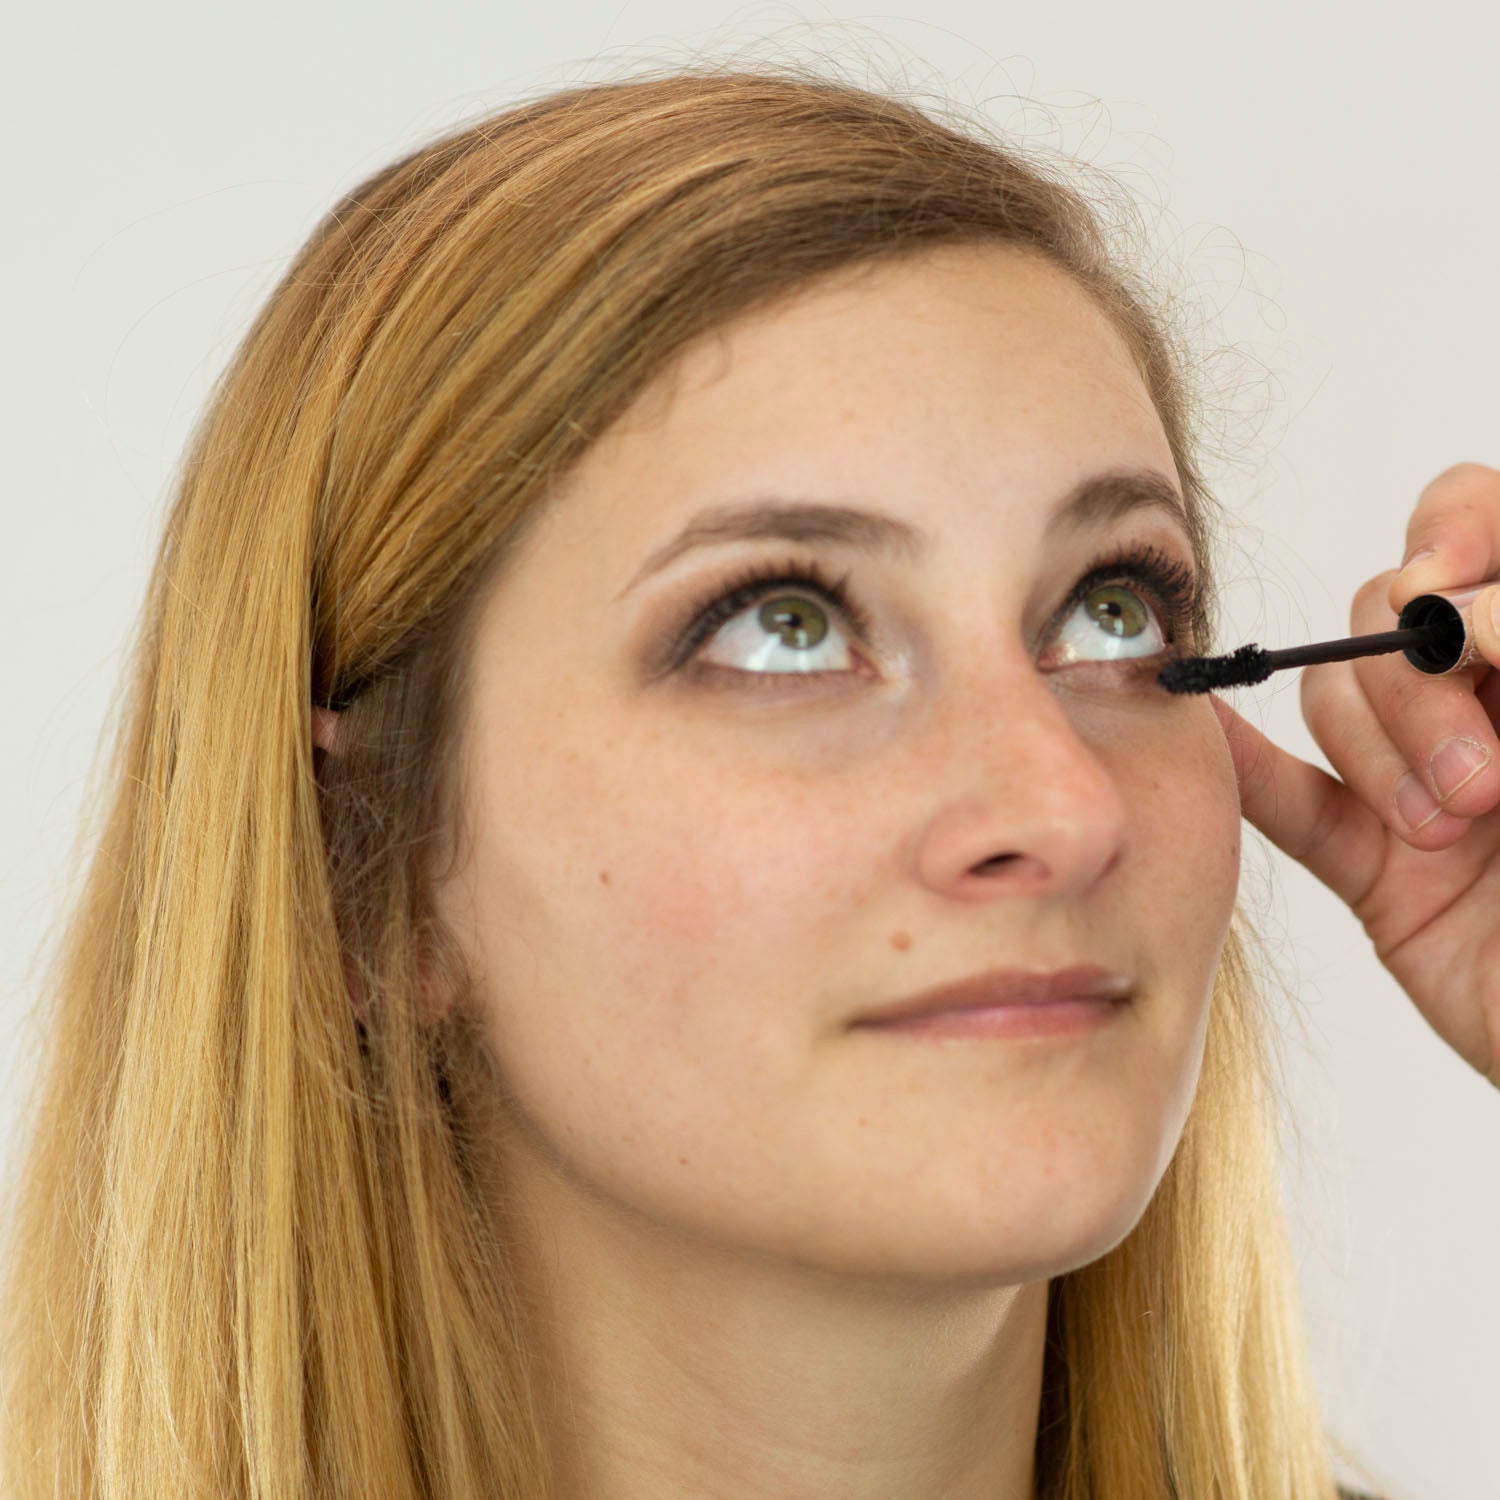
Step 6: Mascara
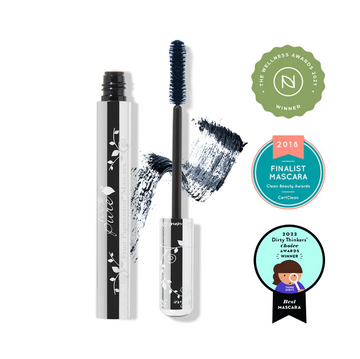
Add a touch of glamour to lashes with a pure black, lengthening mascara. Make sure to start by holding the mascara wand flat against the roots of your lashes, and wiggle out towards the tips. Our natural mascaras are formulated with natural lash conditioning ingredients and fruit pigments for clump free, smudge free application and wear. If you’re a false eyelashes kinda girl, add them now. Apply an additional coat of mascara to help meld the falsies to your own lashes.
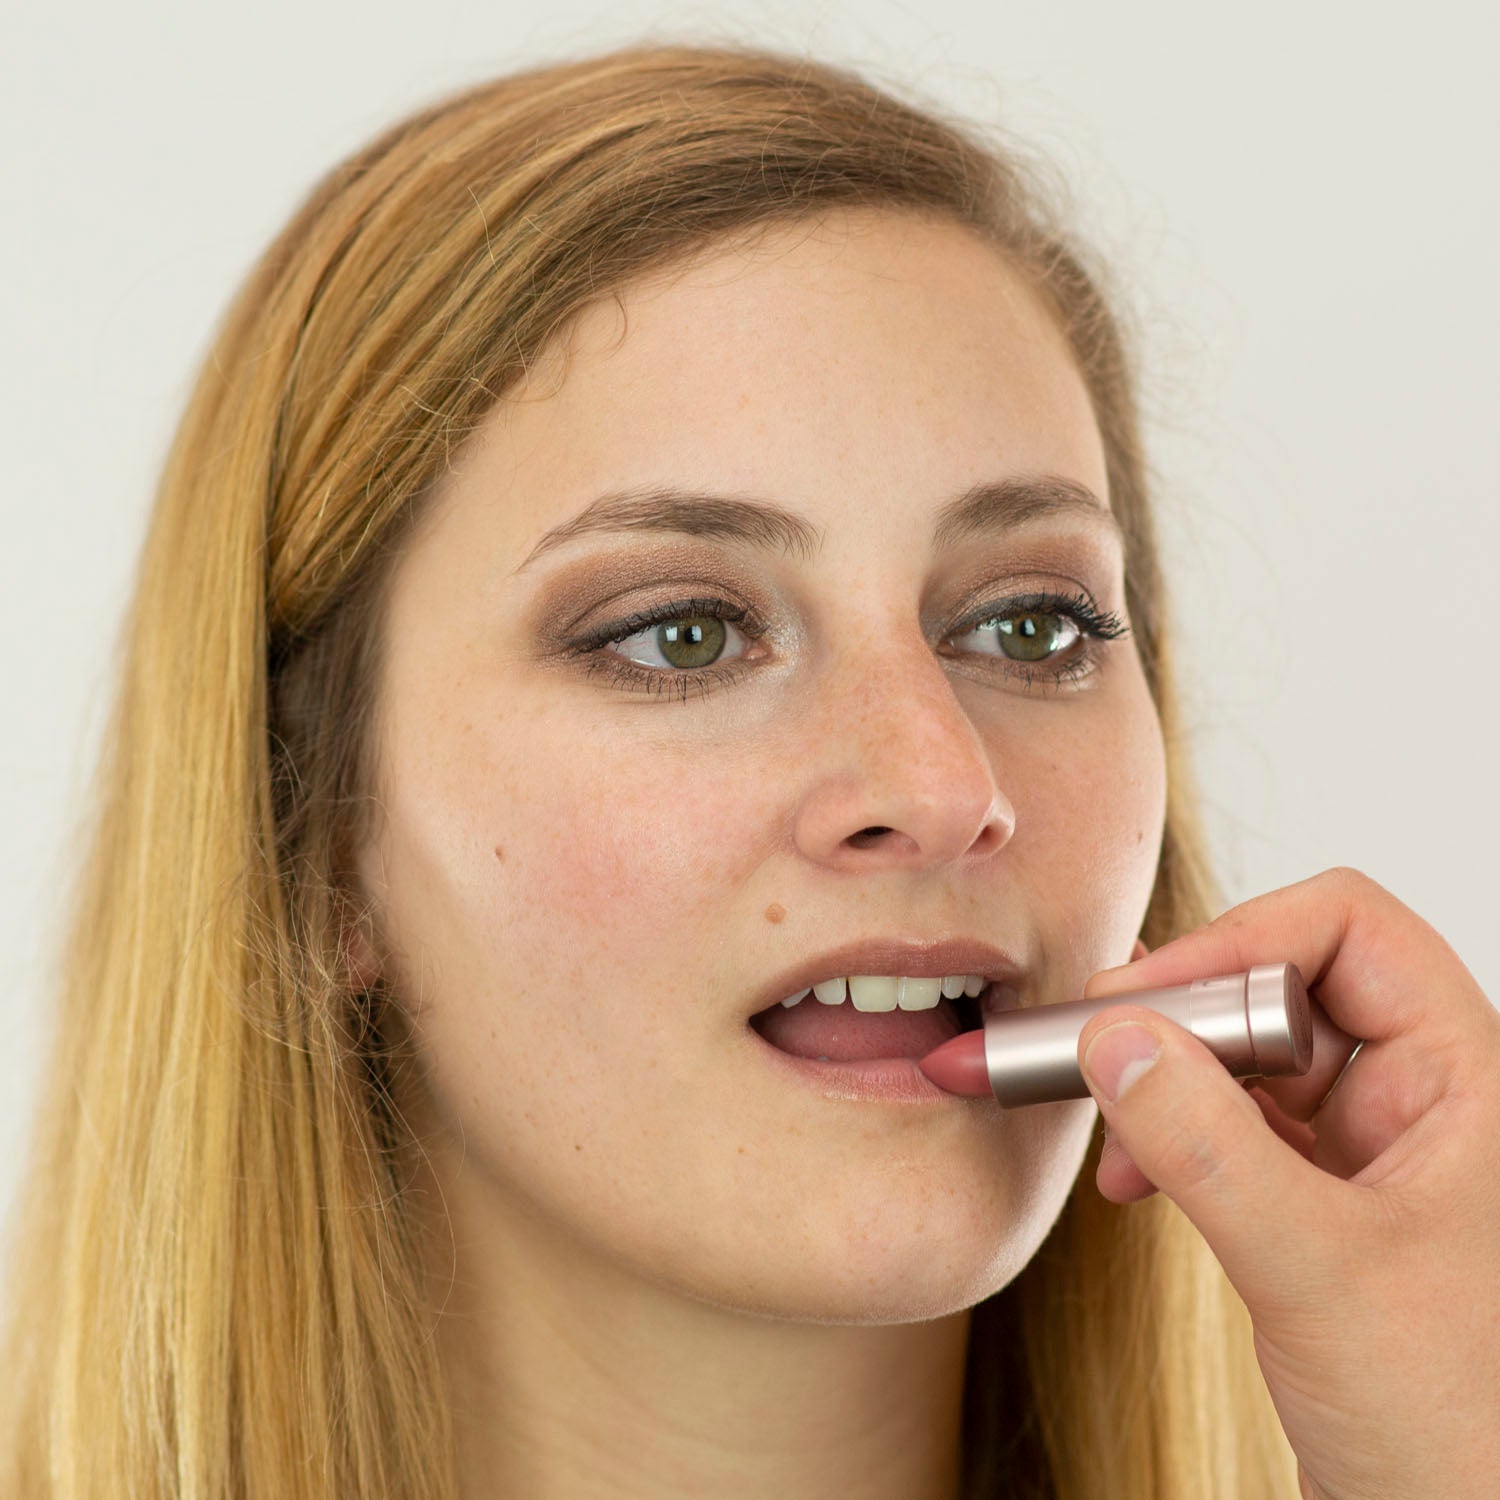
To finish the look, you can add a neutral blush and signature lipstick to compliment your eyes. Try a soft pink or nude matte lip that compliments your skin tone, or a semi-gloss lipstick shade to compliment the soft shimmer framing your eyes. It’s all about making those smokey eyes stand out!

Voila! You can wear this nude smokey eye look anytime, anywhere, any season. For an edgier look, increase the shadow on your waterline and remove the liner, for a runway-ready, smokey and smudged effect. Keep up with us here for more beauty how-tos and natural beauty tips!
We carefully hand-select products based on strict purity standards, and only recommend products we feel meet this criteria. 100% PURE™ may earn a small commission for products purchased through affiliate links.
The information in this article is for educational use, and not intended to substitute professional medical advice, diagnosis, or treatment and should not be used as such.


