Try this playful summer makeup trend with a few simple steps!
Written by: 100% PURE ®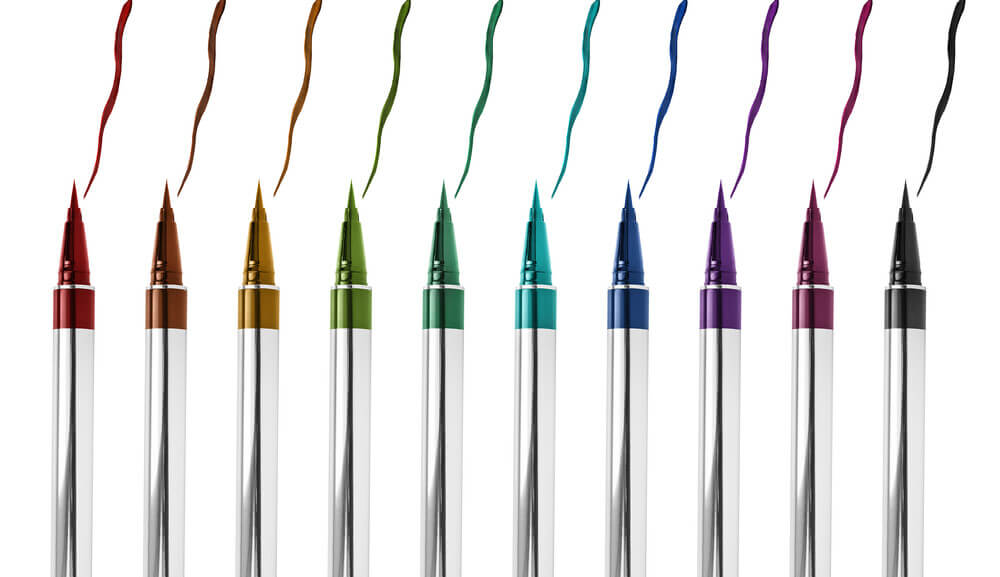
Our spring fling with color has bloomed into a full blown love affair, and we’re taking our sweetheart home to meet our makeup collection. This summer, we’re ready to heat things up with fun makeup – starting with a multicolor winged eyeliner look.
This trend is taking streets and runways by storm, and is so much easier than it looks. Multicolor liner can be accomplished with all the products already in our stash! We’ll break down why this trend is going to blow up for summer, and how to get the look.
Even those of us that are intimidated by winged liner have likely tried it. Mostly because it is just a timeless technique for achieving every kind of effect. From bigger eyes to a more slim and sultry smize, winged eyeliner is the main character of any makeup look.
The typical winged liner would be a black pencil or liquid lined across the full lash line. Usually it goes from the inner corner of the eye all the way to the outer corner of the eye, ending in a flick. Winged eyeliner is extremely versatile, and there are endless ways to approach this classic winged liner technique.
We’ve experimented with eyeliners in different shapes, colors, and forms. We love the way winged eyeliner looks when applied in neutral shades other than black: soft gray, brown, or other neutral shades of winged liner. These create a softer look than the edgy, inky black we’re used to. This works especially well with lash extensions for flirty eyes all summer long.
Another eyeliner trend we love is eyeliner with powder or shadow rather than liquid. This allows us to turn any color into eyeliner (and we’re suckers for a monochrome makeup look). Eyeliner with a powder rather than liquid gives a soft smokiness to eye makeup that’s perfect for subtle sexiness day or night.
Circling back to the trend at hand, this multicolor winged eyeliner look is a twist on the classic winged liner that we all know and love.
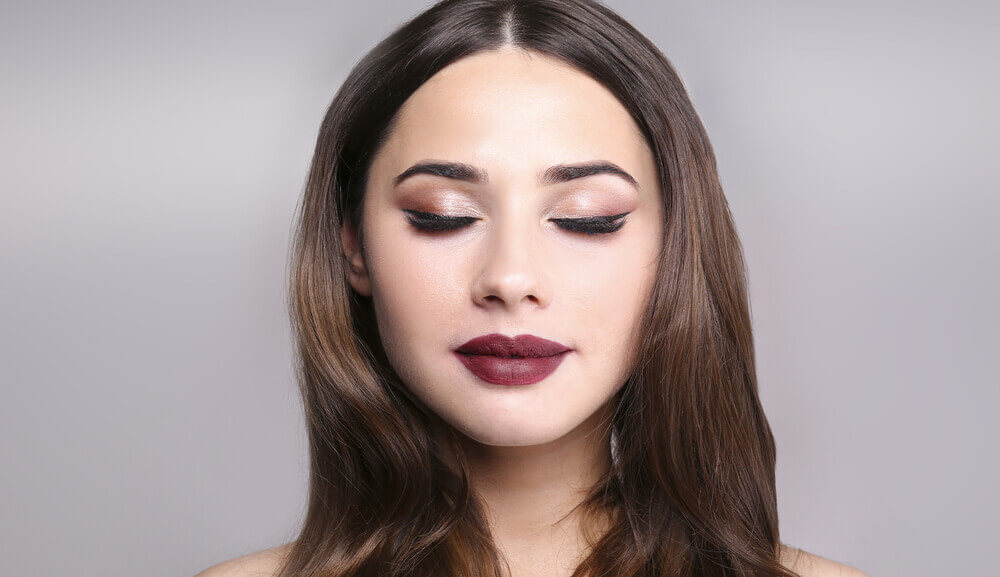
This colorful look can include as many colors as the artiste wishes, and can be as simple or as graphic as our minds’ can make it. It is a great subtle way to incorporate playfulness into our work or Zoom makeup looks, and it is perfect for any event or age. See the how-to guide below!
Step 1:
Any great makeup look must start with proper skin prep. It doesn’t matter if you prefer foundation before or after eye makeup, so long as the skin is primed and ready to go with moisturizer, primer, and most importantly SPF.
If you prefer to apply your base first, make a pit stop there before heading to step 2.
Step 2:
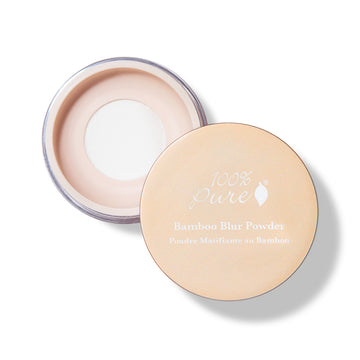
Start by priming the eye. We don’t discriminate, so feel free to do this with translucent powder, concealer, or an actual eyeshadow primer. No matter what, we suggest setting with powder to create a smoother surface that’s easier for any makeup skill level to work on.
Step 3:
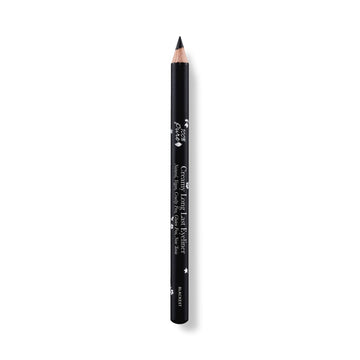
This is where the trend really kicks in: we’ll start with the color that’ll be right up against our lash line. Line the full lash line and sketch out a wing with your liner. If preferred, this is a great opportunity to use a richly pigmented creamy pencil liner, since the line doesn’t need to be as precise.
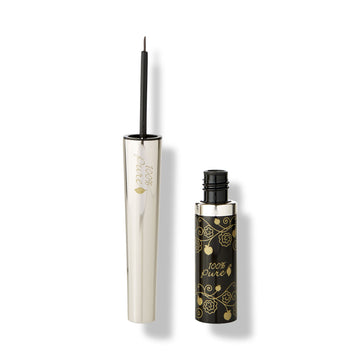
PRO TIP: Try mixing both liquid and pencil products for a variety of colors and depths. Richer shades like Blackberry in our Long Last Liquid Liner look stunning when paired with metallic, smokey shades like our Pewter Creamy Long Last Liner Pencil.
Step 4:
Next, we’ll pick a powder, pencil, or liquid that fits in with our look. When working with a powder, we’ll want to apply it damp using water or an eyeliner mixing medium to create the perfect spreadable consistency. Using a thin eyeliner brush, trace very close to the first liner. We want to slightly overlap the first liner to create a crisp sharp line and wing.
PRO TIP: This look is beautiful in complimentary colors or applied in a gradient. Try working from dark at the lash line to lighter colors that’ll peak through lashes for constant but subtle pops of color.
Step 5:
The look really builds once two colors are layered together, but feel free to add as many shades as your creativity is inspired to, repeating the last step each time.
Step 6:
This winged liner is almost complete, but there’s one teensy thing that’ll definitely take this look over the edge.
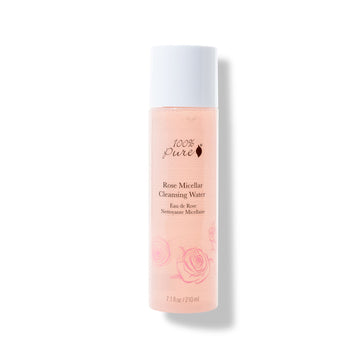
A sharp wing is an absolute must, so clean up any rough edges with a damp cotton bud and a gentle, eye-safe cleanser. We recommend the Rose Micellar Water that’ll soothe any irritation or redness from all the eye makeup activity. This cleanser also won’t leave the area damp or greasy which would totally ruin the look.
Step 7:
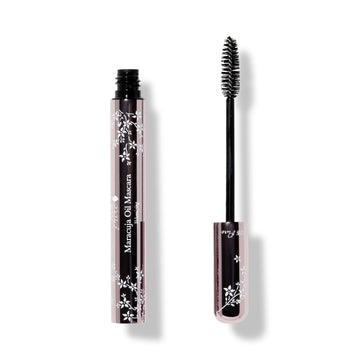
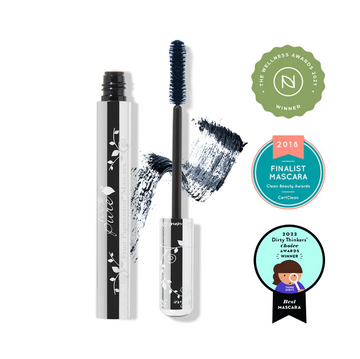
Last but not least, mascara or falsies will bring this look to life! Lots of layers or any favorite mascara that provides full, defined lashes is best. For an extra fun look, opt for a colored mascara that coordinates or contrasts well with the winged liner.
We carefully hand-select products based on strict purity standards, and only recommend products we feel meet this criteria. 100% PURE™ may earn a small commission for products purchased through affiliate links.
The information in this article is for educational use, and not intended to substitute professional medical advice, diagnosis, or treatment and should not be used as such.


