Sharing safety tips, hair color ingredients to avoid, and the best natural hair color brands
Written by: 100% PURE ®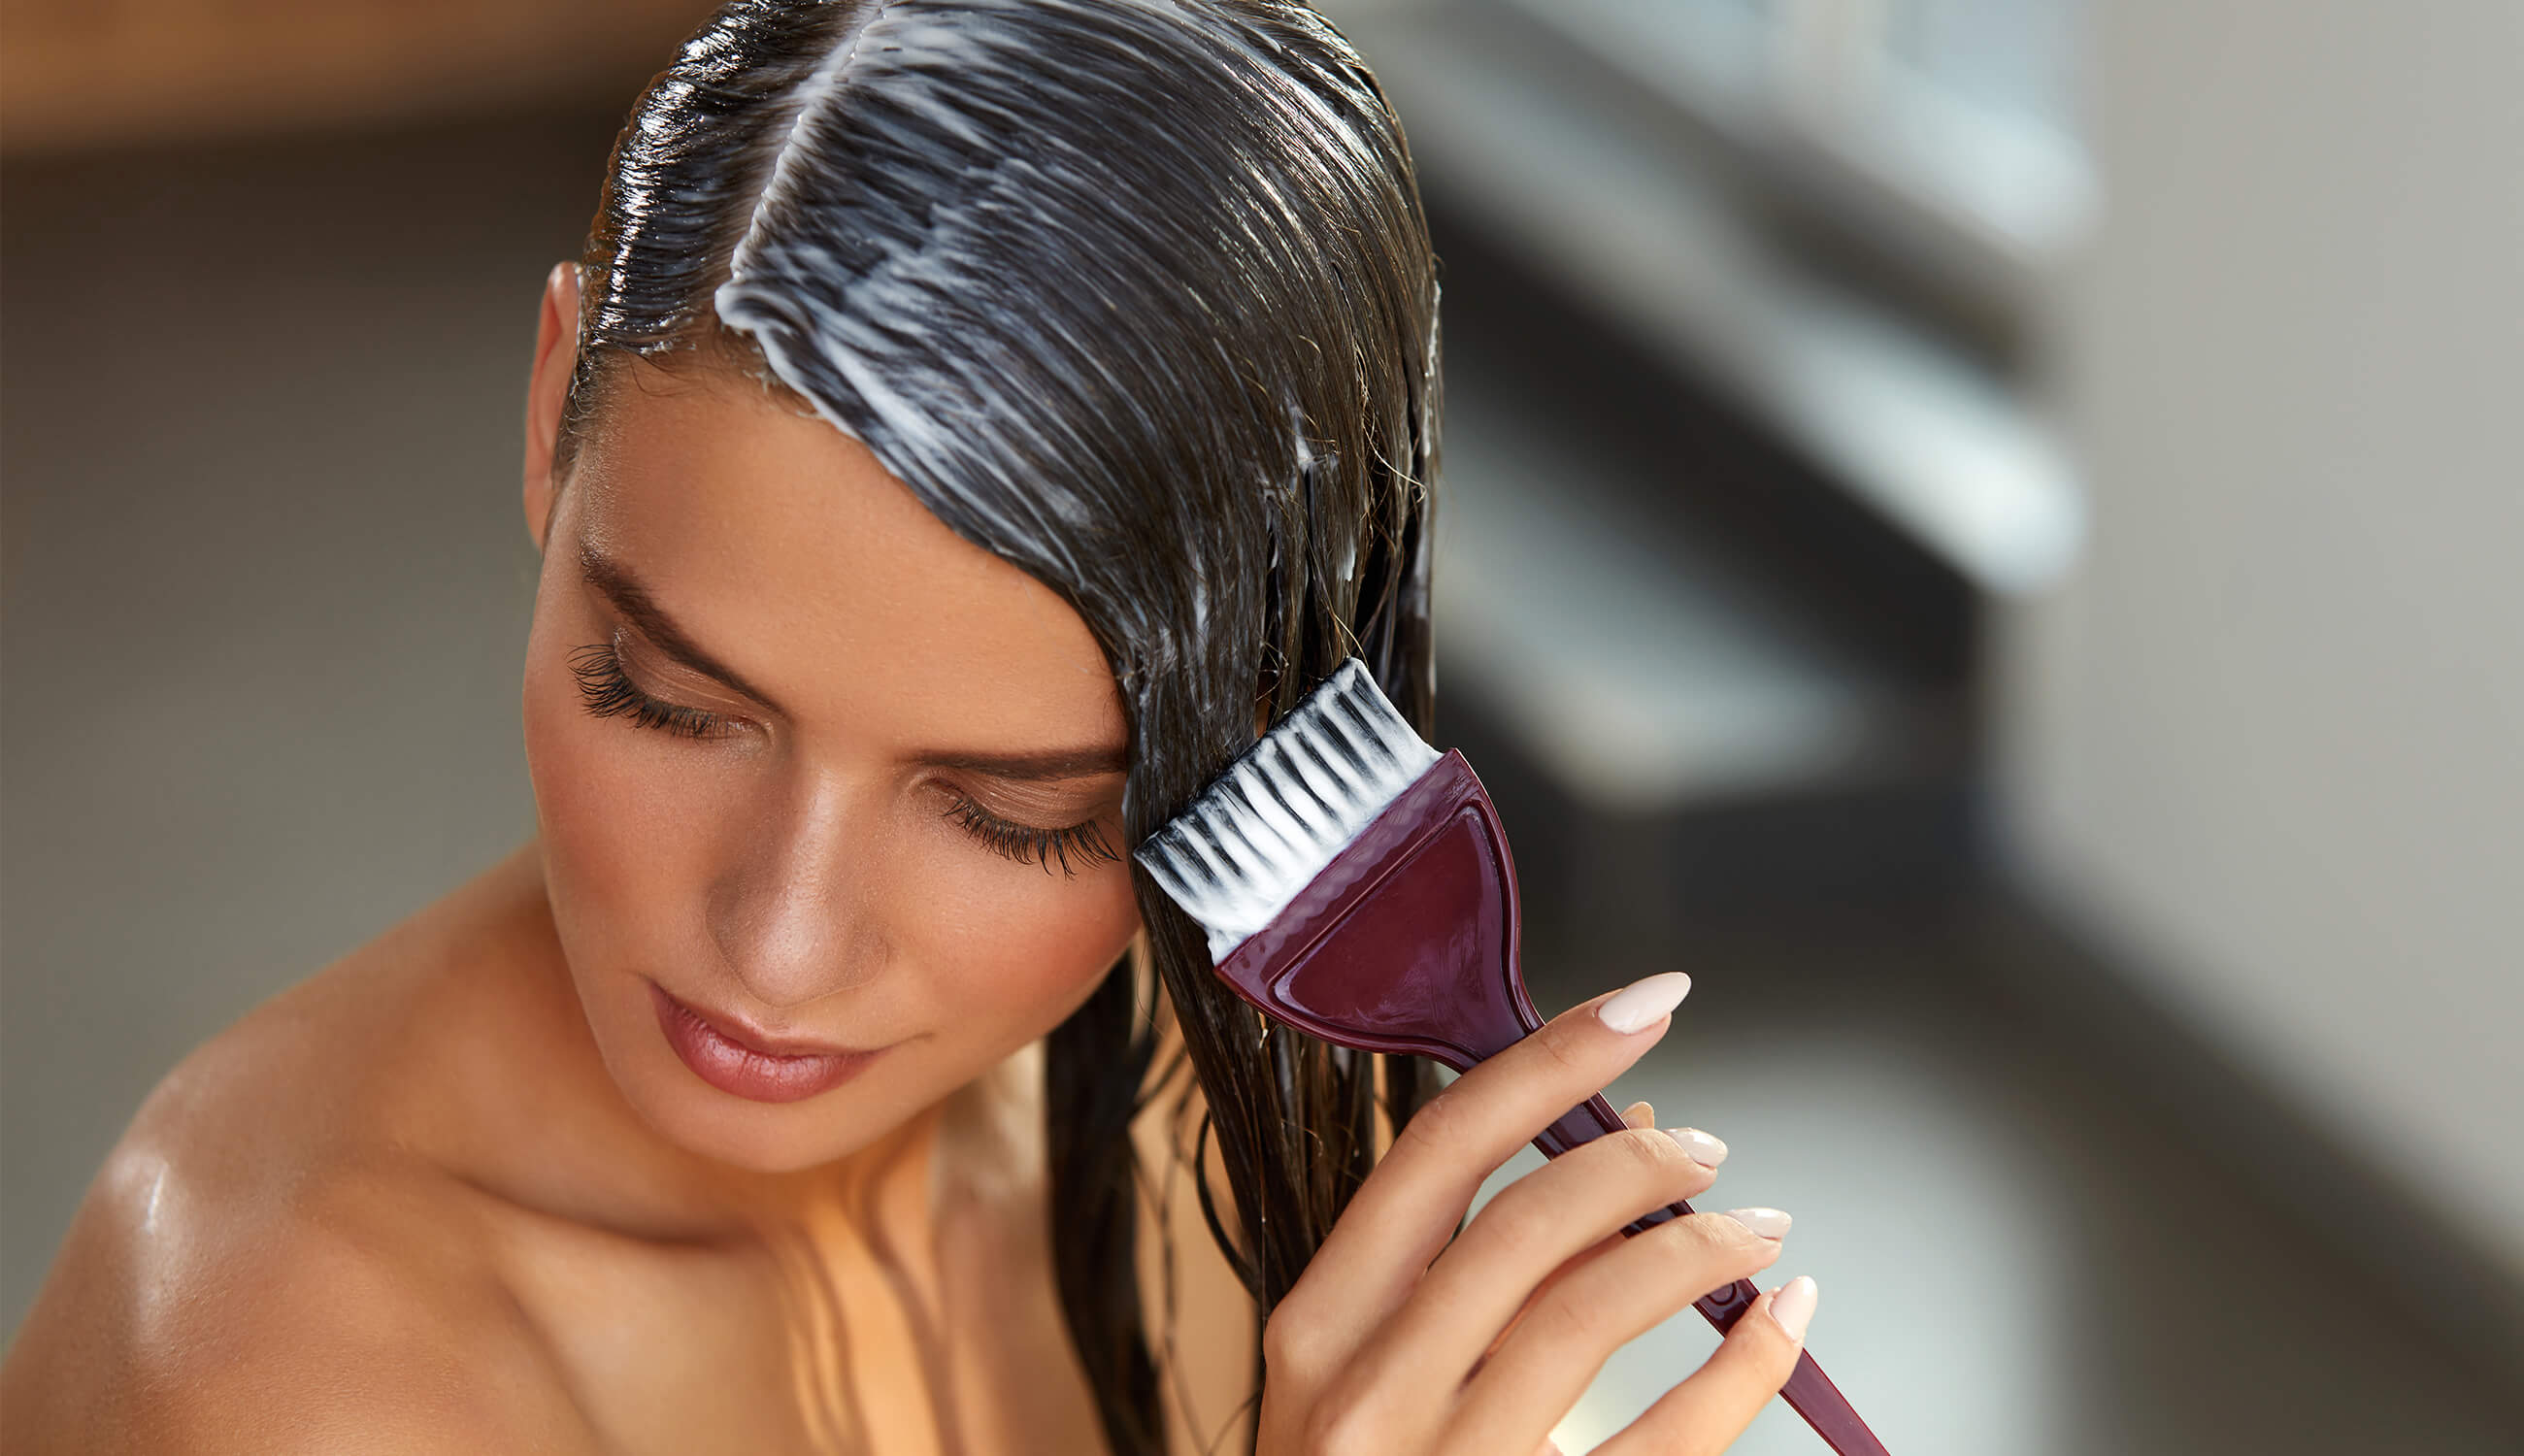
Many have been counting the days until hair salons reopened, while others aren’t quite ready to return even with restrictions lifted. For those of us in dire need of a root touch up or toning treatment, desperation can mean we have no choice but to dye hair at home. But beware home hair dye disasters – the risks for mishaps are many.
Dyeing your hair at home can be fun and nostalgic... until you get to the results stage. Maybe you were blindsided by a bold color, or realized you missed a few (critical) spots after drying and styling. The truth is that there’s a big learning curve for self-hair coloring, but we’re here to guide you through it!
Read through to learn what hair dyes you should be buying, how to apply them for the best results, and how to keep yourself as safe as possible during the home hair coloring process.
Many conventional hair dyes and bleaches rough on your hair and scalp. Even if you use these products correctly, they can still cause mild to severe scalp and skin irritation. But if you’re just learning how to dye hair at home, keep in mind that user errors can exacerbate these irritating effects.
Conventional hair dyes contain ingredients like ammonia, peroxide, toluene, and quaternium-15. Let’s break down why these ingredients can cause damage to both our hair and our health.
Ammonia
Ammonia is an alkalizing agent, designed to raise the pH of your hair follicle to open the cuticle layer of your hair. The hair follicles swell up and become more absorbent; this allows active ingredients in hair dye to permeate the hair. An alkalizing agent is especially important when you’re dyeing your hair in a shade that’s very different from your natural hair color.
While highly effective, ammonia can damage your hair by impacting its ability to retain moisture, leading to more rapid color loss. Ammonia can irritate respiratory systems and asthma, too. Fortunately, you can use ammonia-free hair color when you learn how to dye hair at home. Madison Reed offers tons of custom shades for home hair coloring, and ammonia is one of many ingredients on their “no” list.
Peroxide
Hydrogen peroxide can actually be used as a disinfectant in natural household cleaners. But while it’s great for your bathroom counters, it’s not so great for your hair. Peroxide can damage your hair cuticle, leading to breakage.
The reason peroxide is so effective at lightening hair is because it’s an oxidative hair dye. While this oxidation makes peroxide great for permanent hair dyes, it leads to oxidative stress, too. Oxidation in hair leads to aging, just as it does in skin – and can also be a major cause of hair loss.
Toluene
This no-no nail polish and hair dye ingredient can have both temporary or permanent effects. Like many of the potentially toxic ingredients on this list, toluene can lead to headaches, dizziness, scalp irritation, and allergic reactions. Some hairdressers who work with hair dyes containing toluene on a regular basis can also develop asthma as a result. Certain animal experiments have shown that toluene produces an inflammatory response in mice; inflammation can age both skin and hair.
Quaternium-15
Quaternium-15 is a formaldehyde releaser that acts as a preservative. As the name suggests, this substance releases doses of formaldehyde over time to prevent the growth of microbes. Similar to its counterparts, it can cause allergic reactions. Those who are exposed to this chemical for long periods of time (like hair stylists) might be especially at risk of developing side effects.
The most troubling part about hair dye is that we don’t have reliable information on how conventional dyes affect our hair. They may be the reason your scalp is irritated or why your hair is thinning, particularly if you regularly dye your hair.
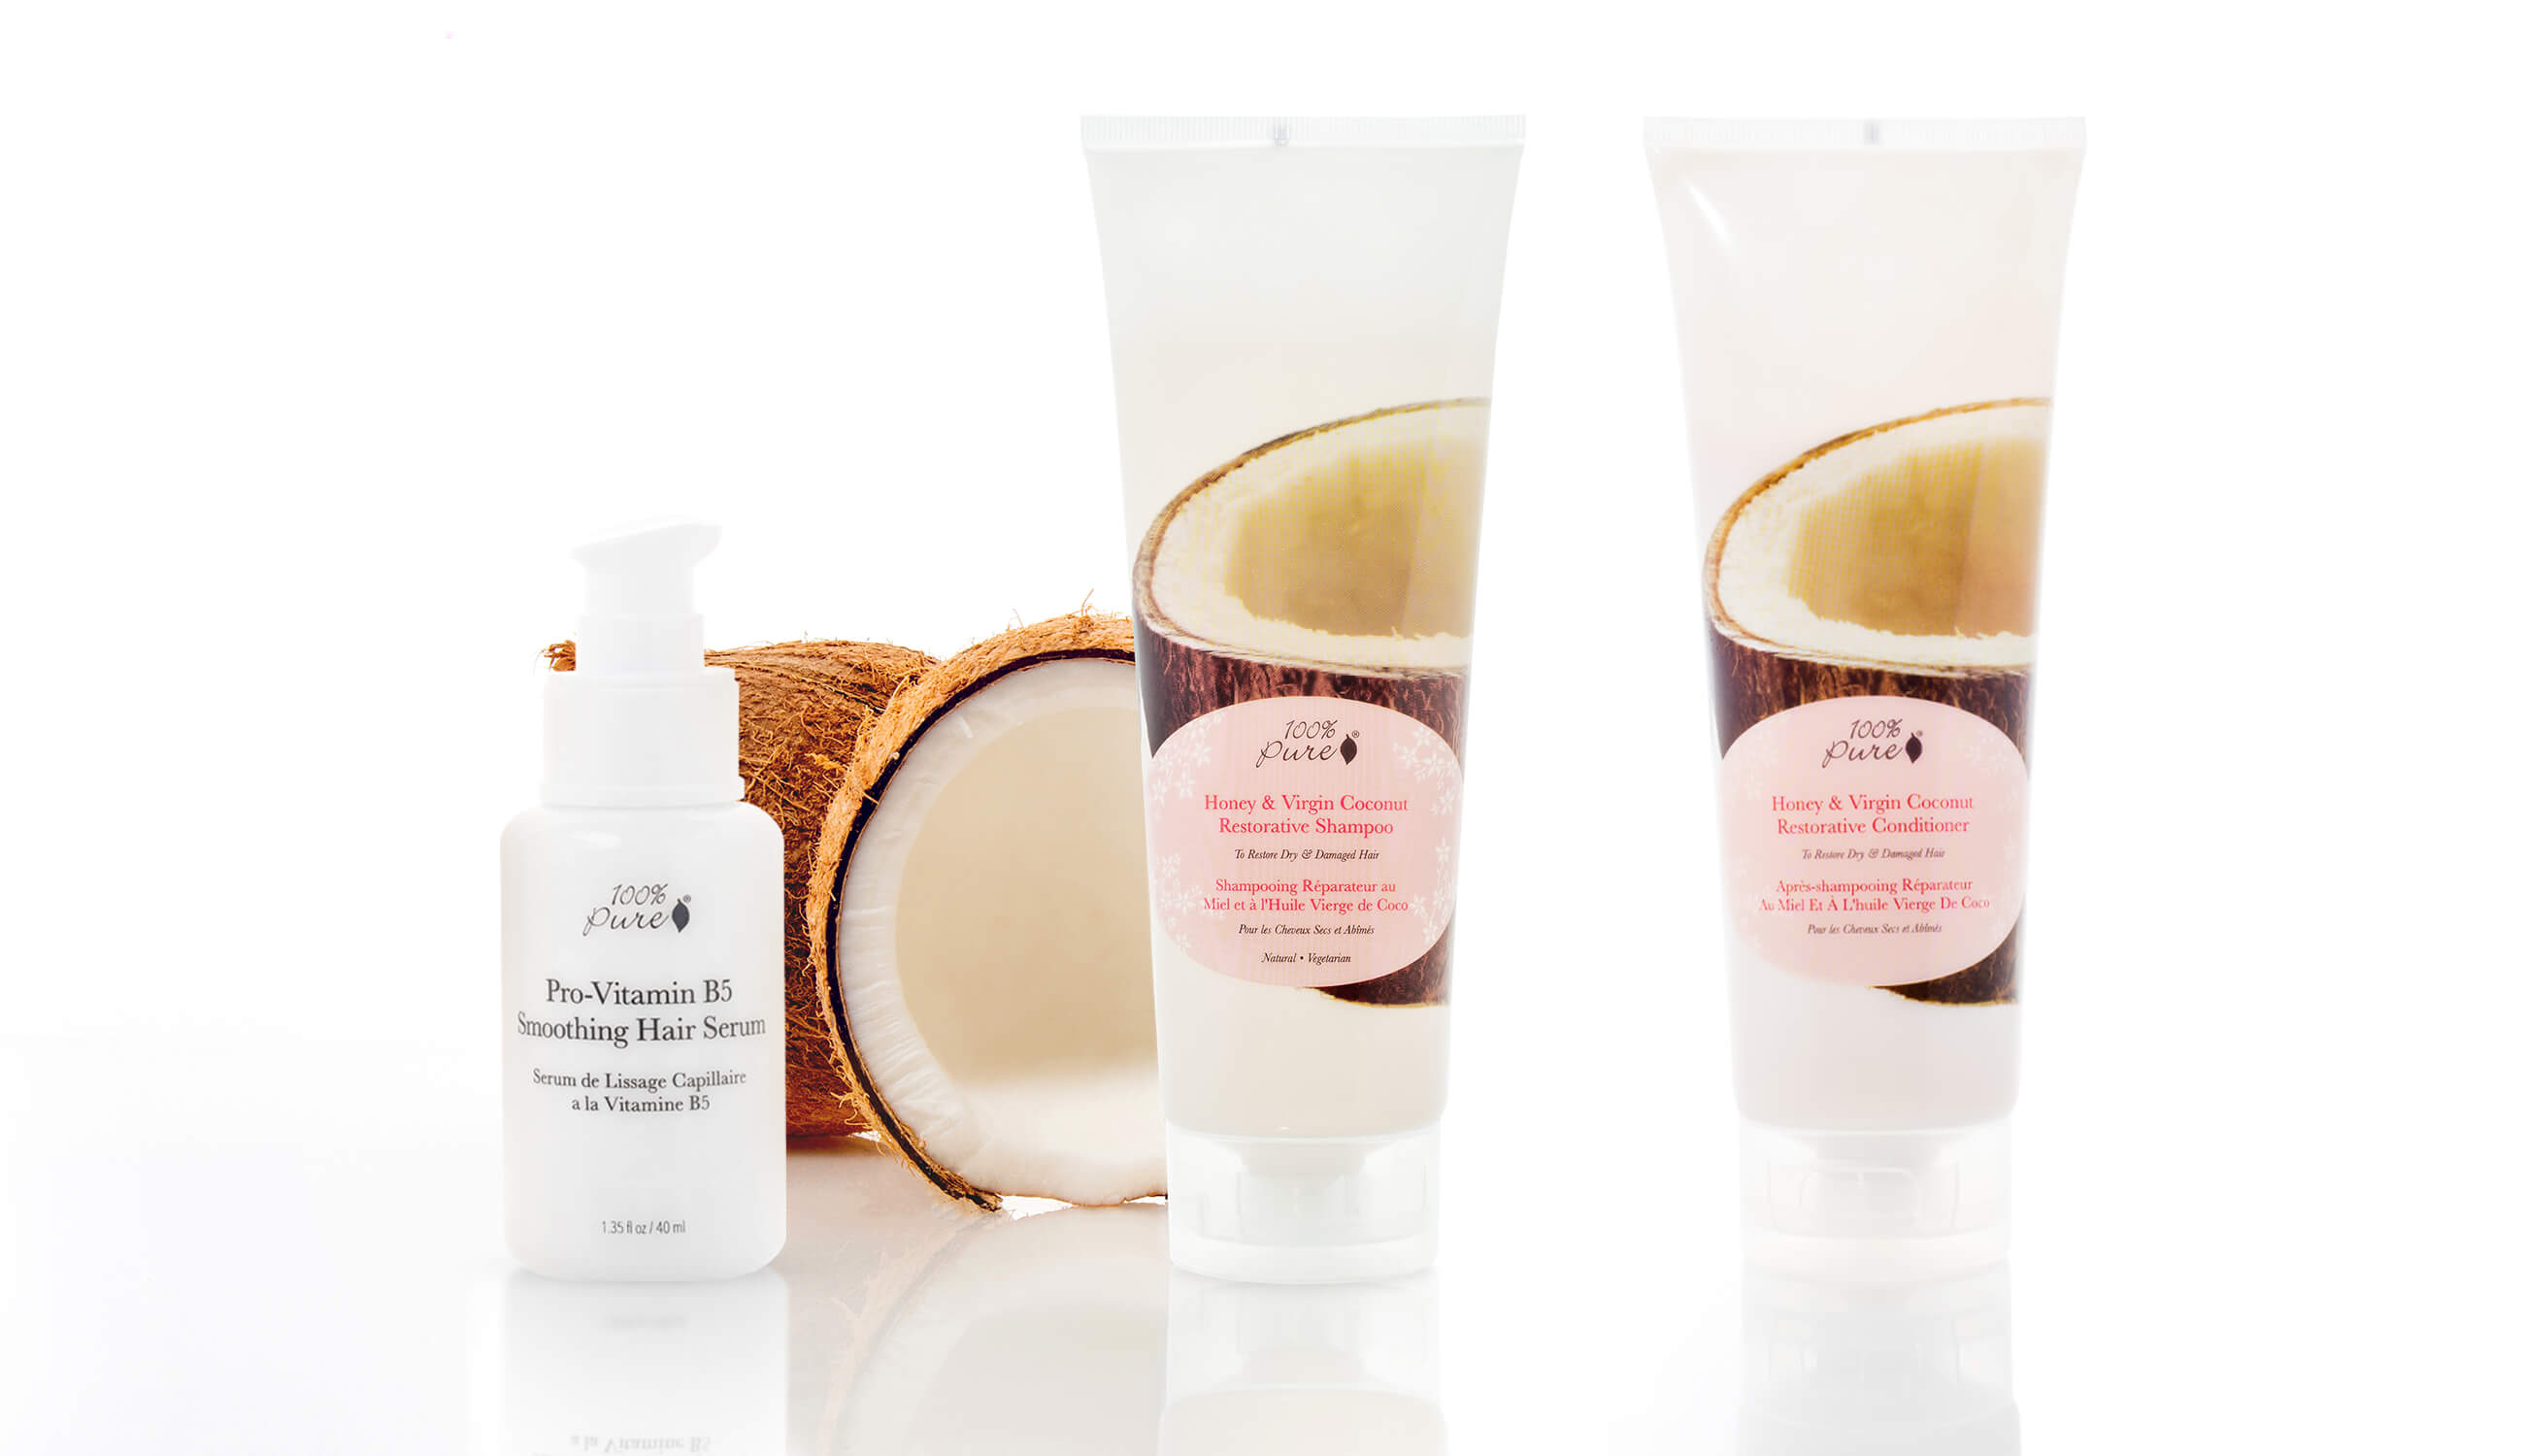
Dyes that are better for your health will avoid toxic ingredients at all costs. While ensuring that your dye doesn’t contain any harmful ingredients, remember to look for brands that are also cruelty-free and paraben-free. Quality hair color brands will contain nourishing ingredients that’ll help your hair recover from the process of dying your hair.
When you learn how to dye hair at home, using henna is a great beginner’s option. The color is quite permanent, but won’t cause as much damage as ammonia. Henna will gradually fade, but the color does stay for an impressive amount of time.
Henna also doesn’t penetrate the inner layer of the hair, known as the cortex. That means it’s great for preserving moisture in your hair and adding shine, or if you don’t want to spend much time on maintenance. Henna is a bit different from regular hair dye because it comes in powder form; when wet, it tends to take on the texture of mud. Remember to use versions that don’t contain metallic salts!
In general, however, you can learn how to dye hair at home with any natural, organic hair dye. Aveda hair color contains 93% natural ingredients – an impressive feat for hair color. They offer everything from natural tones to vibrant hues, plus luxurious hair care kits to make your color last.
Now that you know what dye to look for when you learn how to dye hair at home, it’s time to go through the process of actually dyeing your hair. There are a few preliminary steps you should take before dyeing and some aftercare steps for once you’re finished. But generally, you should be using the instructions from the brand you’ve bought your dye from.
1. Choose the color of your hair dye. Deciding what your next look’s going to be is the most exciting part!
2. Patch test your hair dye for allergies.
3. Strand test your hair dye to ensure it’s the color you prefer.
4. Create or use a barrier cream on your skin at the hairline, ears, and nape of your neck to protect your skin from the dye.
5. Follow the instructions on your hair dye box. They’ll differ depending on how thick your hair is, your hair type, and what color you’re looking to achieve.
6. Follow up with a moisturizing shampoo and conditioner, or a shampoo that promotes softness and gloss.
7. Use hair masks and serums in the weeks that follow your hair dye, and continue to treat your hair with care! Learning how to dye hair at home with natural color minimizes hair damage, but there’s usually always some level of damage.

-
Dye hair away from children and pets. The fumes may be too strong for them to handle.
-
Flush out hair dye fumes by dyeing hair in a drafty room, with ample ventilation and air flow.
-
Remember to take deep breaths. We tend to hold our breath while concentrating, but this can lead to lightheadedness when we breathe in strong fumes.
-
Use gloves; they help protect your skin from dye and make clean-up easier.
-
Do an allergy test. This is where you apply a small amount of your hair dye to the inside of your elbow or behind your ear. Wait 24 to 48 hours and check for irritation – if you have none, you should be good to go!
-
Patch test your hair dye, even if it’s a more natural-looking hair color. You want to make sure you’re satisfied with the option you’ve chosen before dyeing your entire head of hair. Choose strands of hair on an obscure part of your head
-
For your barrier cream, try to use a thick, moisturizing cream or body butter. Make sure it’s not comedogenic for your skin!
-
Use a hair serum once it’s safe to do so.
For more advice on how to ensure your tresses are always shiny and immaculate, particularly after a long stint with harsh chemical dyes, check out our post on How to Repair Damaged Hair!
- Tags: Bath Body Hair, how-to
We carefully hand-select products based on strict purity standards, and only recommend products we feel meet this criteria. 100% PURE™ may earn a small commission for products purchased through affiliate links.
The information in this article is for educational use, and not intended to substitute professional medical advice, diagnosis, or treatment and should not be used as such.


