Keep bacteria and breakouts at bay with these hygiene tips
Written by: 100% PURE®
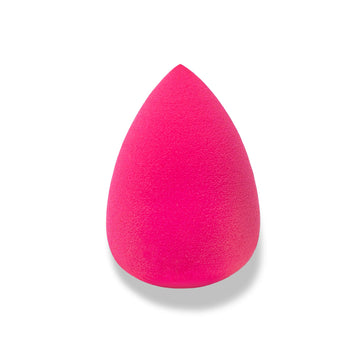
Behold, makeup’s best friend and queen of beauty tools: the makeup sponge. Though it’s quite simple in comparison to fancy makeup brushes, this trusty little sponge is arguably one of the most versatile tools in a beauty arsenal – and perhaps the least cleaned.
But with time and use comes the buildup of old makeup, bacteria, and oil left behind by every application. We’ll cover how to wash makeup sponges, how they work, and why a clean sponge means clear skin (and seamless makeup).
A beauty sponge can make or break any makeup look. Just like its name implies, makeup sponges soak up product and distribute it evenly across the skin. They’re best known for applying liquid foundation, cream products, and for blending everything from blush to eye shadow.
One of their best features is that they’re very porous. This also means they can hold onto loads of dirt, oil, old makeup – and worse, bacteria – which can lead to clogged pores, breakouts, or irritation.
It’s important to thoroughly wash your beauty sponge after each use. While diligent daily cleansing is key, you don’t want to hang onto the same makeup sponge forever; replace it every month or so.
A buildup of old makeup and products won’t just stain and make your sponges harder to use; these dirty sponges could also be harming your skin.
Makeup sponges can accumulate dead skin cells and bacteria, which could lead to breakouts. If you’re constantly wetting your beauty sponge to apply product and dabbing it across your face, it can quickly become a petri dish of germs. This is why knowing how to wash makeup sponges properly is key for maintaining a clear complexion!
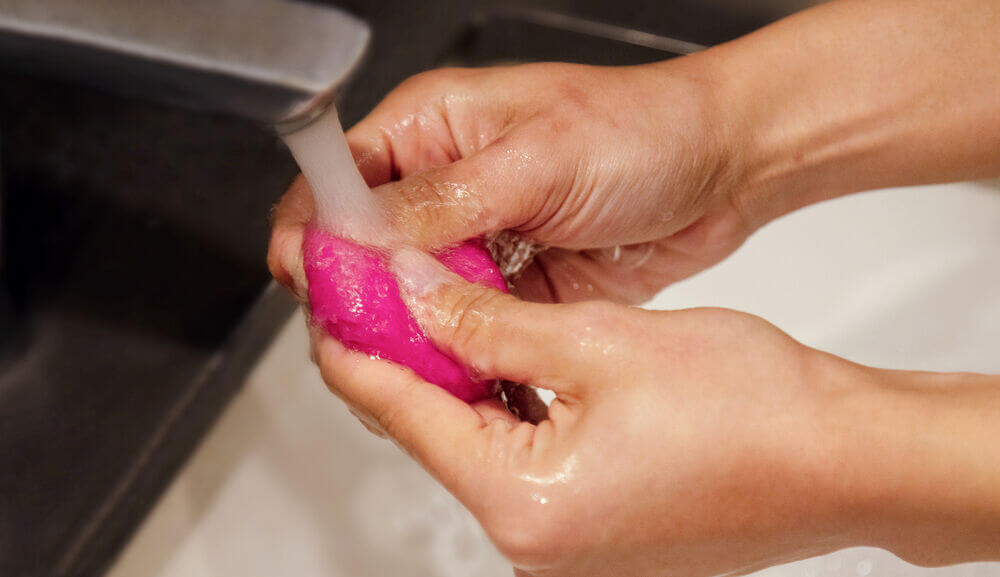
Step 1: Soak sponge
Using a small, clean dish, soak your makeup sponge in warm water. This helps to expand the porous sponge, to better allow makeup and oil to fall out. Let it soak about 15 minutes, or longer if it’s hard to tell the original color of your sponge.
PRO-TIP: It’s a good idea to have more than one makeup sponge on standby, so that you have backups to use while others are drying. Be sure to track how long you’ve used them, in to avoid germs and bacteria growth.
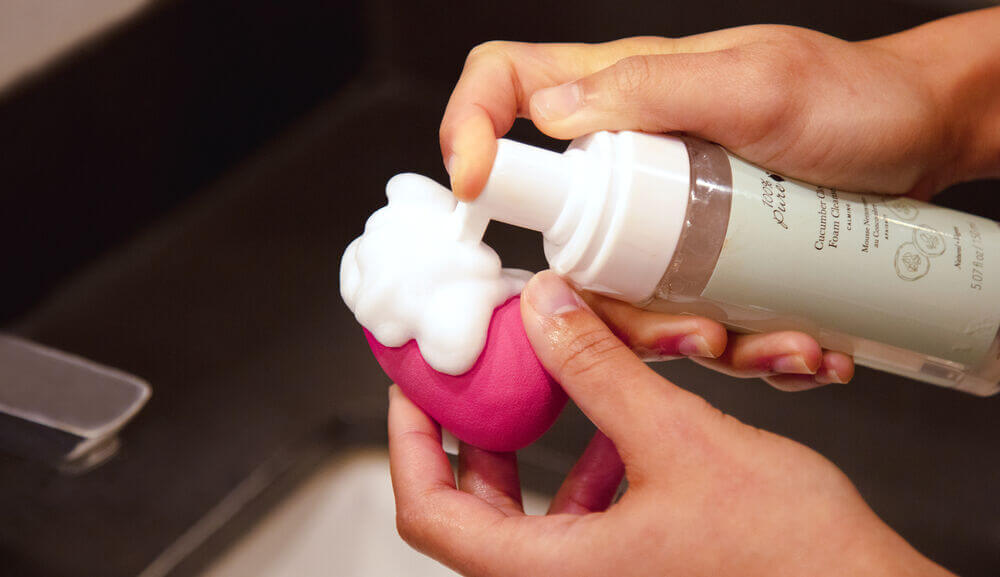
Step 2: Clean with soap
Every good soak needs some great suds. Work a lightweight cleanser into your sponge to help break apart any dirt, oil, and impurities remaining after the initial soaking period.
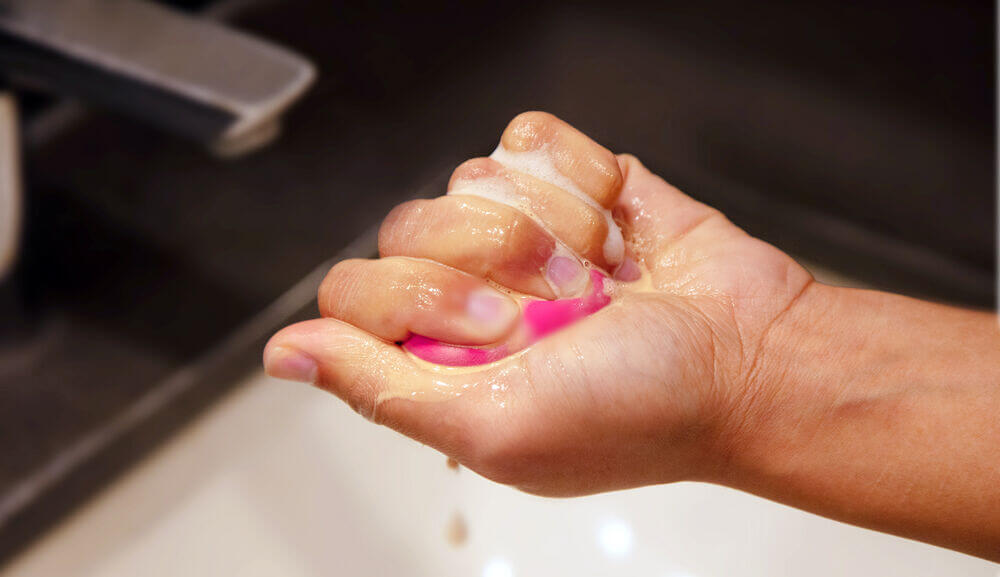
Step 3: Lather up
Add a little warm water to the mix and squeeze the sponge to create a lather. Gently massage and squeeze the cleanser through the sponge, to ensure it deeply cleans every pore.

Step 4: Clean with caution
Rub the sponge in the palm of your hand to loosen makeup and debris. Since makeup sponges are pretty delicate, it’s best to not use abrasive scrubbing pads that can snag or tear the material. It’s also best to not toss your sponge into the washer, as the heat and rough cycle can quickly ruin it.
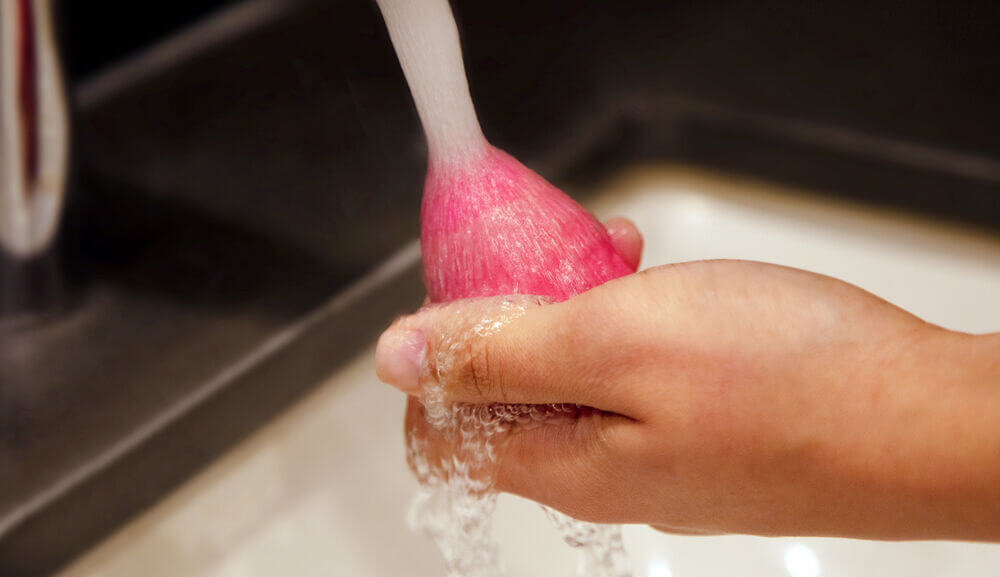
Step 5: Rinse
Continue to squeeze, massage, and rinse the sponge under warm running water until the water runs clean.
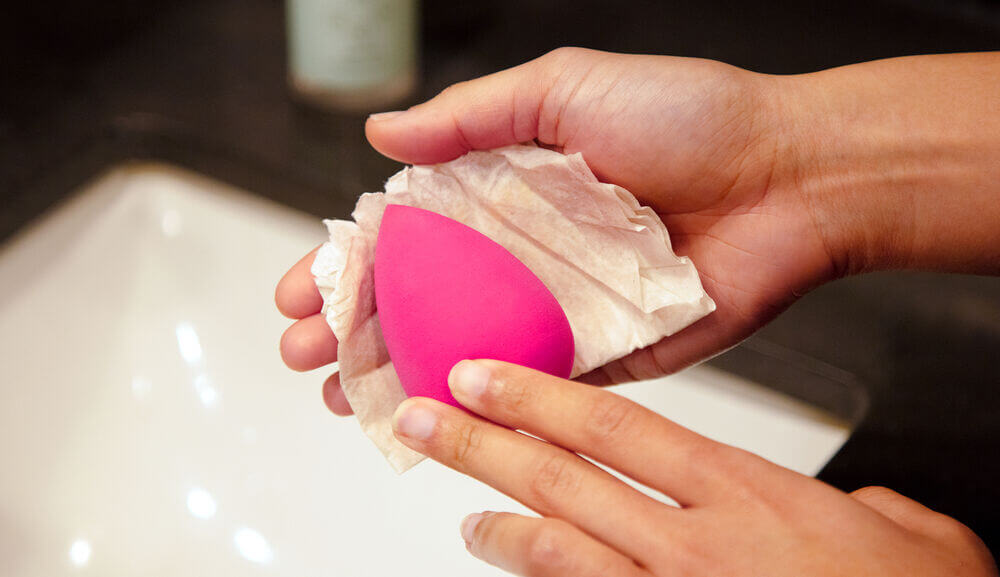
Step 6: Dry
Roll your makeup sponge over a clean paper or cloth towel to remove excess water. Then set it aside to air-dry only. It’s best to not use hair dryers, which can crack the material over time. Using a microwave to sanitize or dry your sponge may also cause damage.
Step 7: Store correctly
Storing your damp sponge in a makeup bag or vanity drawer could lead to mold growth or bacteria. The inside of a cosmetics bag or an airtight container can also be a breeding ground for germs, and the lack of ventilation encourages bacteria growth.
Hold onto and use the container the sponge came in to let it properly dry and to help keep the sponge off any contaminated surfaces. If you tossed the packaging, store in an airtight container once it’s completely dry.
Your makeup sponges aren’t the only tools that need washing: you need to wash your brushes, too! Be sure to check out our blog on simple ways to clean makeup brushes.
Whatever shape or material you choose for seamless application, regularly and properly cleaning your makeup sponge will help extend its longevity – and the health and beauty of your skin!
We carefully hand-select products based on strict purity standards, and only recommend products we feel meet this criteria. 100% PURE™ may earn a small commission for products purchased through affiliate links.
The information in this article is for educational use, and not intended to substitute professional medical advice, diagnosis, or treatment and should not be used as such.