Helpful hints on how to apply foundation for a soft, seamless finish
Written by: 100% PURE®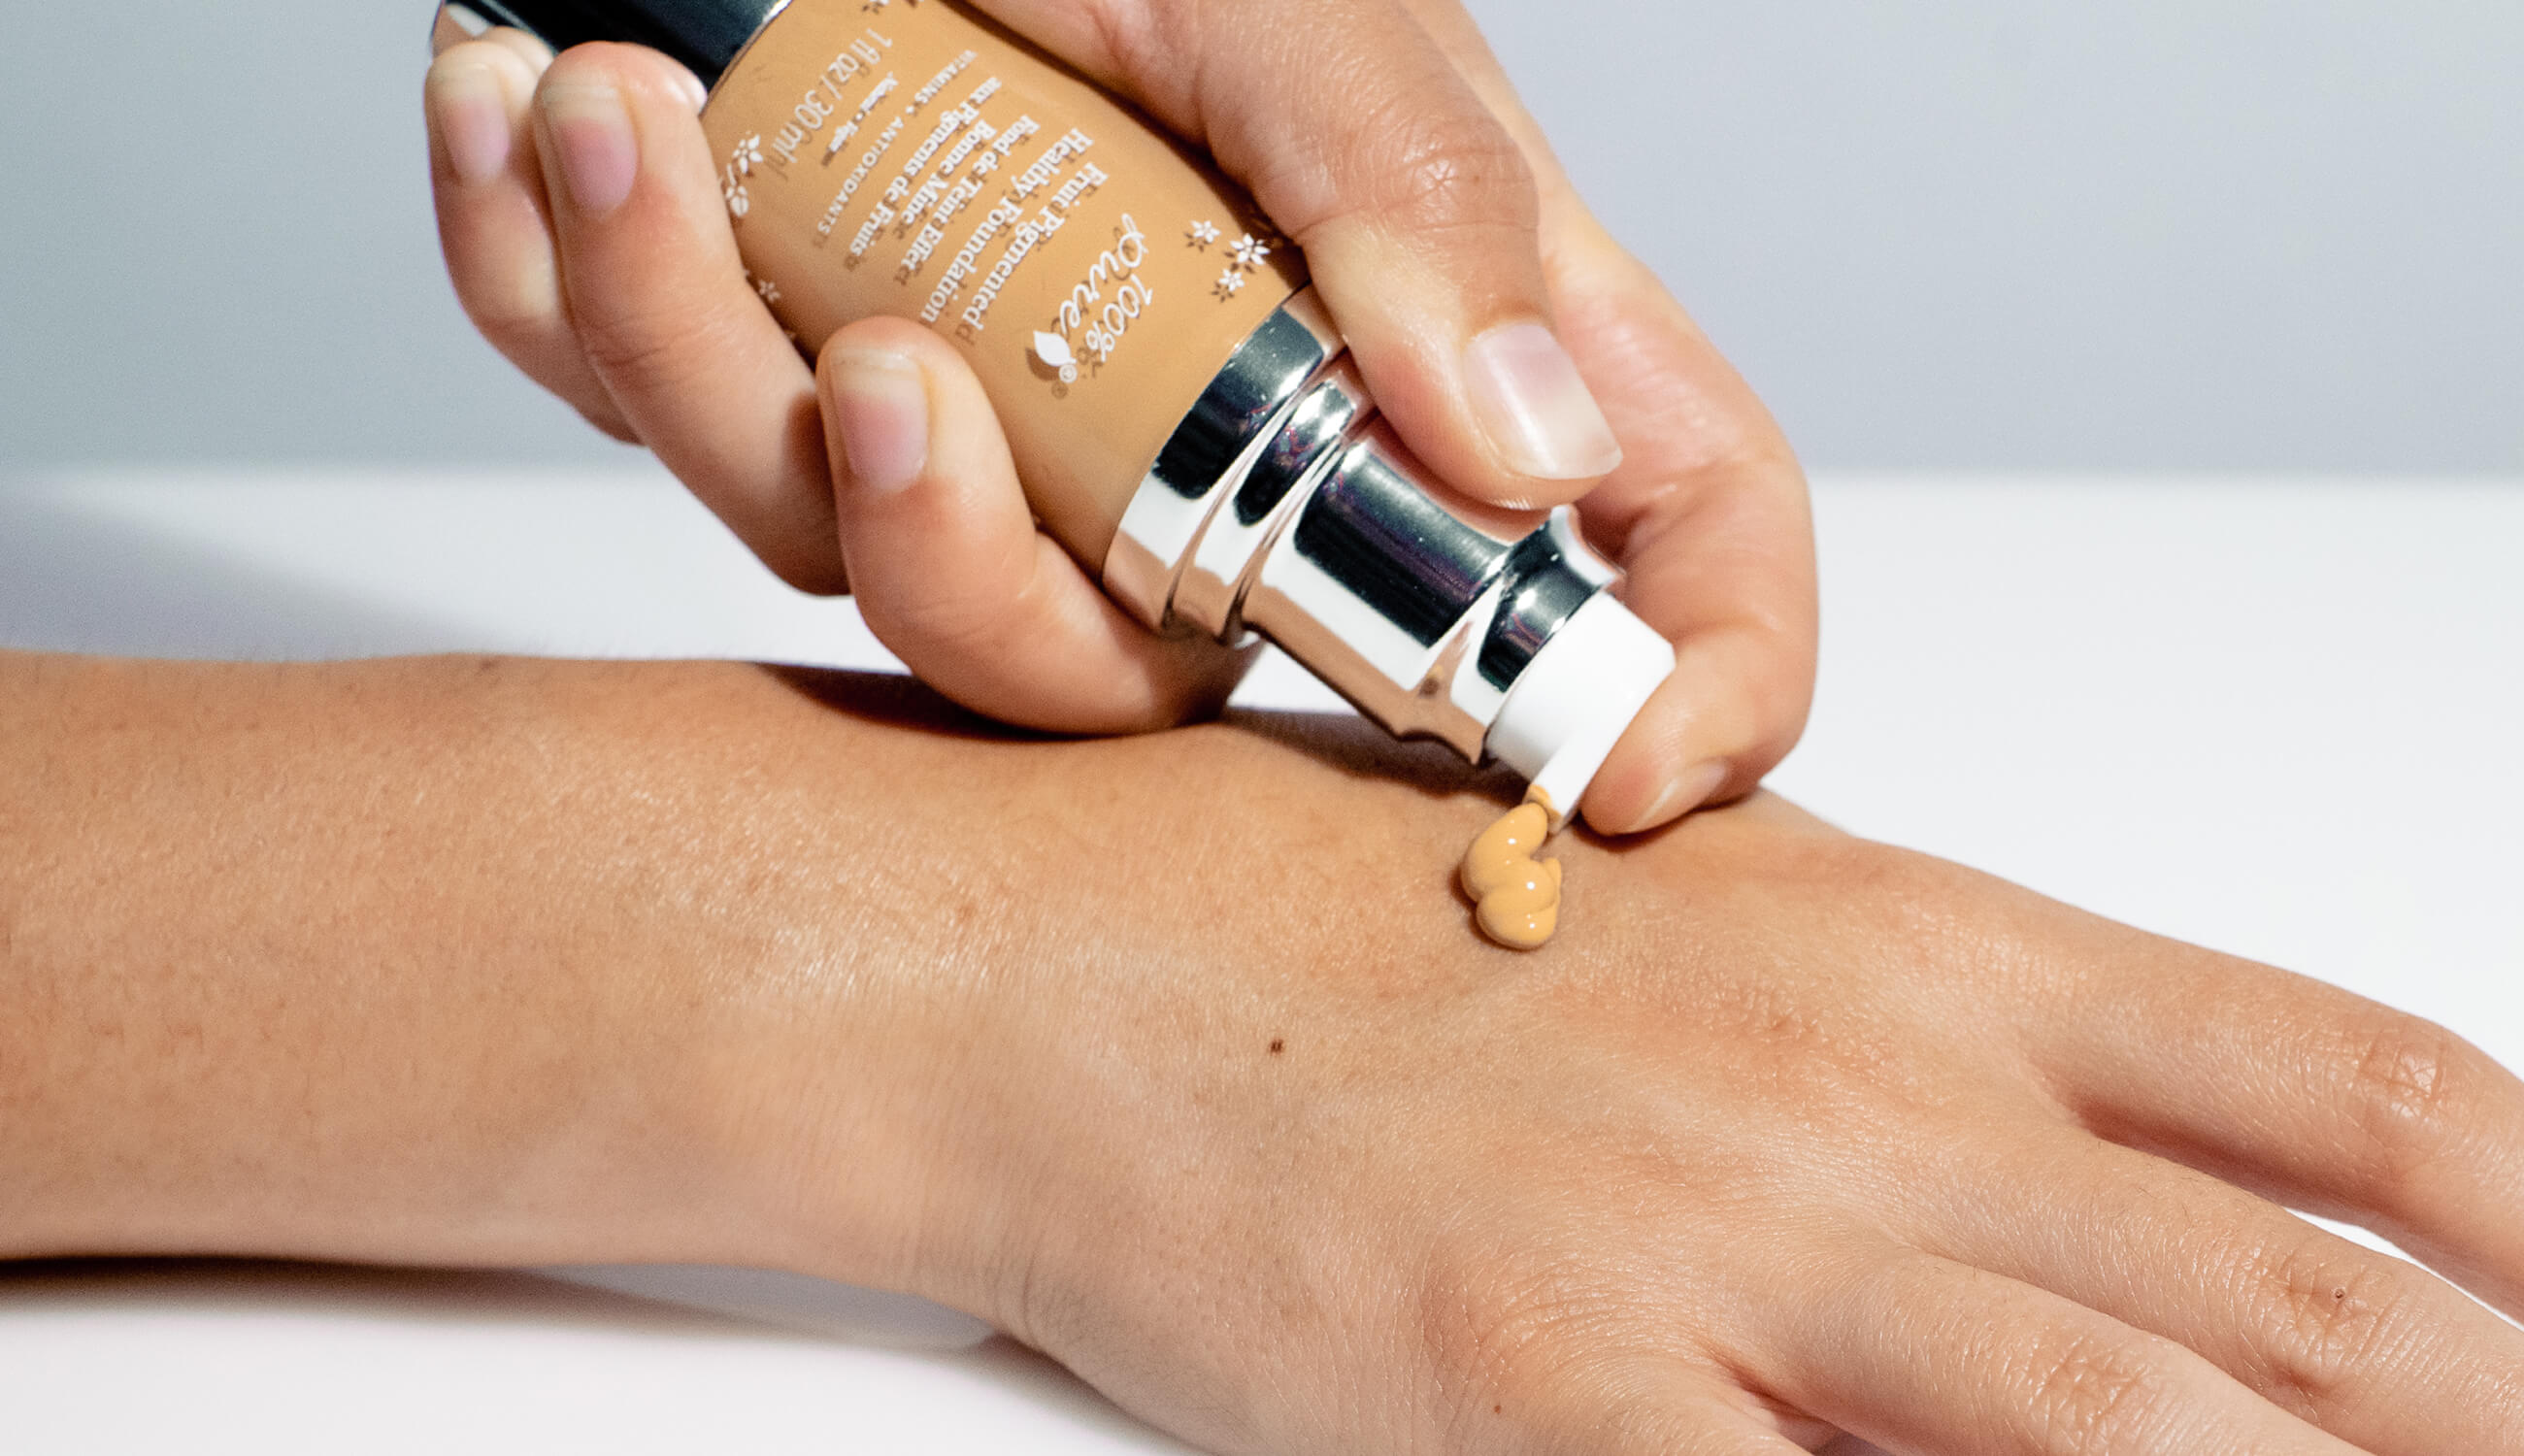
Ever tried a foundation that did NO justice to your skin? How about a slippery one that wouldn’t set, or a formula that creased in 5 minutes flat? Choosing – let alone applying – foundation can be quite an undertaking, and to be honest: a girl could use some help.
To help ourselves (and you, of course) we searched high and low to determine how to apply foundation like a professional makeup artist. We chose 5 all-important tips that the pros use to get flawless, your-skin-but-better glow. Fasten your foundation cap, because we’re diving in!
#1: Perfect Your Base
Our first lesson: foundation is only as good as the skin beneath it. That doesn’t mean you need to have perfect skin – it means starting with a smooth, flawless base. If you already have a full skin care routine, you’re a step ahead. If not, cleanser and moisturizer are a must-add if you expect your foundation to look soft and flawless.
First, search for products designed for your skin type. Those of us with oily skin are going to want sebum-balancing skin care ingredients, like charcoal and lavender. If your skin leans more towards dry, hydration will be your mantra. Find skin care with high concentrations of hyaluronic acid and aloe vera.
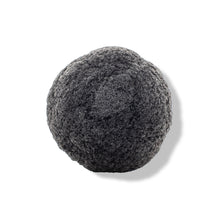
In order to prep for a smooth foundation application, you MUST start with clean, exfoliated, and hydrated skin. First wash your face using the natural cleanser that best suits your skin. Next, check your skin for dry, flakey, or scaly patches. For normal to oily skin, exfoliate regularly with a facial scrub to solve this. Dry or sensitive skin, gently buff away bumps and flakes with a damp konjac sponge. ALWAYS finish with a layer or two of moisturizer to restore supple softness to skin.
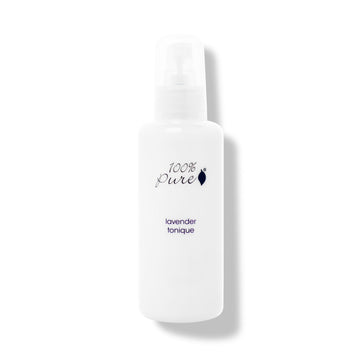
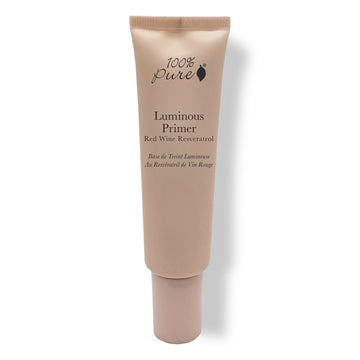
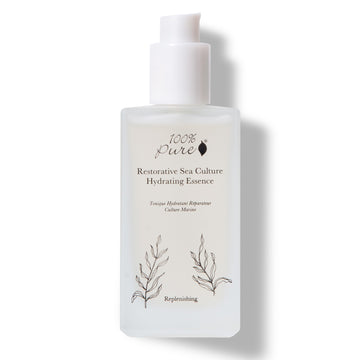
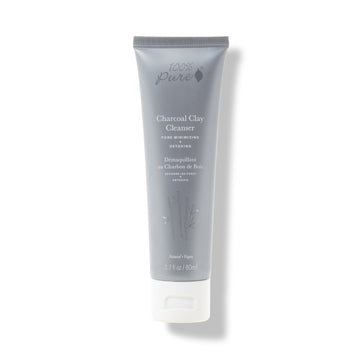
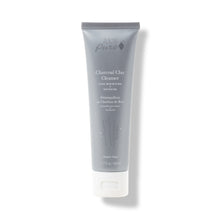
PRO TIP: Oily and acne-prone skin: start with the balancing Charcoal Clay Cleanser and Lavender Tonique. Dry or aging skin: prep skin with the quenching Restorative Sea Culture Toner and Luminous Primer.
#2: Take Your Time
Once your skin is fully hydrated, *wait* before applying your makeup. The mistake many of us make here is rushing in with our foundation, before our skin has time to fully absorb our skin care. If skin is still drinking in skin care products, what do you think it will do to your foundation?
If you’re noticing your foundation caking or flaking on skin midday (or earlier), rushing your routine could be the culprit. Give your products at 2-5 to set and absorb; your foundation will look much more ‘skin-like’ when it’s happily married with your skin care.
#3: Like for Like
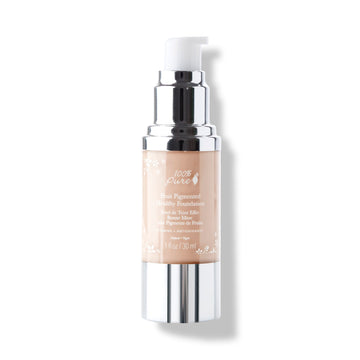
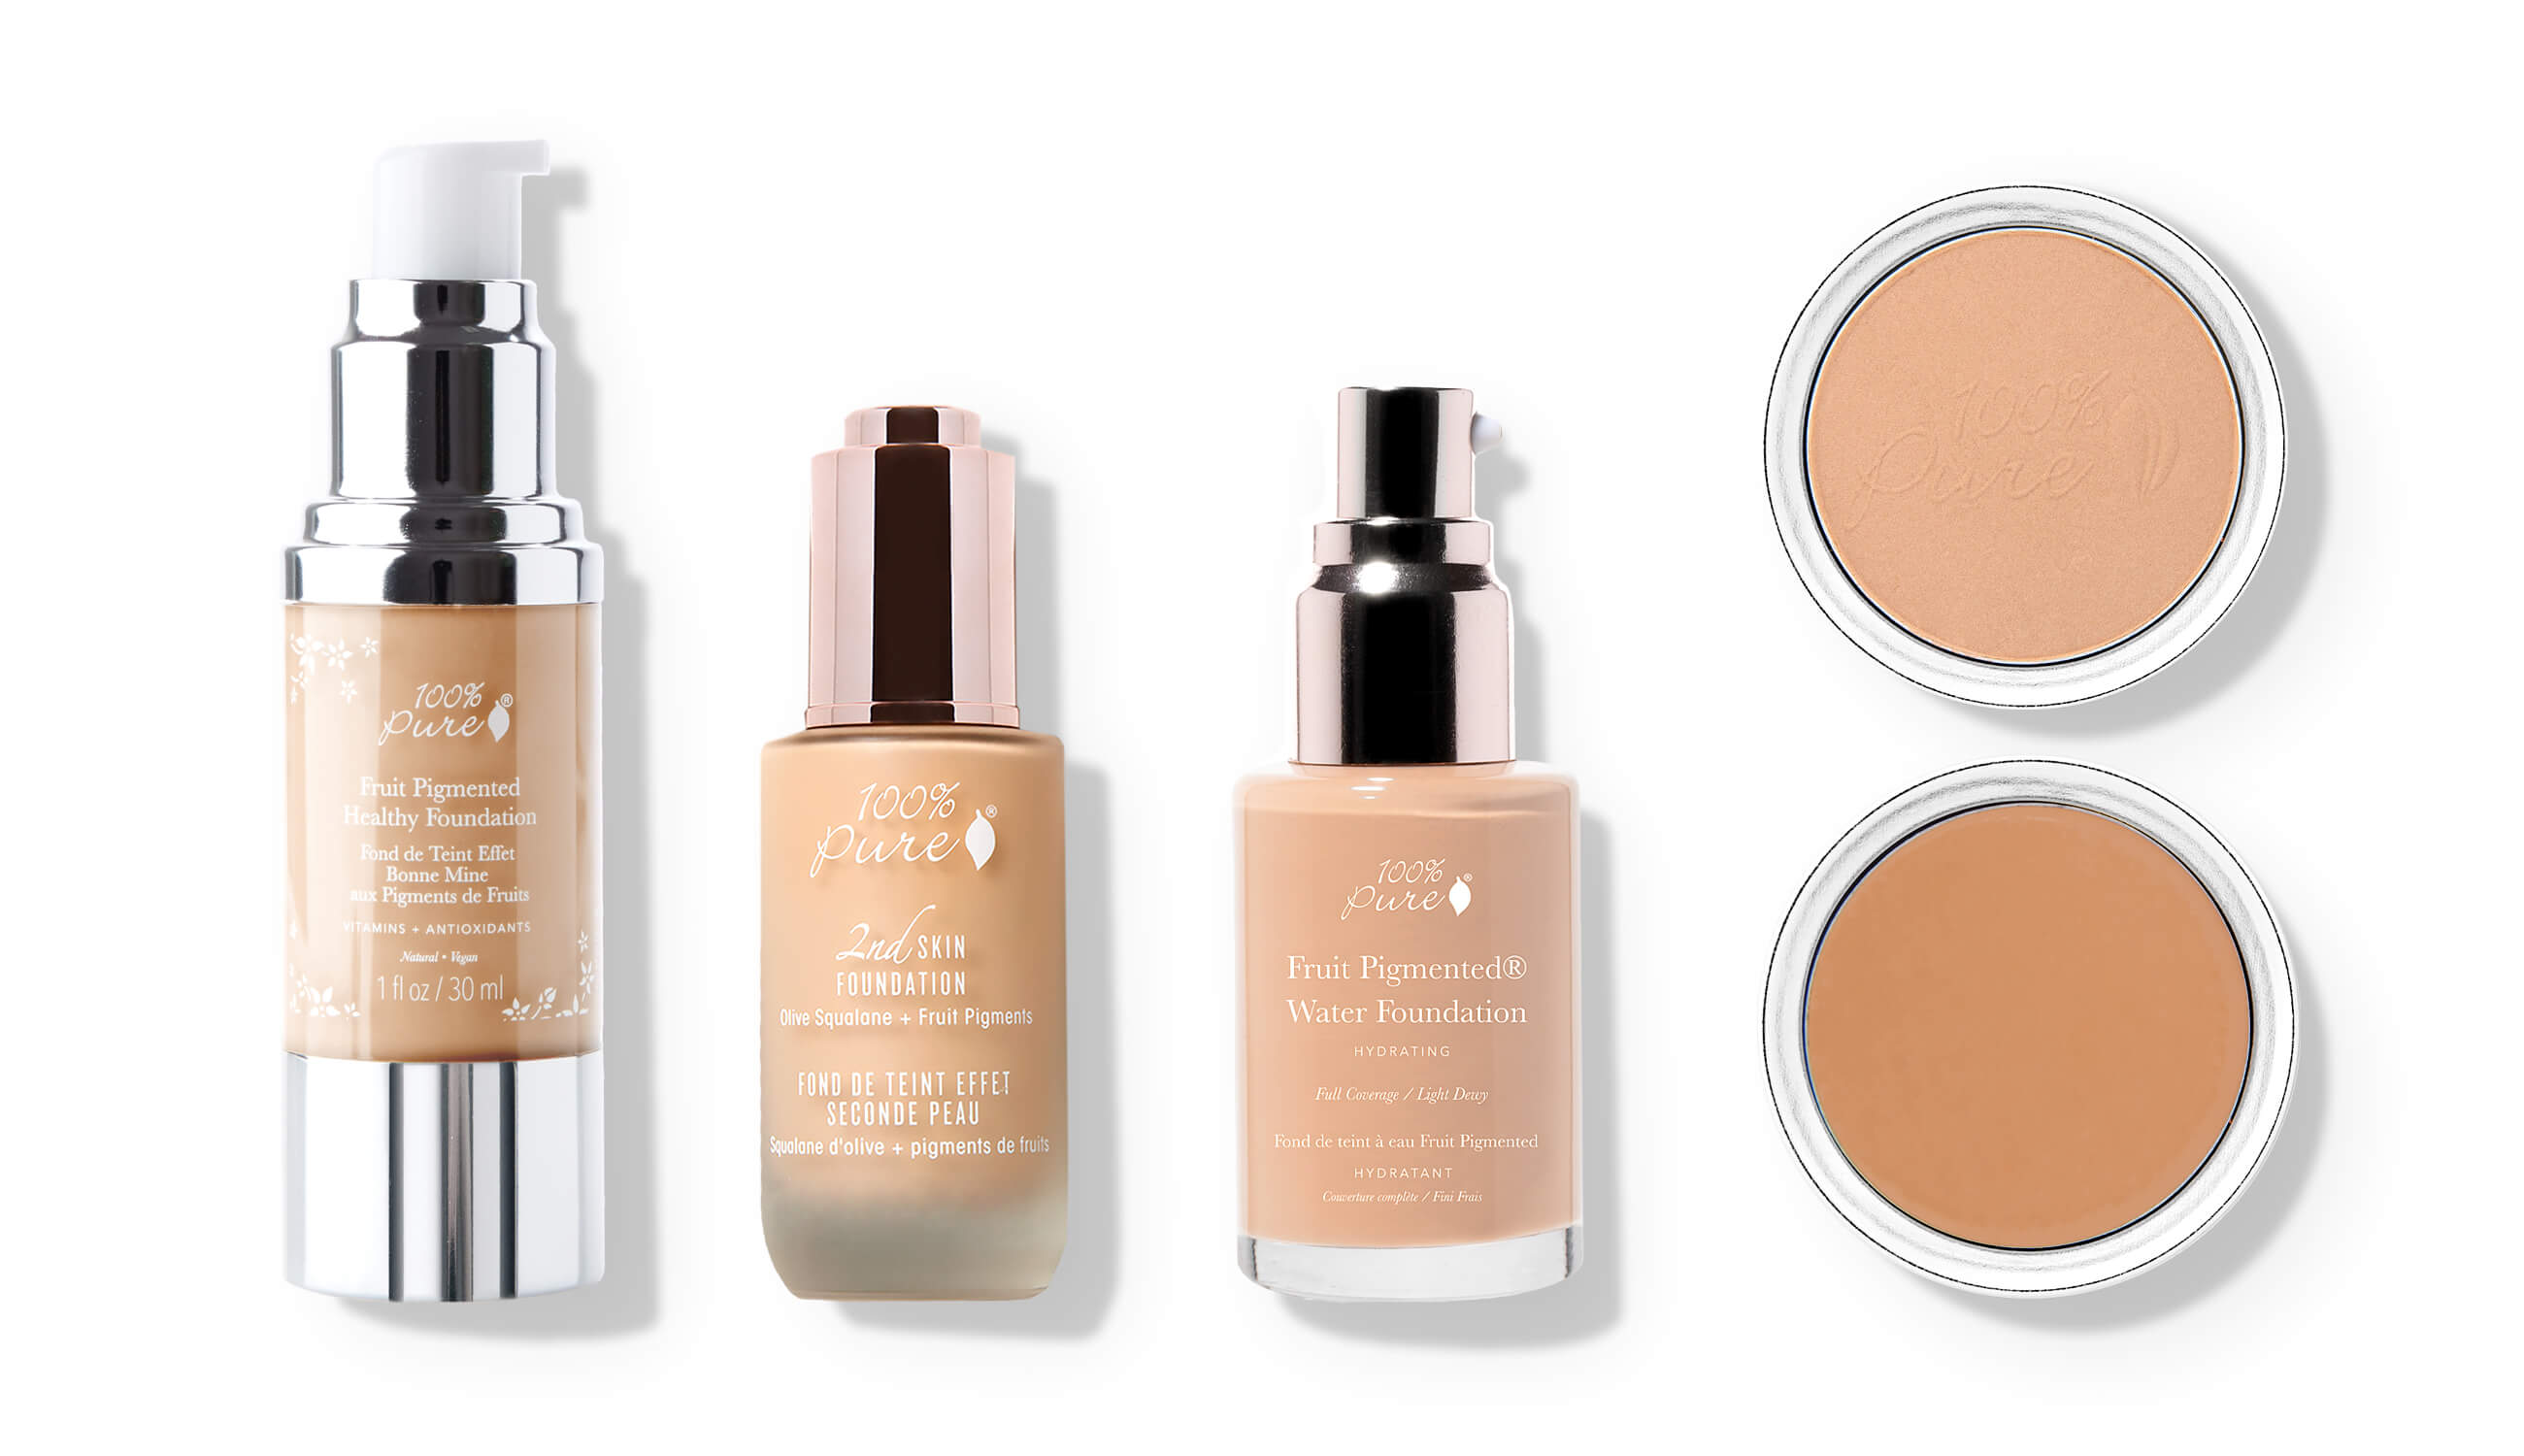
Now let’s get down to the nitty gritty: choosing a foundation for your skin type. Despite doing it every day for years, we still wonder how to apply foundation for the best results. The key here is to match your foundation type to your skin type. Makeup artist and Youtube star Wayne Goss often says, “like speaks to like” – that means finding the right fit for your skin before you begin. When makeup isn’t clashing with skin, you’re more likely to get the results you want instead of a caked, creasey mess.
Need a compass to point you to your perfect foundation? Dewy and hydrating options are most compatible with dry skin. Normal skin types can often wear a range of finishes, but we recommend looking for a foundation with radiance and glow to enhance skin’s natural luminosity. Medium coverage, satin foundations are safe bets for combination skin, and oily skin types will feel most comfortable with a matte foundation.
#4: Never Swipe (Left or Right)
We’re trying to avoid using shouty capitals here: please, for the love of all that is holy, never swipe foundation onto your skin. If you’re wondering how to apply foundation for more wrinkles, using a swiping motion with fingers, sponge, or brush will work great!
If you’d rather keep skin looking youthful and supple, keep reading. There are a few methods of foundation application recommended by makeup professionals, and none involve the dreaded ‘swipe’.
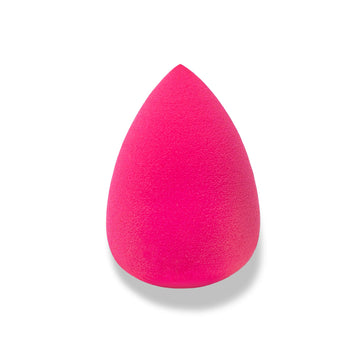
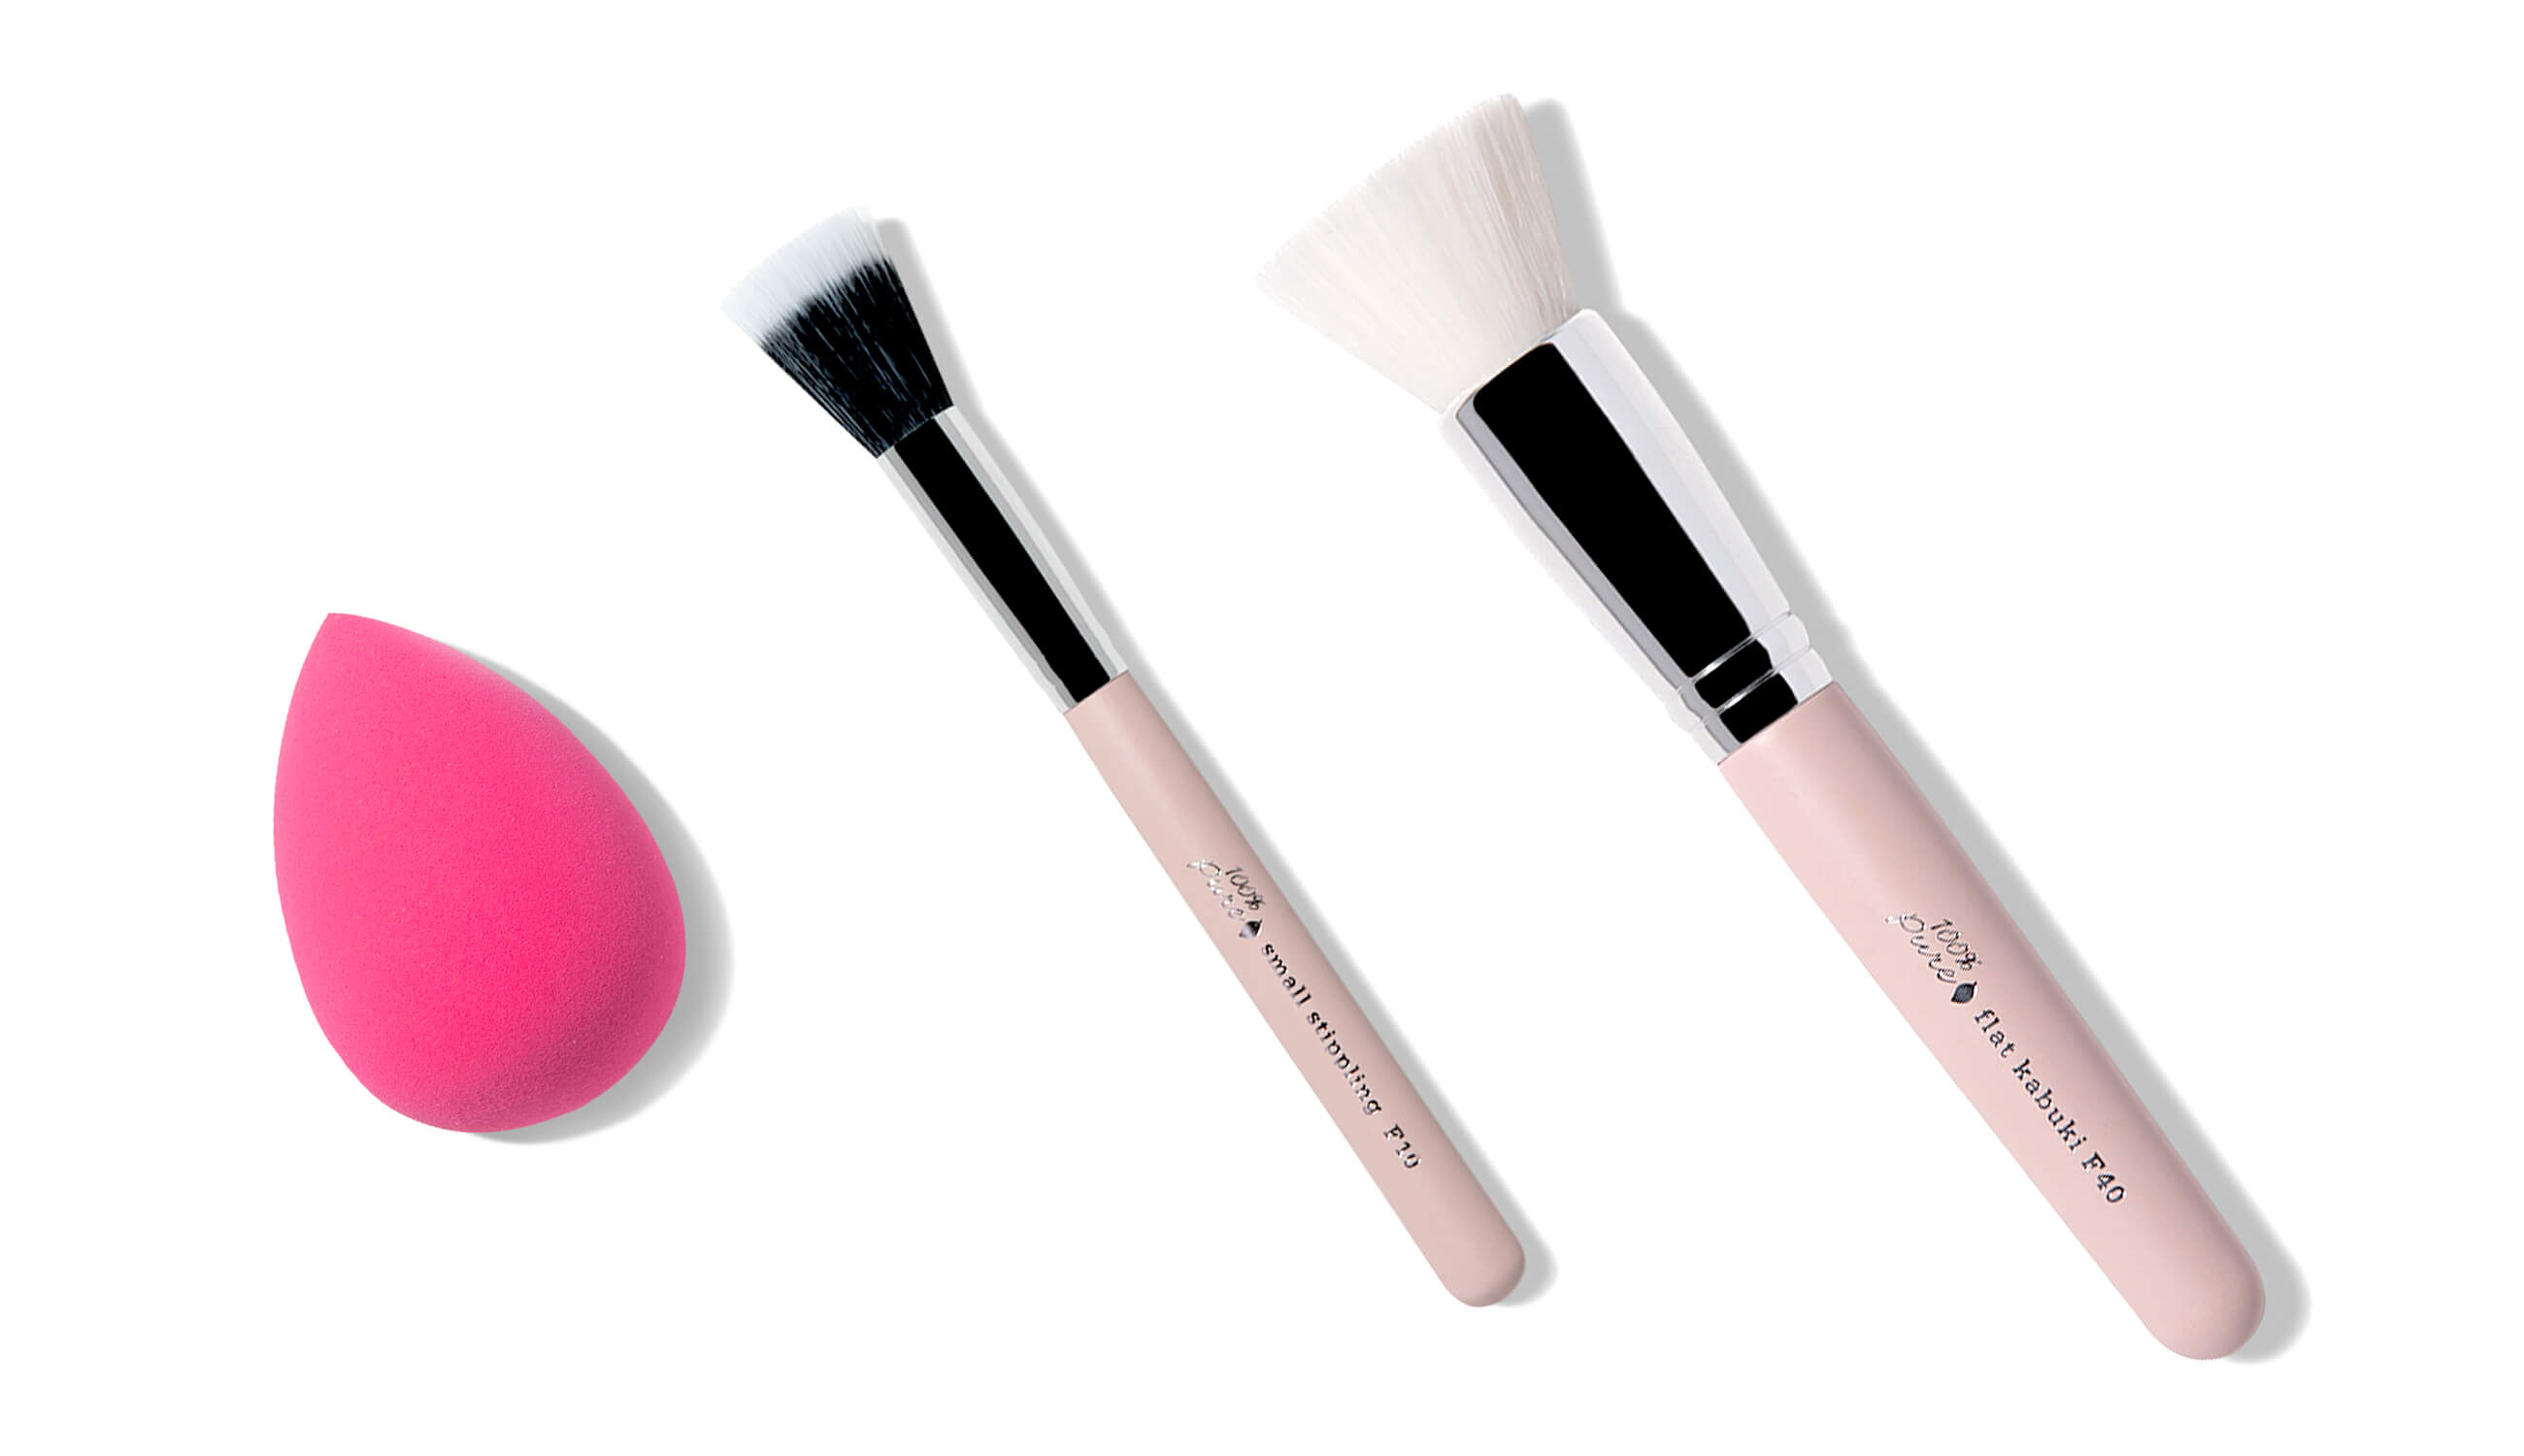
SPONGE
To get a seamless blend, sheered-out coverage, or double down for a dewy finish – go with a makeup sponge. Remember that your makeup sponge should be damp, but not soaking or dripping, when you use them to apply foundation.
First, dispense foundation onto a palette or the back of your hand. Dip the butt of the sponge into the product and dab over the skin, starting with the center of the face and working your way outward. Keep bouncing and rolling until you have a seamless blend. Utilize the pointed tip for hard-to-reach curves and creases of the face.
KABUKI
When your goal is a totally airbrushed, flawless finish with absolute full coverage, a brush will be your best bet. Try a flat kabuki brush; the bristles are flat and dense, allowing you to stamp on product and buff it out, similarly to how we would with a sponge. Remember that to properly blend with a brush, you’ll need to move in small, circular buffing motions.
STIPPLING
As pro makeup artist Lisa Eldridge mentions in her glass skin tutorial, try stippling a clean brush or damp sponge over your foundation. This can really help to remove excess product, diffuse heavy coverage, and sweep away oil that could later sabotage your foundation. For this, we’d recommend a stippling brush for the benefit of dual length bristles, which don’t disturb the product underneath.
FINGERS
We can’t forget about those of you that like to apply with your fingers! As makeup artist Caroline Barnes told Refinery 29, “Fingers really manipulate the product into your skin better than a brush, which you might have to constantly change in terms of shape”. They also help to warm the product for a more natural, satin finish, and can give you more control in those hard-to-reach places.
#5: Safety Set
Since you put in such hard work to get flawless foundation, we think it’s important to finish with some form of setting makeup. You can try your own DIY setting spray, or go in with a little powder to reinforce your foundation.
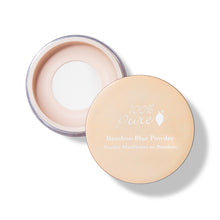
You may not need to set all over your skin; for most of us, the T-zone is the most problematic area for shine and slippage. That means starting with your forehead, nose, and chin. If you’re looking for more than 2 hours of wear, it’s a good idea to dust over a finishing powder. This will absorb any excess oil and blur the products you’ve applied to truly achieve a natural foundation finish worthy of a pro.
- Tags: August-2019, make up, Makeup
We carefully hand-select products based on strict purity standards, and only recommend products we feel meet this criteria. 100% PURE™ may earn a small commission for products purchased through affiliate links.
The information in this article is for educational use, and not intended to substitute professional medical advice, diagnosis, or treatment and should not be used as such.