Enhancing your best features with simple face contouring techniques
Written by: 100% PURE ®
If face contouring isn’t already a part of your routine, you might wonder why you should bother with an extra step. Your beauty routine should be about simplicity – but what if you could sharpen your features without adding an hour to your morning?>
Depending on your specific beauty goals, the benefits of face contouring could far outweigh the extra time. We’ll cover the basics of face contouring below; from the tools you need to techniques and advice you should use. And most importantly – if it’s right for you!
You can see and hear face contouring in almost every makeup tutorial on the internet. According to MUA Beau Nelson, “contouring is giving shape to an area of the face and enhancing the facial structure through makeup.” This skill emphasizes certain angles and curves of your face, while de-emphasizing areas you’d prefer hidden.
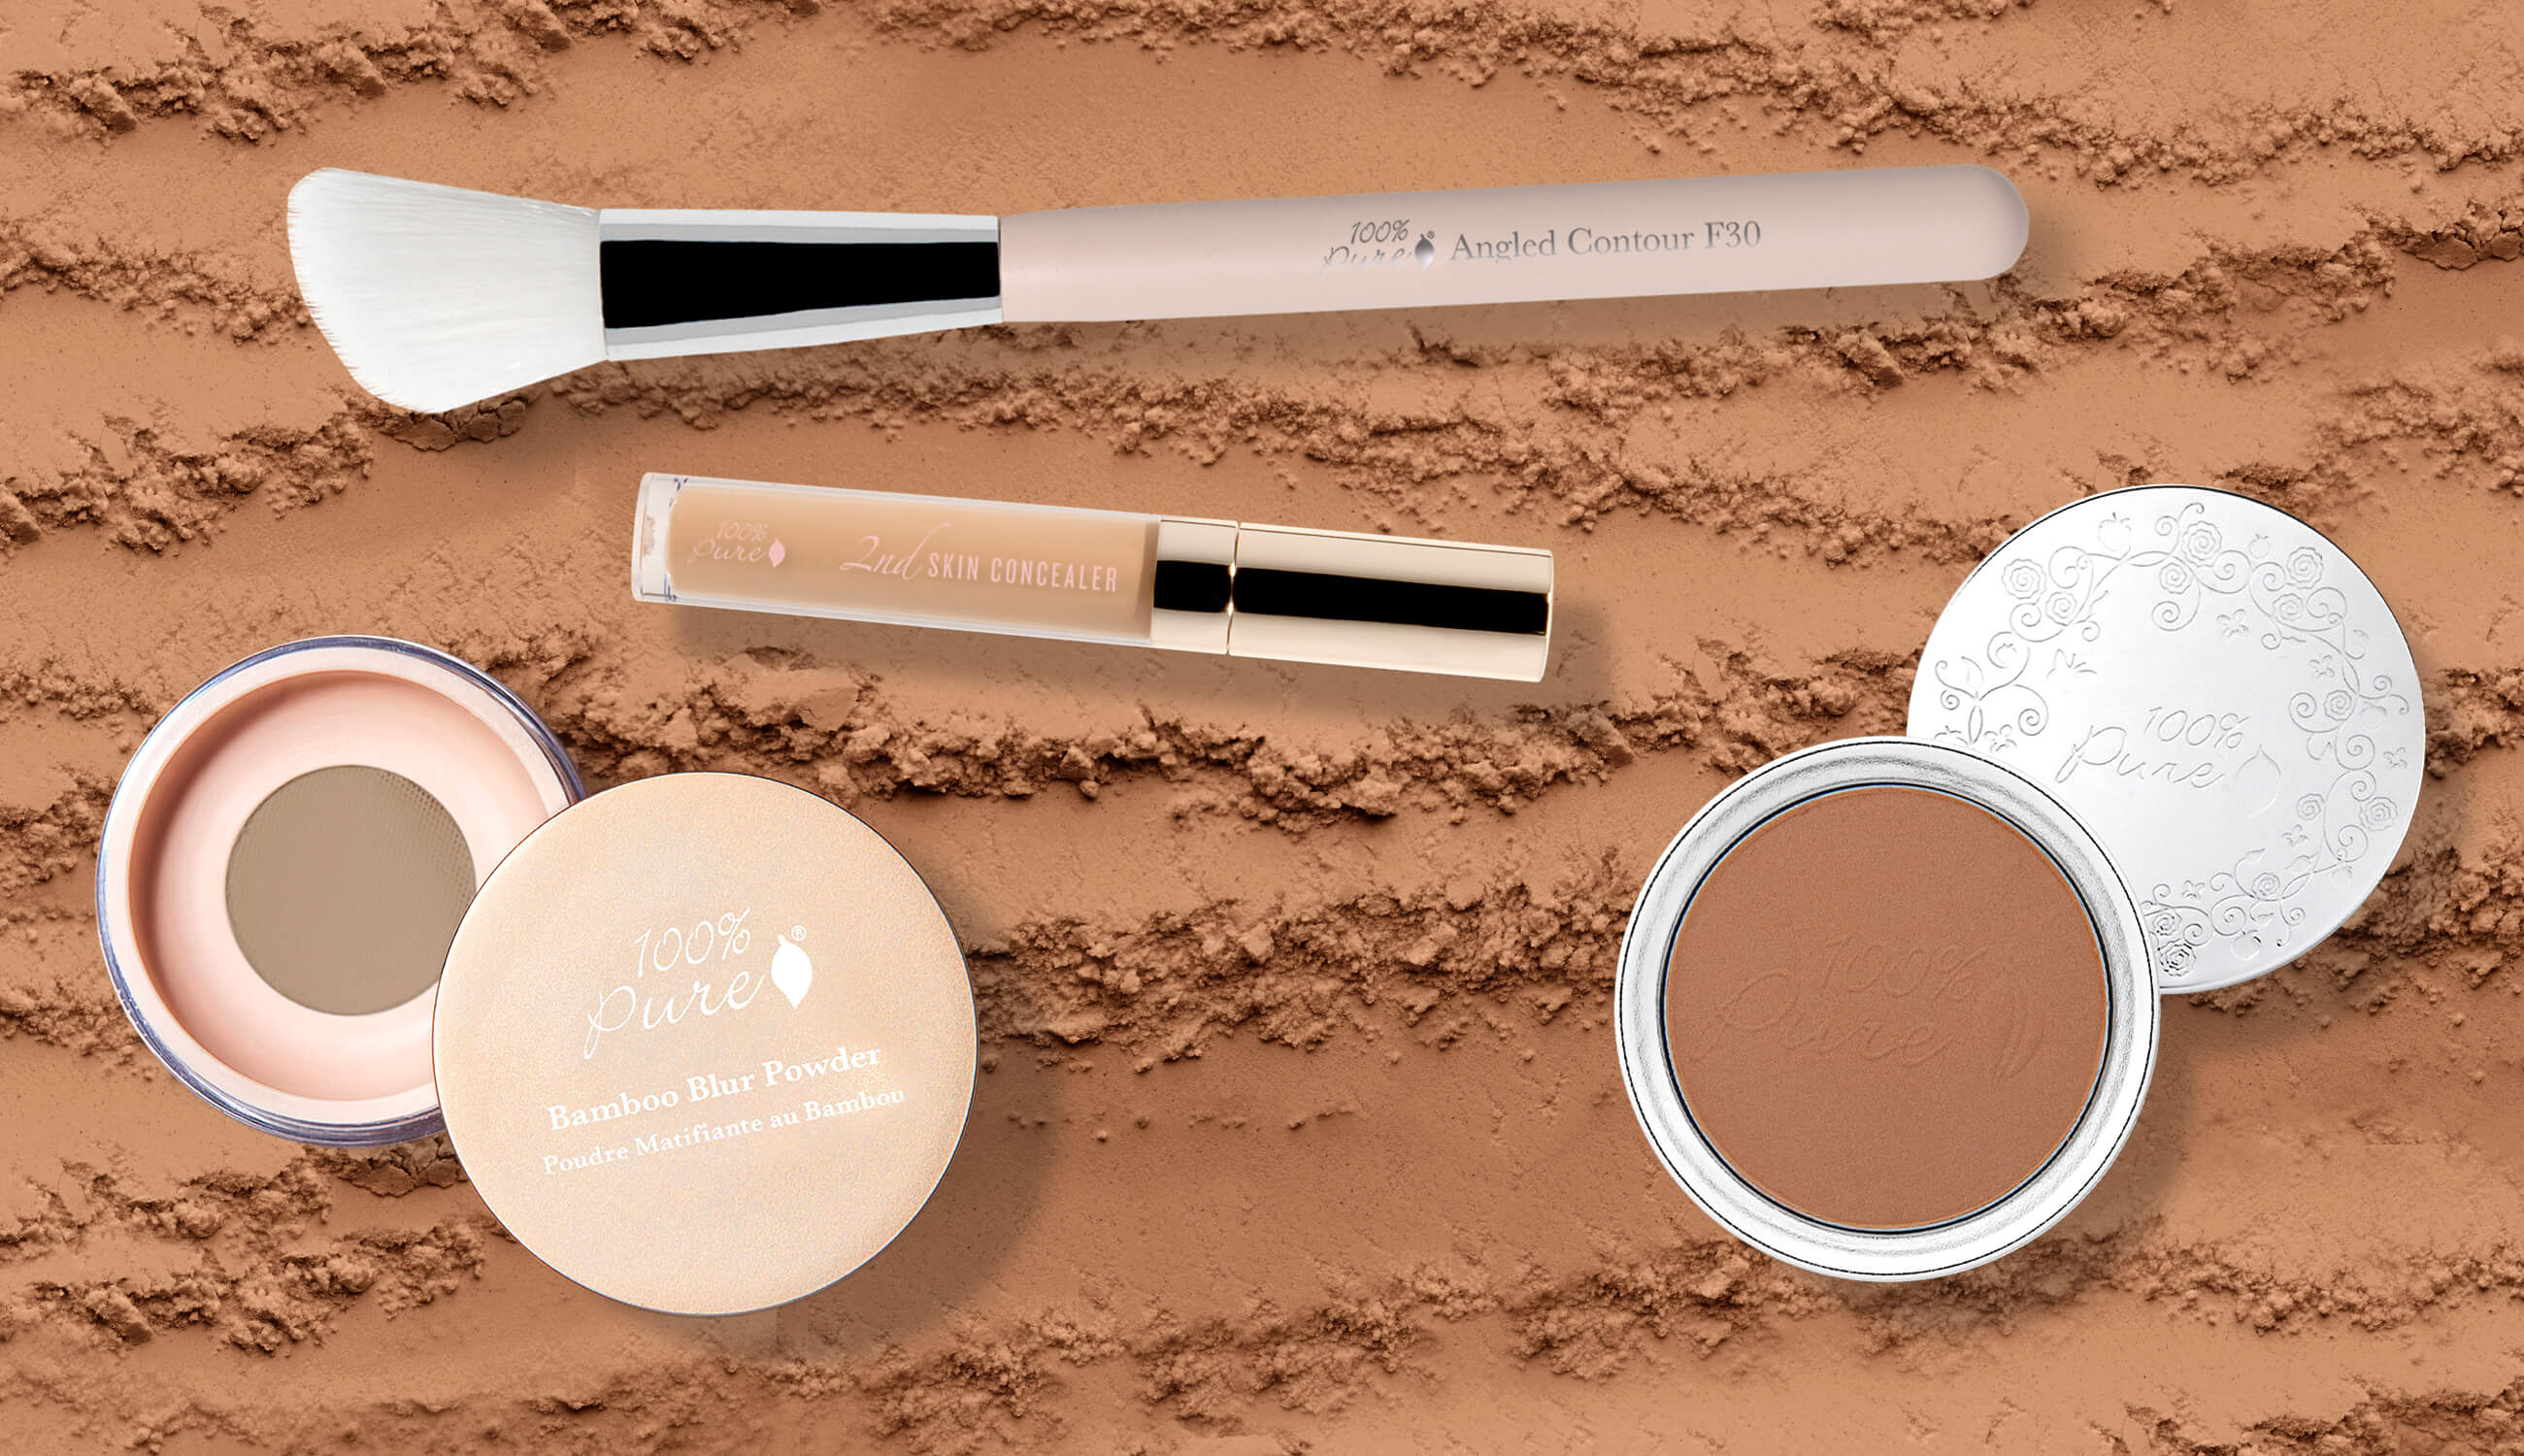
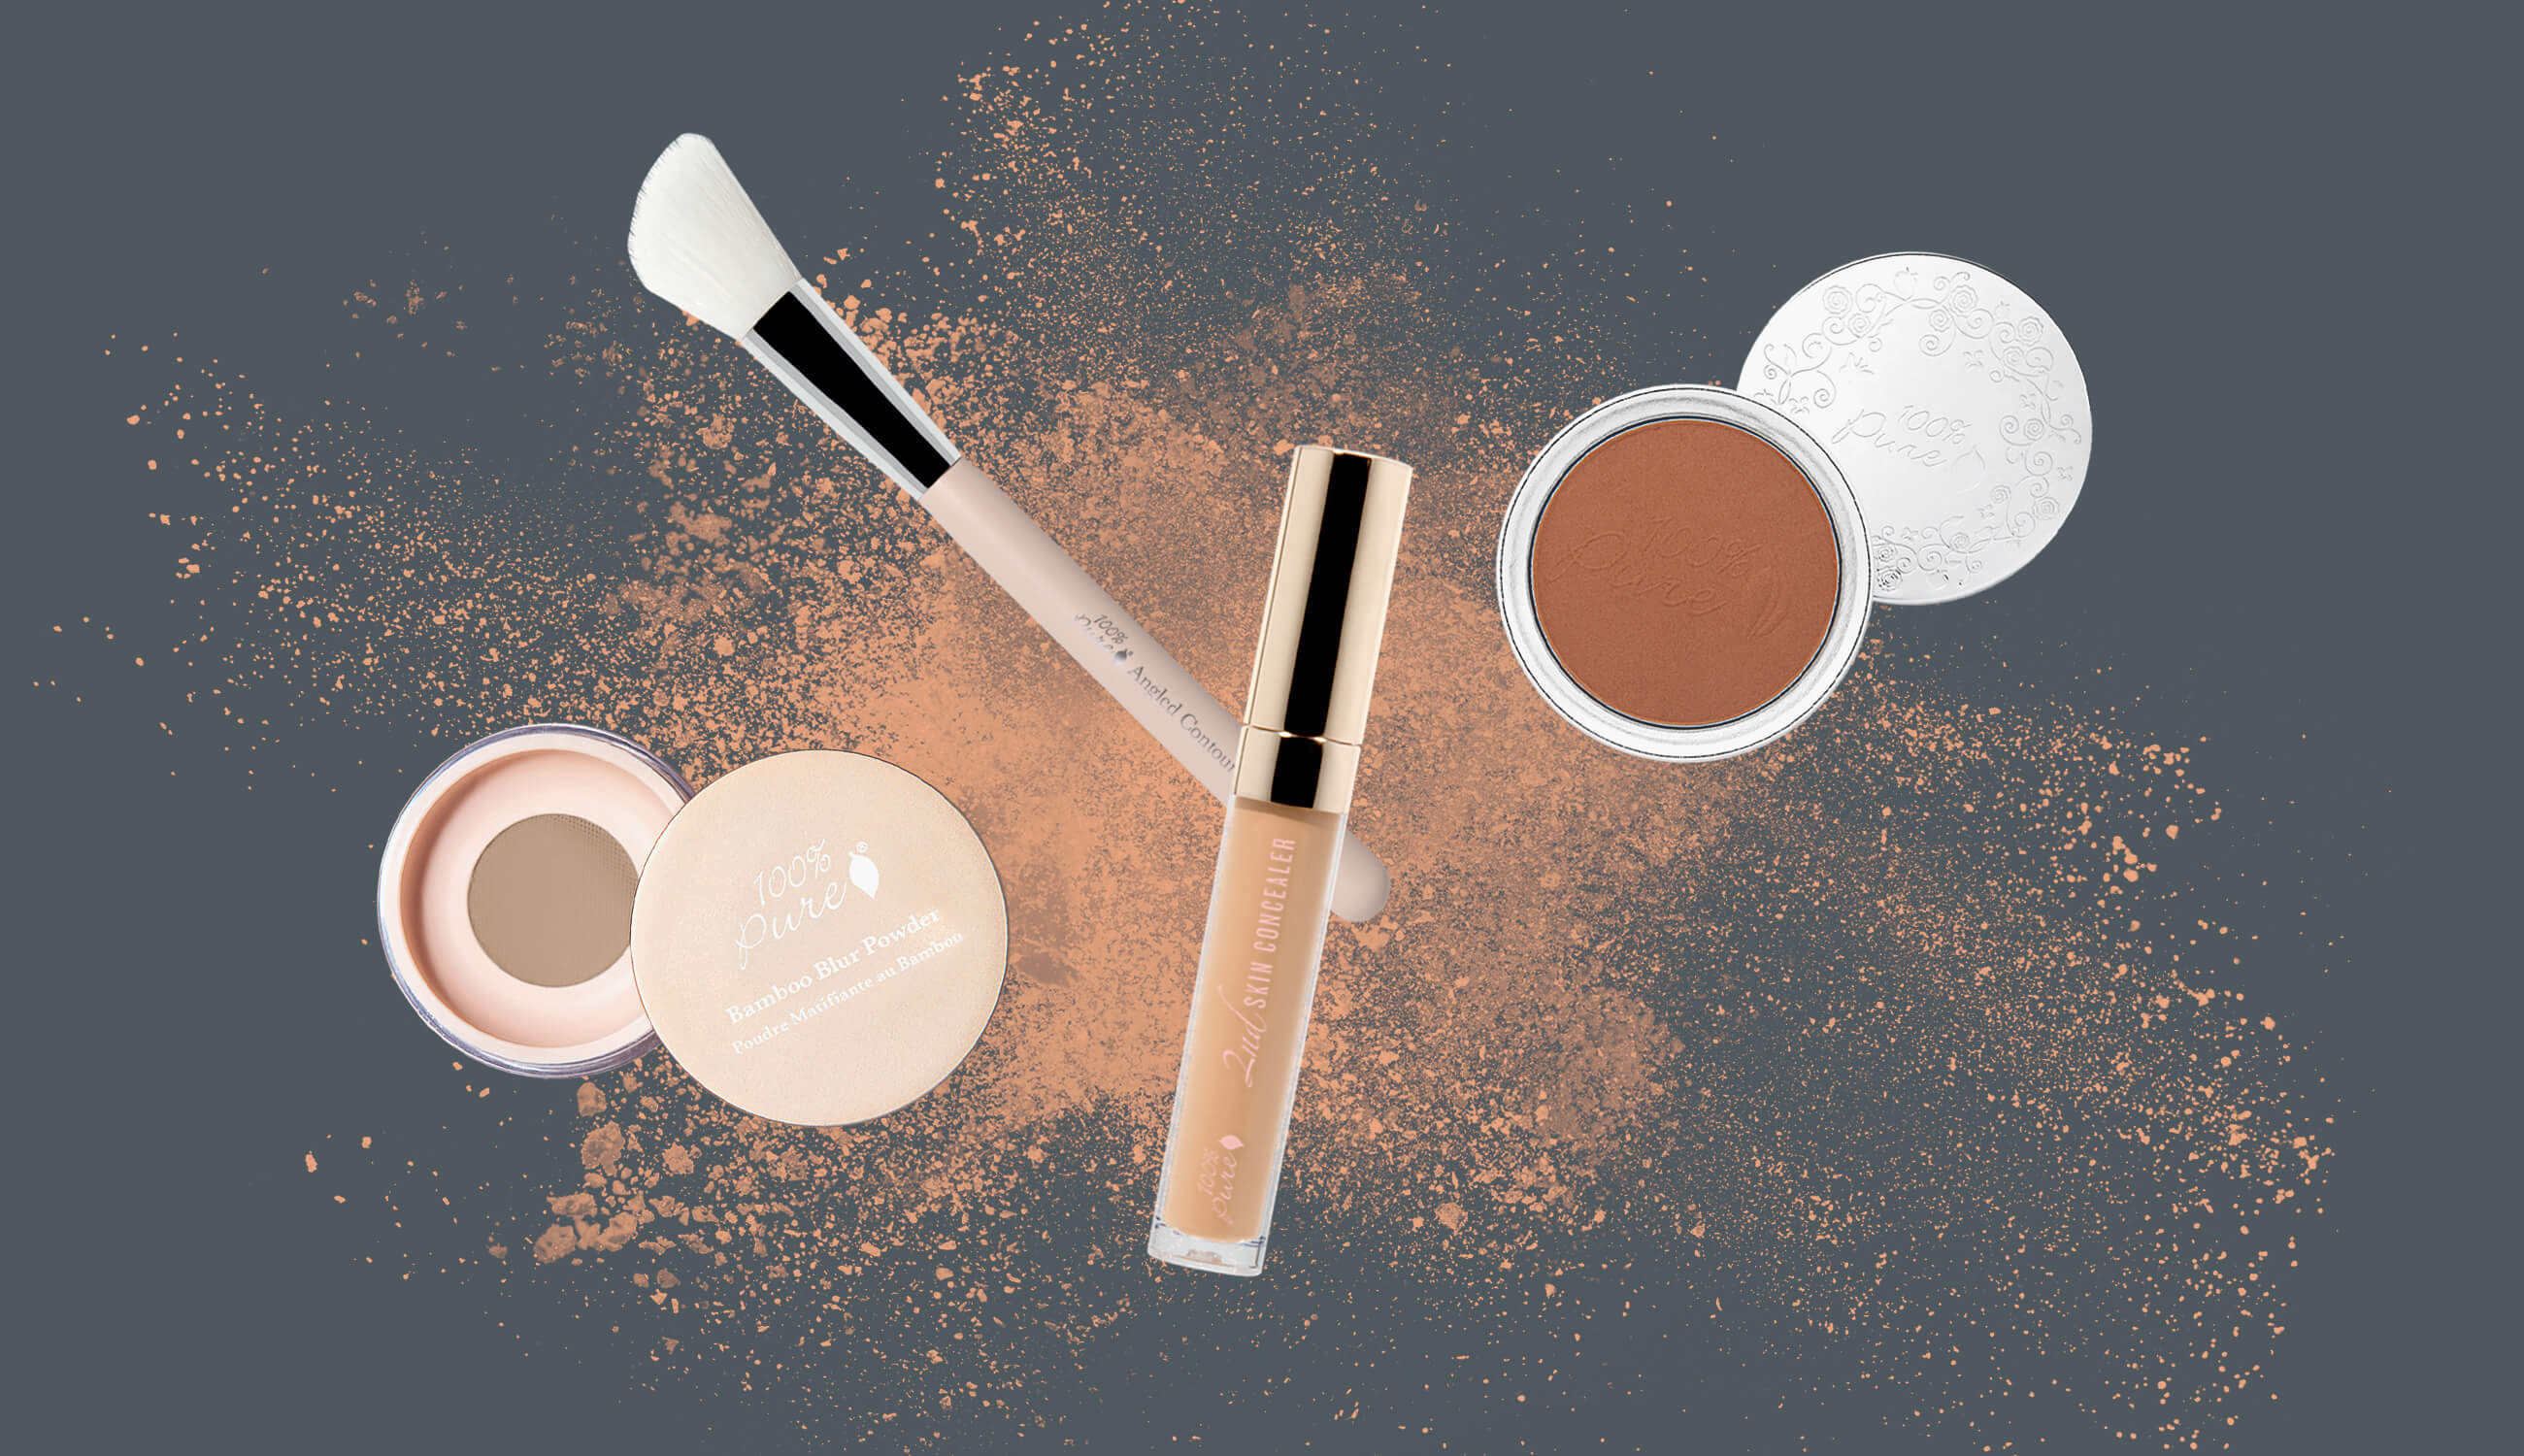
Generally, an angled brush and bronzer will be your tools. Other popular tools include foundation, concealer, and setting powder. The pigment you use mimics the appearance of shadows - perfect for making your bone structure pop. Popular areas to contour include:
Cheekbones
-
Jawline
Nose bridge
Forehead (hairline, temples)
Step 1: Identify Your Face Contouring Goals
You don’t have to contour your whole face – or even at all! You can focus on emphasizing your cheekbones and jawline, slimming your nose, or chiseling your forehead. Be as subtle or dramatic as you’d like! Your level of contouring may differ from everyday makeup to special occasion looks.
Step 2: Select Your Tools
Our Cruelty Free Angled Contour Brush follows every curve of your face seamlessly while you contour. Plus, it helps you blend, blend, and blend some more! A bonus is that it works for highlight, too.
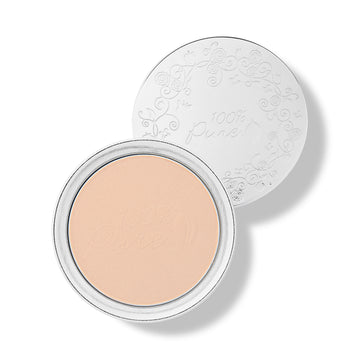
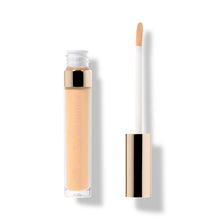
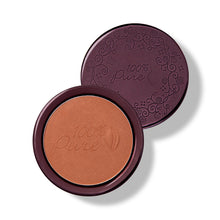
To actually emphasize your bone structure, choose a pigment that’s 1-2 shades darker than your foundation. Choose between finishes and textures with our Fruit Pigmented® Powder Foundation, our Fruit Pigmented® 2nd Skin Concealer, or our Cocoa Pigmented Bronzer.
Step 3: Technique
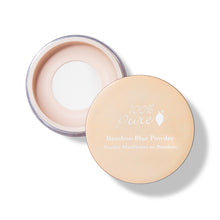
Before contouring, apply foundation and concealer as normal. Set your foundation with a light layer of our Bamboo Blur Powder. This setting powder provides a clean base for contouring and facilitates blending.
For higher cheekbones, apply pigment to the hollows under your cheeks. Begin near the ears and stop at the point under your eyebrows - about half of your cheek length. For a more natural look, use less pressure as you swipe across your cheek. Blend to soften harsh lines.
For a stronger jawline, apply pigment directly to the outline of your jaw. Begin under your ear lobe and stop before your chin. Blend to soften harsh lines.
For a slimmer nose bridge, apply pigment to each side of the nose - not the dead center. Begin from the inner corner of your brow and bring your contour down to the end of your nose bridge. Be sure not to get any powder in your nose. Some choose to extend the contour to the sides of the nose, creating an L-shape on each side - that’s totally up to you! Blend to soften harsh lines.
For a less prominent forehead, apply pigment to each side of the forehead - and stick fairly close to the hairline. Start from the temples, sweeping up to the top of the forehead. Blend to soften harsh lines.
PRO TIP: Even if you aren’t face contouring to narrow your forehead area, this technique can add more depth and dimension to your face.
We’ve covered the basics of what face contouring is. Let’s uncover the ideal times to use this nifty beauty skill!
DO contour after a long night out. If you wake up with only a few hours of sleep in your system, your skin might look puffy. The puffiness might be around your cheeks, chin, and eye area. Focus on areas you want to slim.
DO contour on your period – your menstrual cycle might be the culprit behind a puffy face! Hormone changes coinciding with your cycle lead to water retention and bloating. This bloating can show up in your cheeks.
Just like different styles of makeup work in certain settings and not others, face contouring works better in some contexts. Here are some tips on how not to use contour.
DON’T contour if you’ll be touching your face frequently. Your hands can displace the pigment and leave your bronzer looking like a hot mess.
DON’T contour when you plan on sweating heavily. Your hike or gym session could melt your contour right off!
DON’T contour if your plans involve water. On beach or pool days, pigment won’t hold up against salt or chlorinated water.
Whether you contour on nights out or in your AM routines, face contouring is a great technique to have in your repertoire. Its versatility means you can go from soft to dramatic in minutes – perfect for day to night looks. Convinced of face contouring benefits? Complement your newfound skill with a lesson on highlighting – we’ll give you a breakdown in our article on How to Contour and Highlight with Makeup!
- Tags: December-2019, make up, Makeup
We carefully hand-select products based on strict purity standards, and only recommend products we feel meet this criteria. 100% PURE™ may earn a small commission for products purchased through affiliate links.
The information in this article is for educational use, and not intended to substitute professional medical advice, diagnosis, or treatment and should not be used as such.