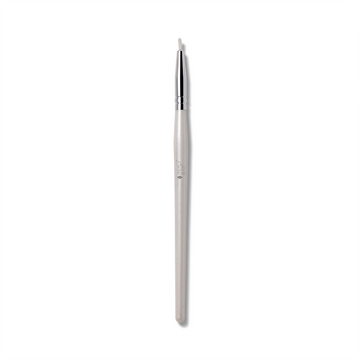
Which eyeliner to use and how to create the perfect winged eyeliner, with tips for each eye shape.
Updated on May 11, 2018 Written by: 100% PURE®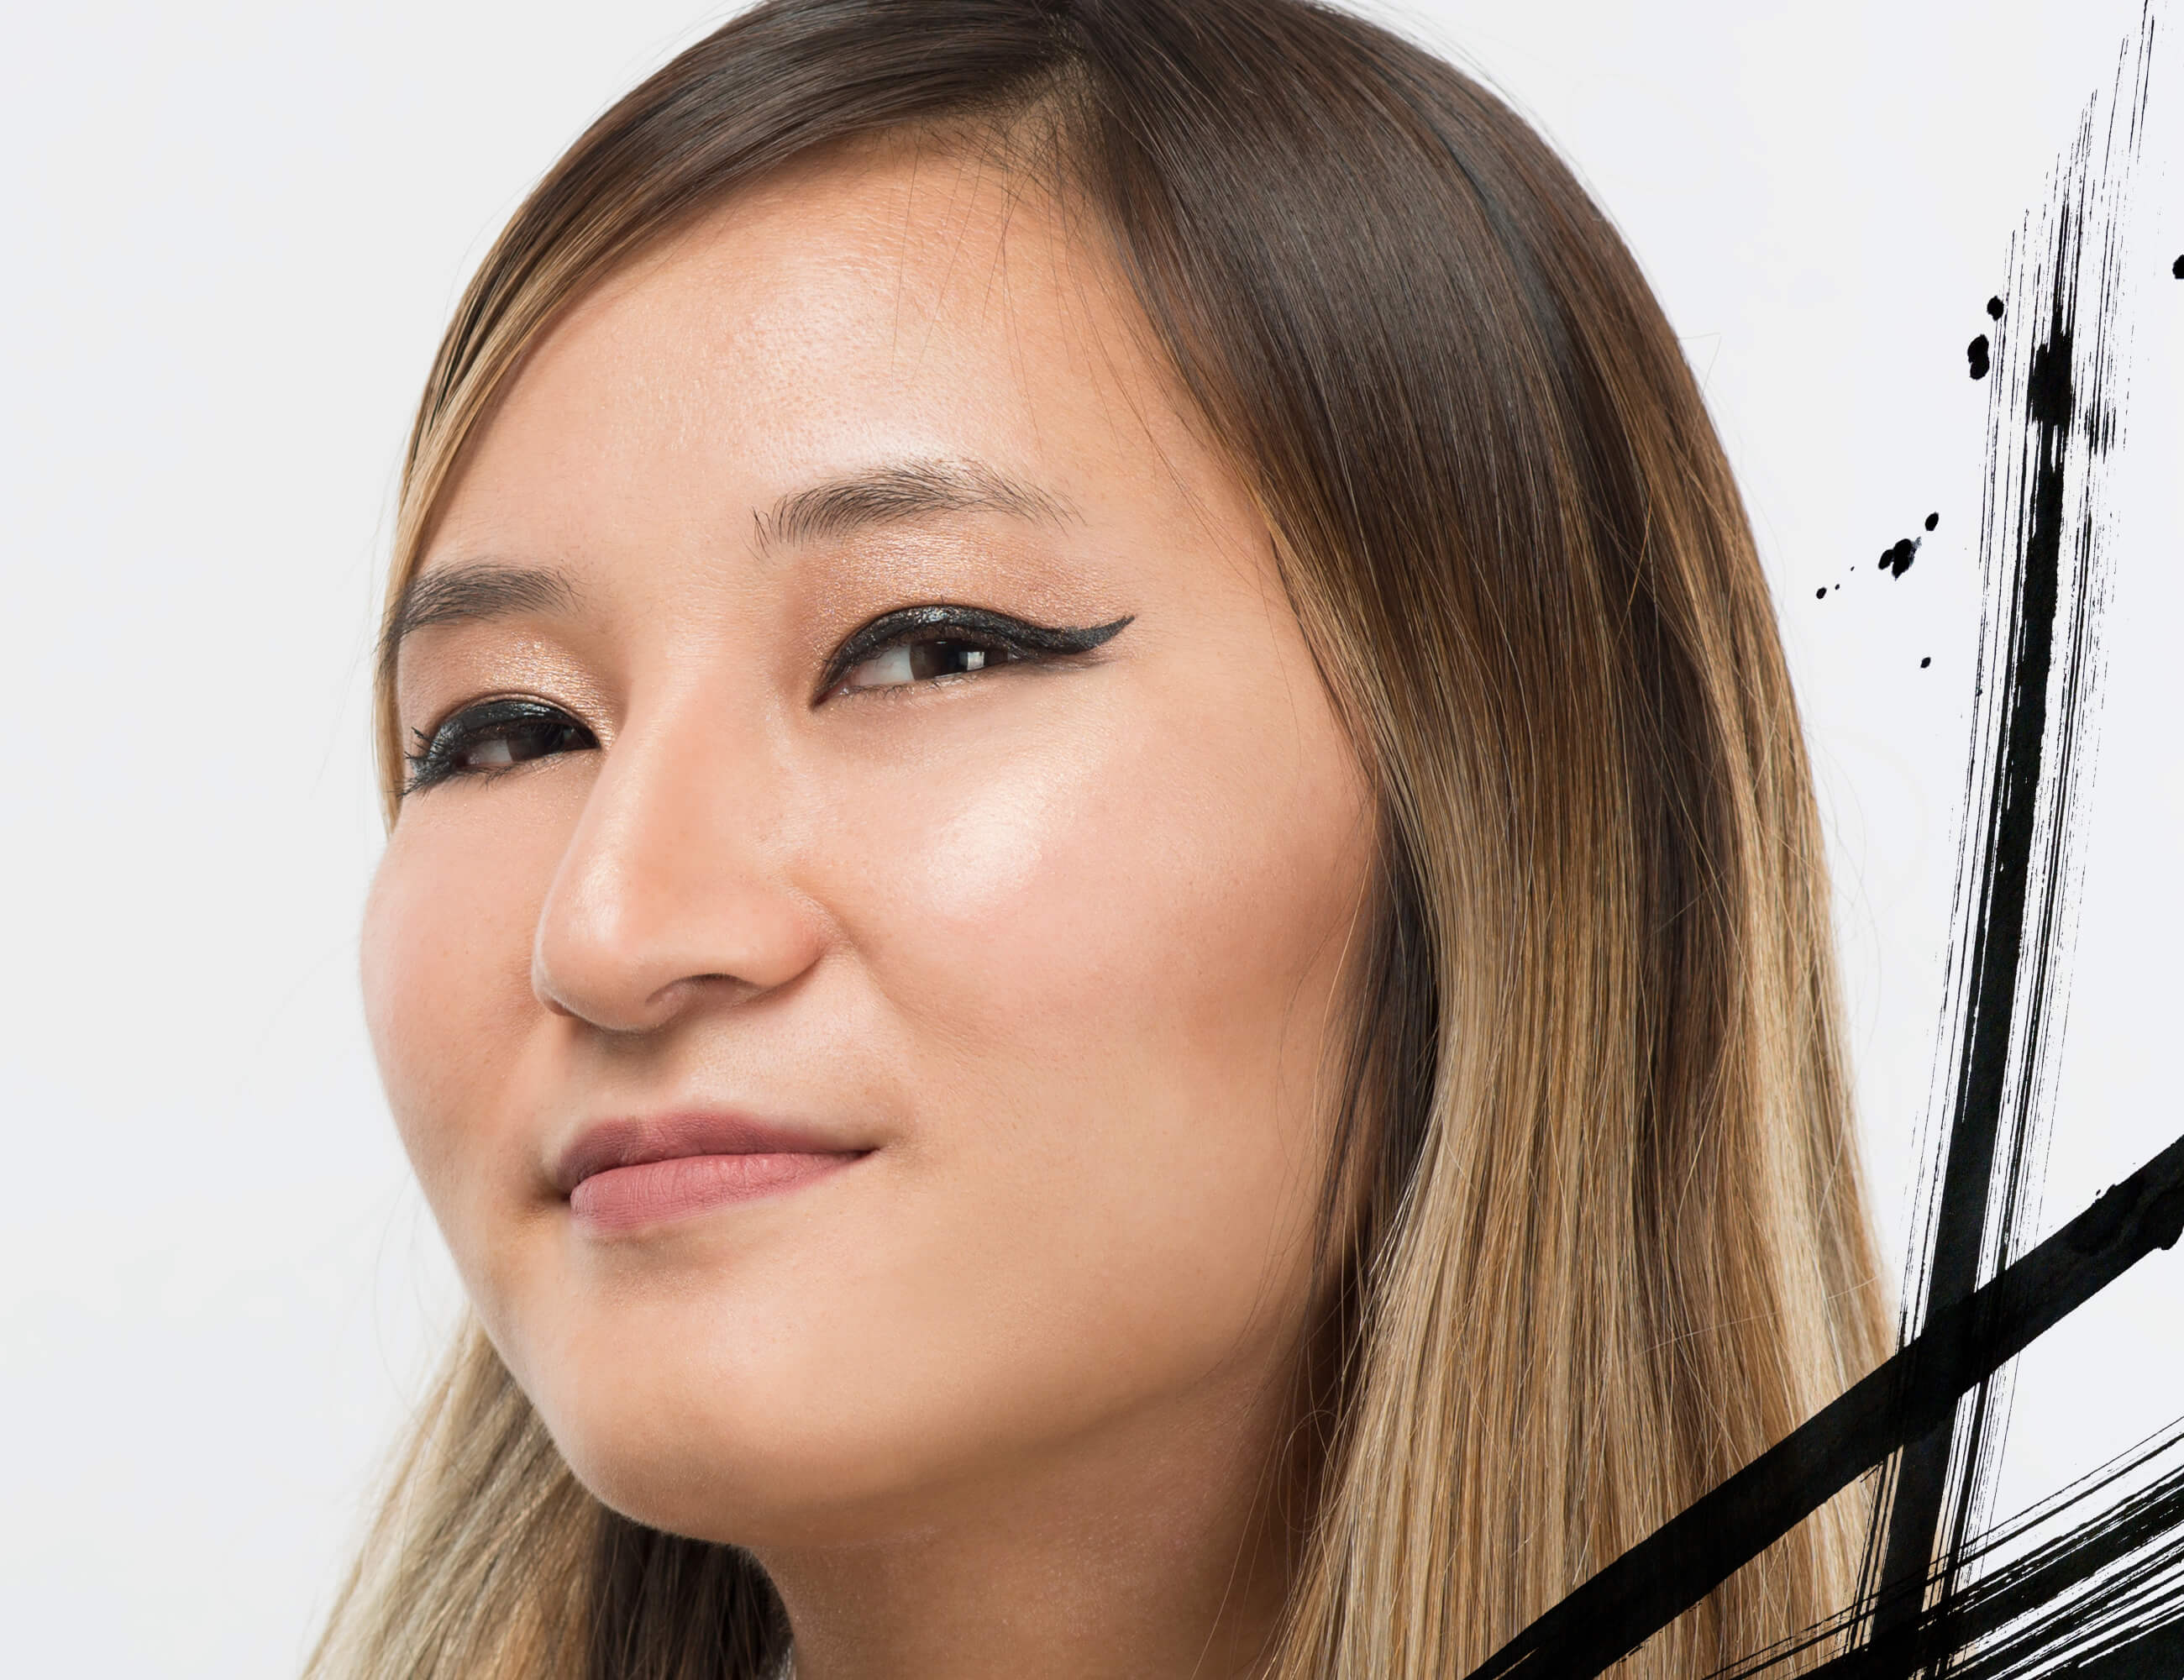
A winged eyeliner is an essential makeup skill that’s important but sometimes tricky to master. We’ve all been there with eyeliner flops, whether it’s uneven clumps that look like you slept with your makeup on, or winged eyeliner that looks like you’re crying black tears. And you’ve tried the spoon method for cat eyes to no avail. No need to despair yet, we’re bringing you the quick and easy on how to do winged eyeliner. Winged eyeliner is a classic makeup look for adding more natural definition and depth to your eyes, and you can easily amp it up for a more dramatic look. Read on to learn more about eyeliner products, how to do winged eyeliner with them, and some extra tips for each eye shape!
Which Eyeliner Should You Use?
First things first, take a look at the eyeliner you’re starting off with. Will it clump up mid-stroke and send your perfect winged eyeliner dreams spiraling into oblivion? Or perhaps it contains chemicals like carbon black for that midnight black color, and prime yellow carnauba wax for waterproof eyeliners that only irritate your eyes and hurt your skin. And how could you ever hope to apply your makeup straight with an eyeliner that’s been formulated with ingredients that were tested on animals?
We aren’t trying to scare you, but being able to trust in your makeup products and have a piece of mind go a long way towards applying perfect winged eyeliner. Try natural eyeliners that promote long-lasting and smudge-proof wear, without any artificial fragrances, harsh synthetic dyes, or chemical preservatives. No more itchy eyes or skin means a longer lasting winged eyeliner.
Natural Liquid Eyeliner
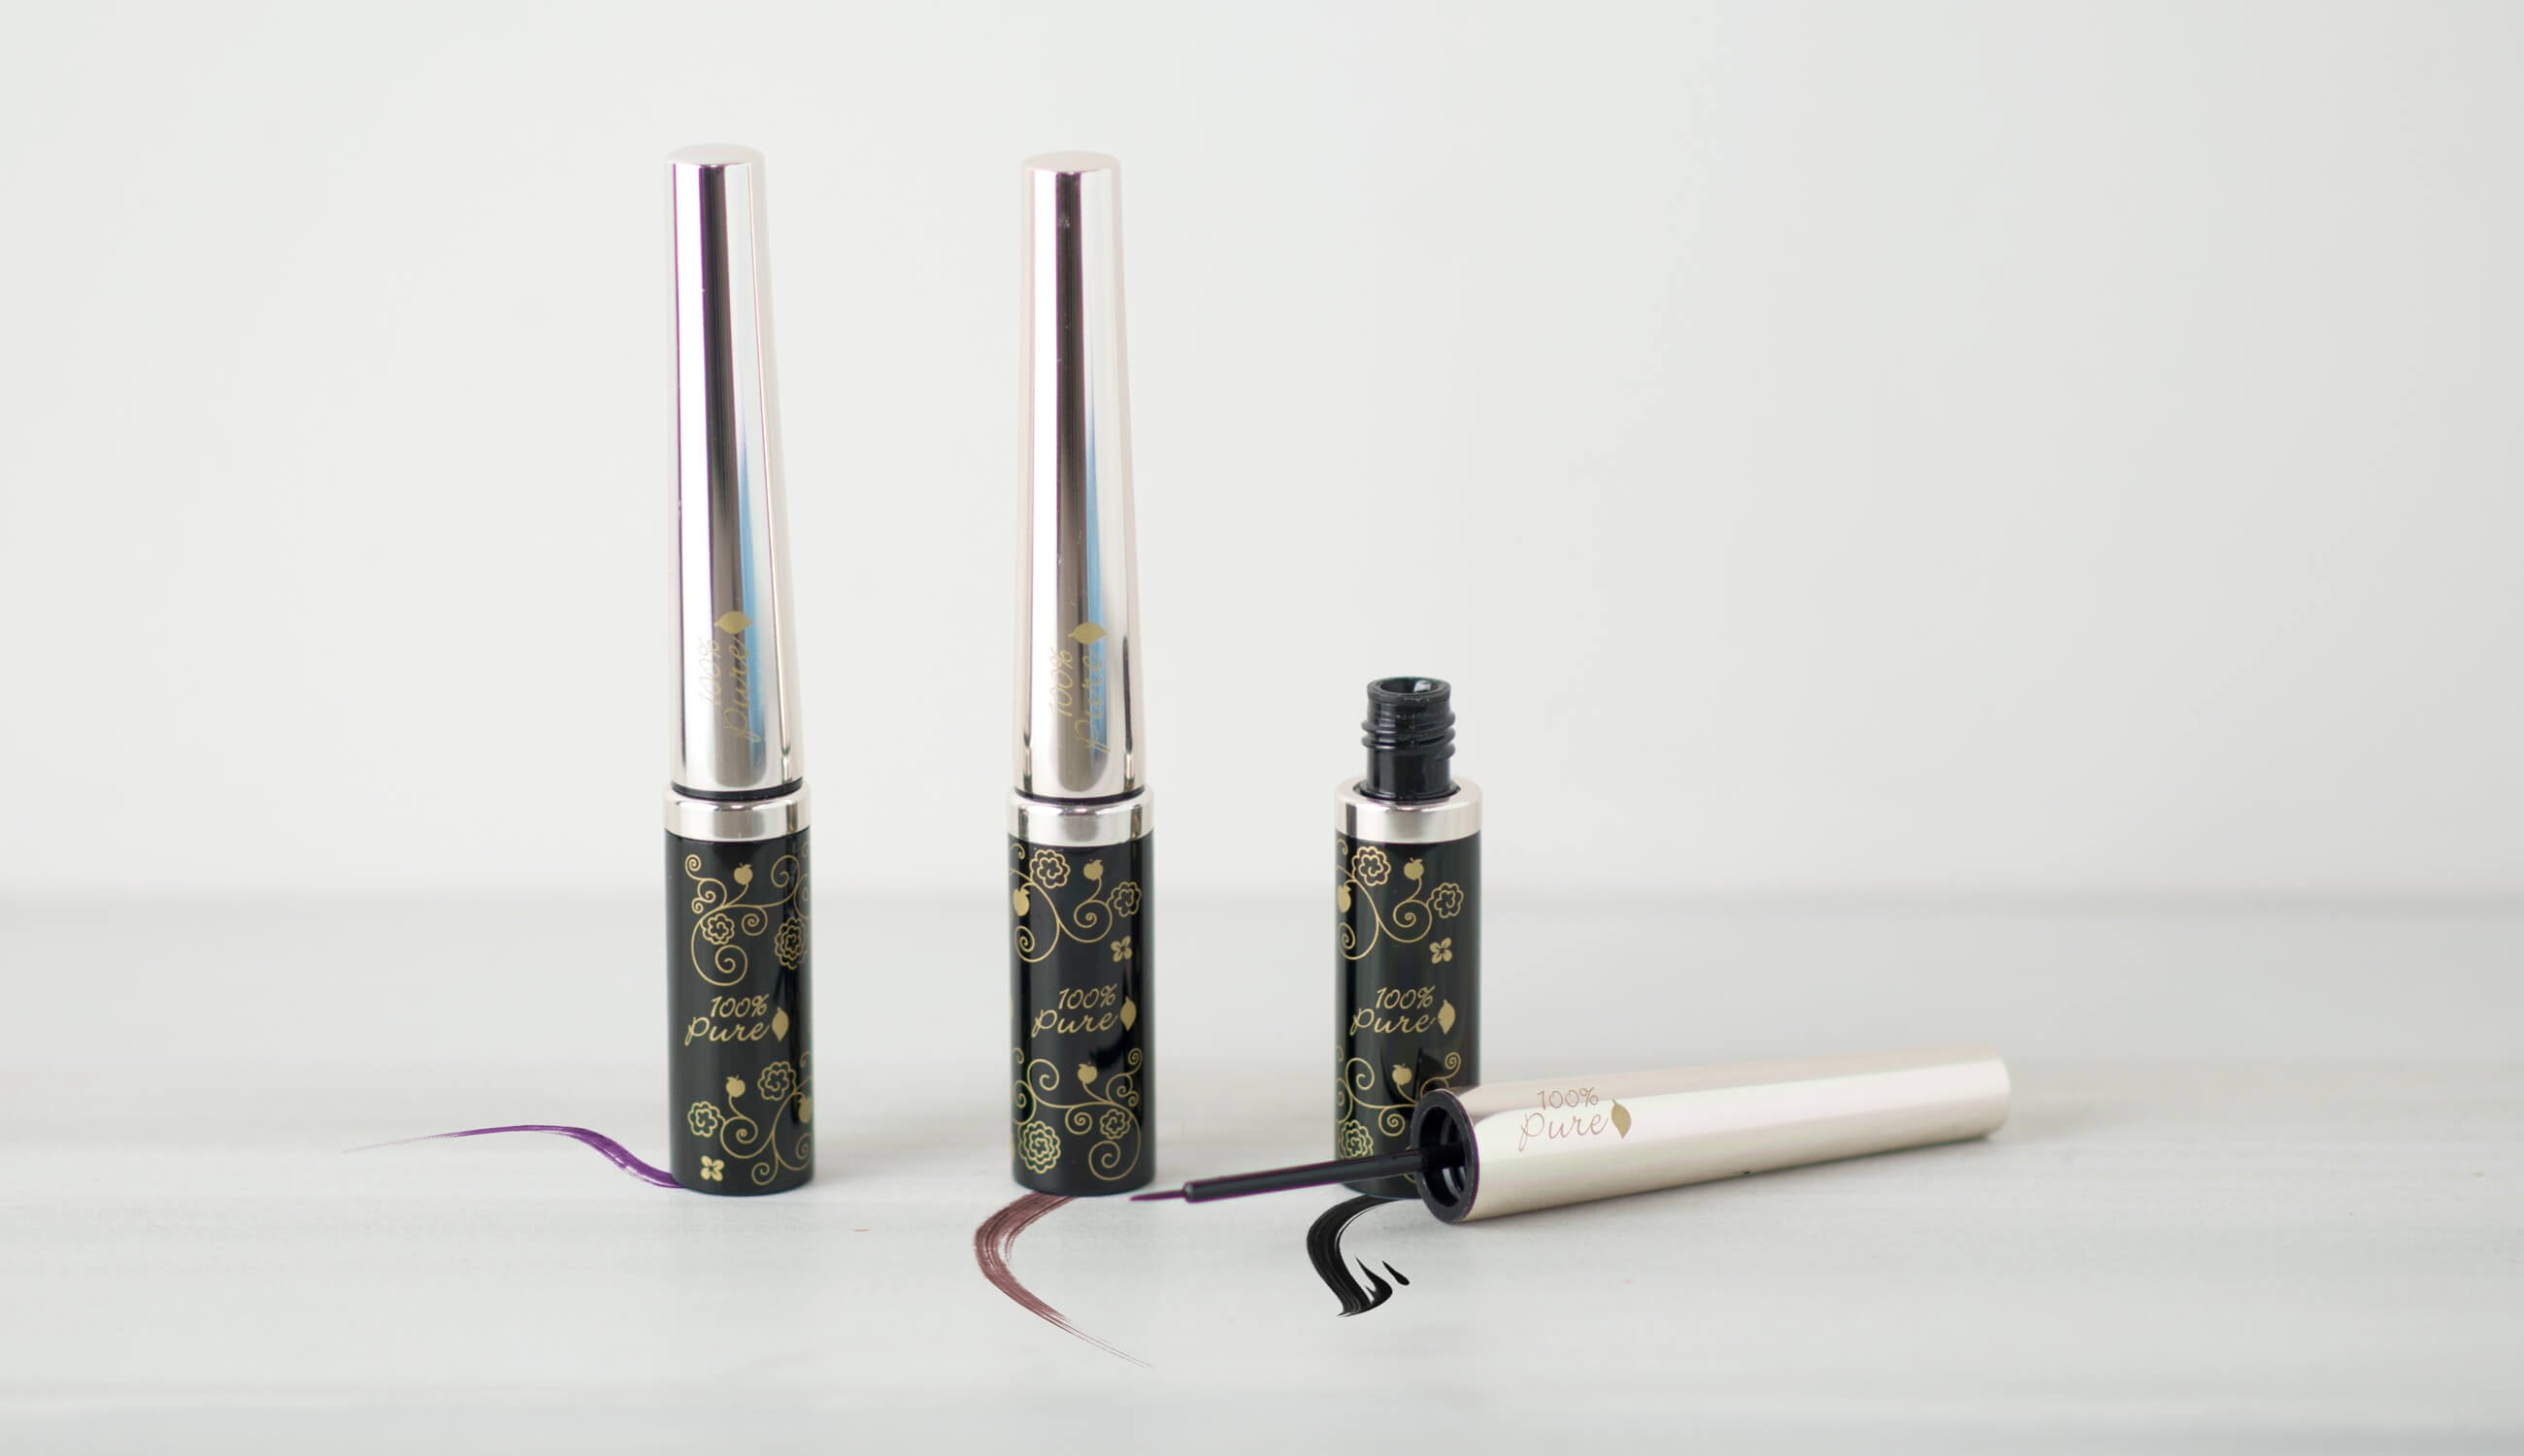
If you love a winged eyeliner look with high drama and precision, a natural liquid eyeliner will be your go-to. The Long Last Liquid Eye Liner is free of harsh synthetic dyes, and is pigmented with black tea and blackberry instead. Plant ingredients like cocoa butter and rosemary pull double duty by moisturizing your skin and ensuring perfect winged eyeliner application. You can easily build on liquid eyeliner with the tapered brush for additional oomph.
Natural Pencil Eyeliner
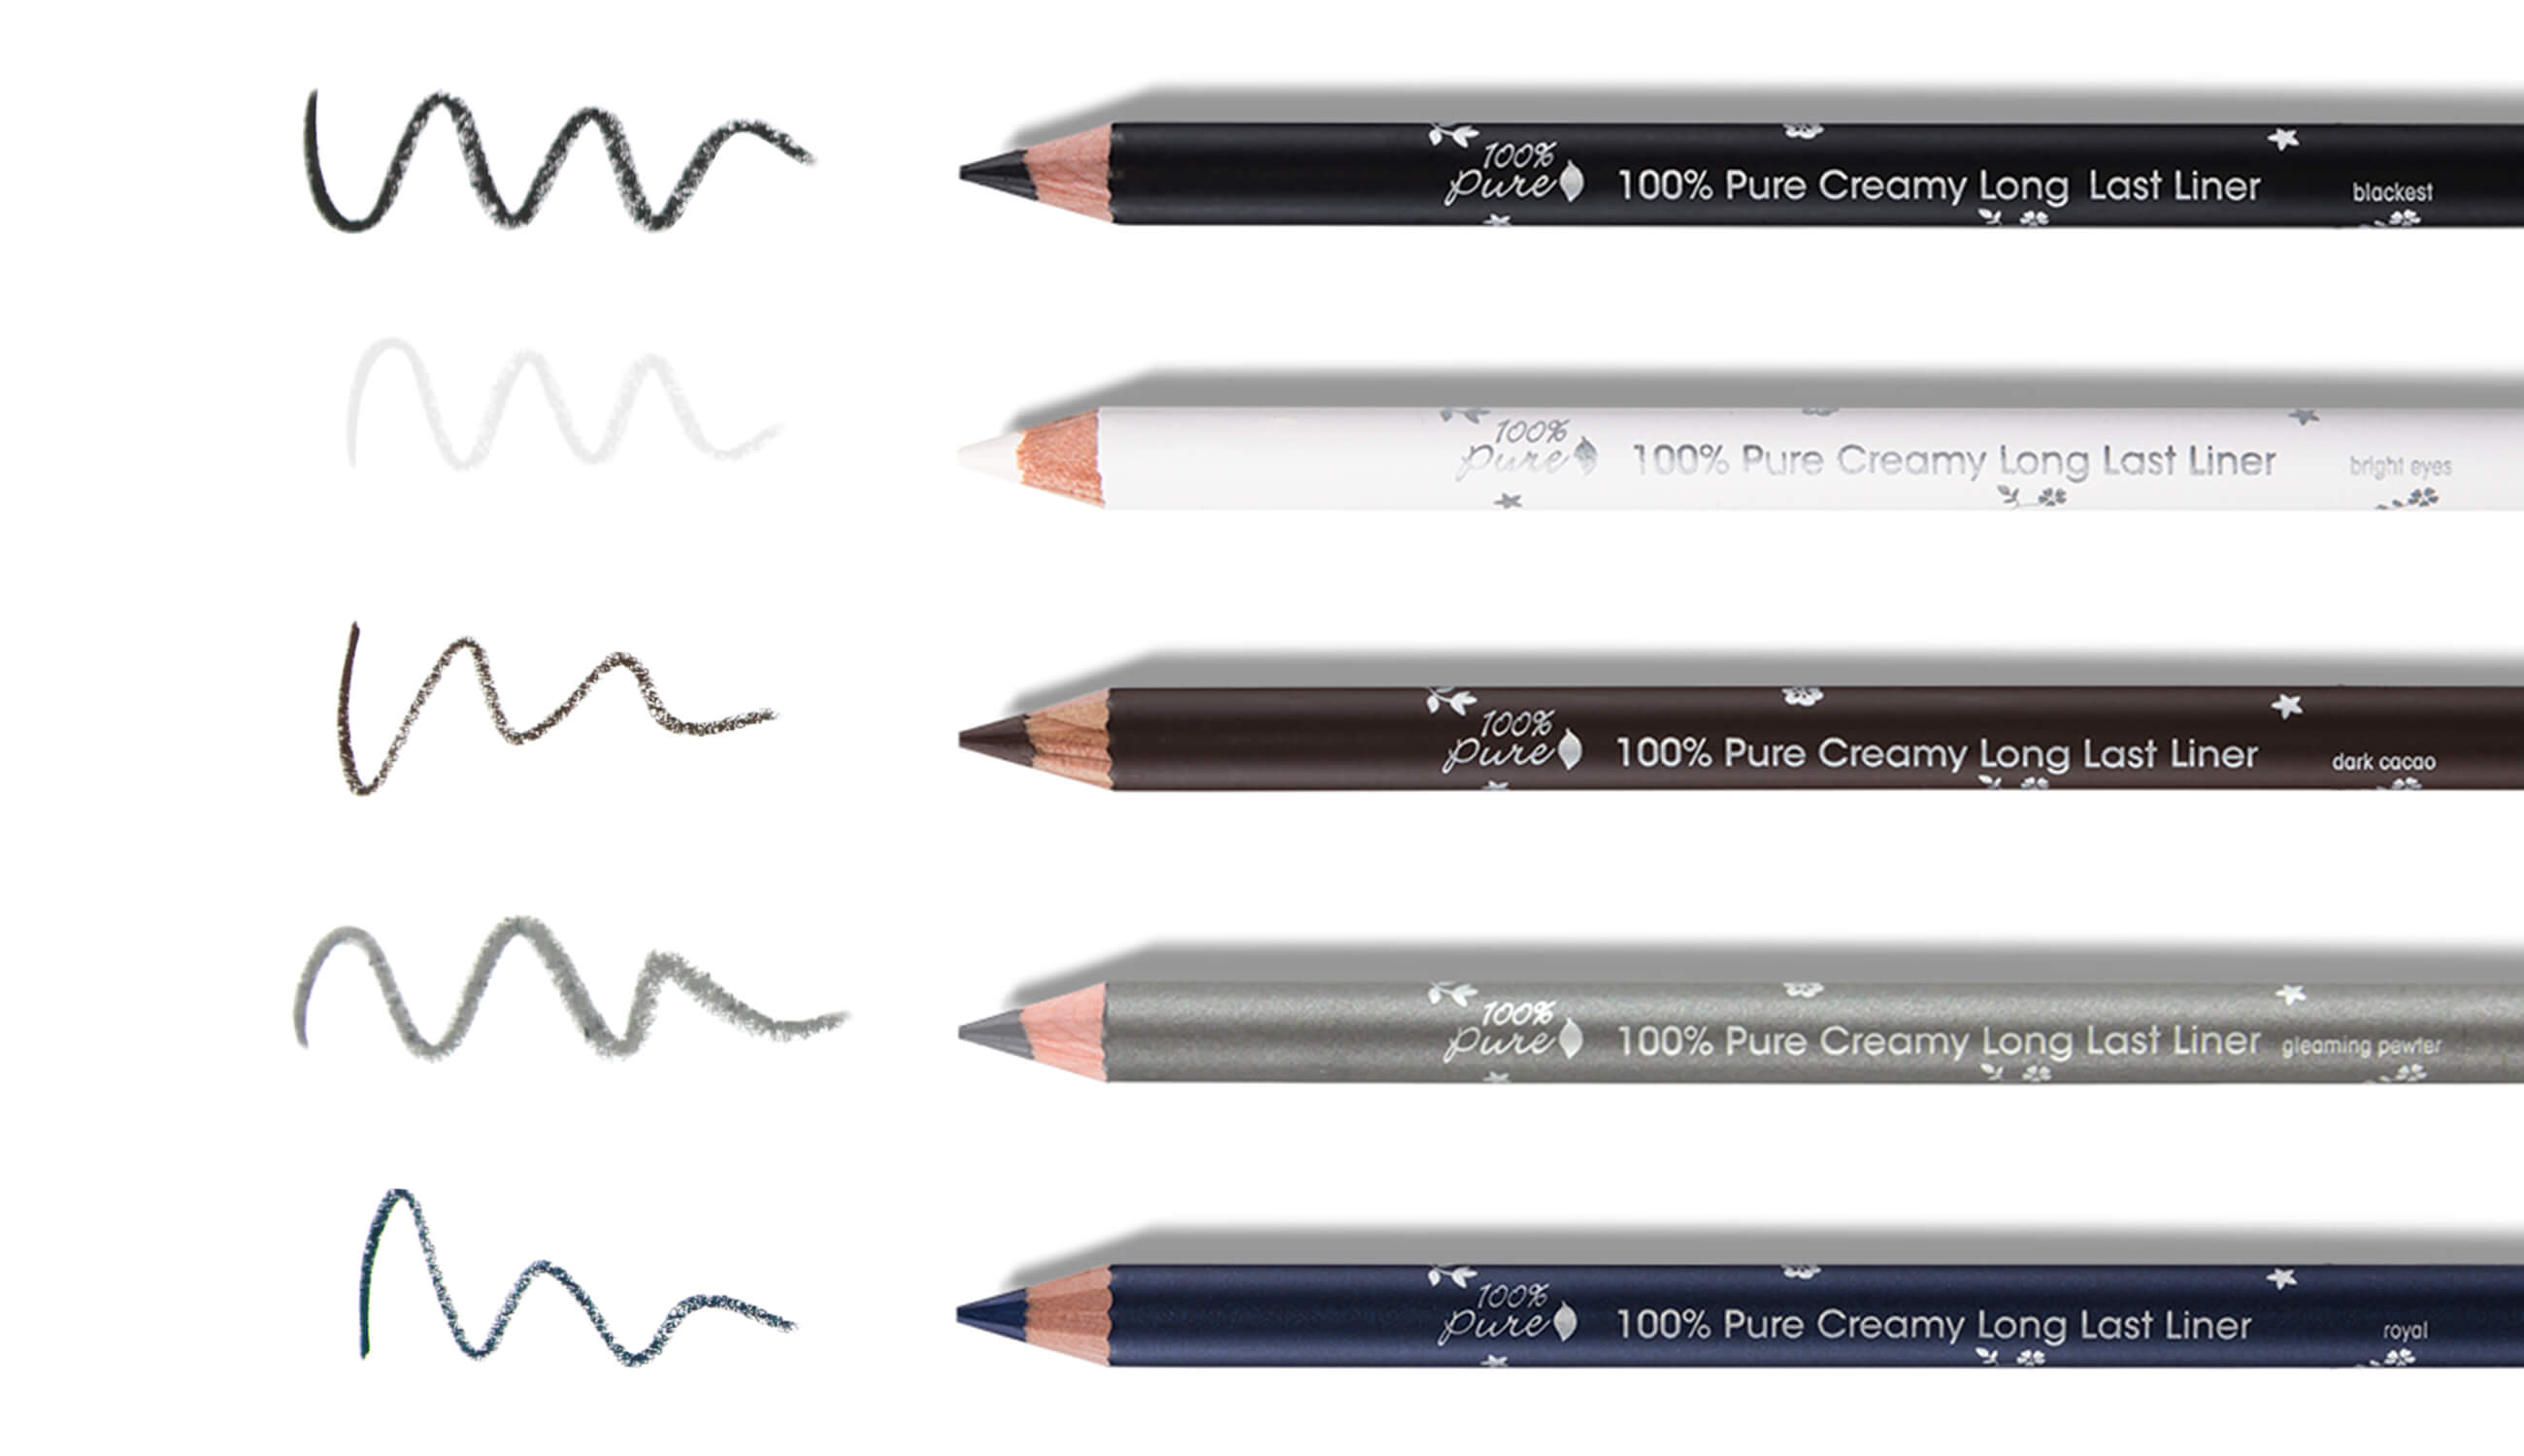
For a more natural look or softer finish, try a natural pencil eyeliner. Pencil eyeliner is the perfect choice for smooth, precise application for beginners, or for a 5 minute natural makeup look for work. Creamy Long Last Liners glide on flawlessly and enrich your eyelids with Vitamin E. Don’t forget a Dual Chamber Pencil Sharpener to keep your pencil tip prim! PRO TIP: Put eyeliner pencil in the fridge for even more precise application.
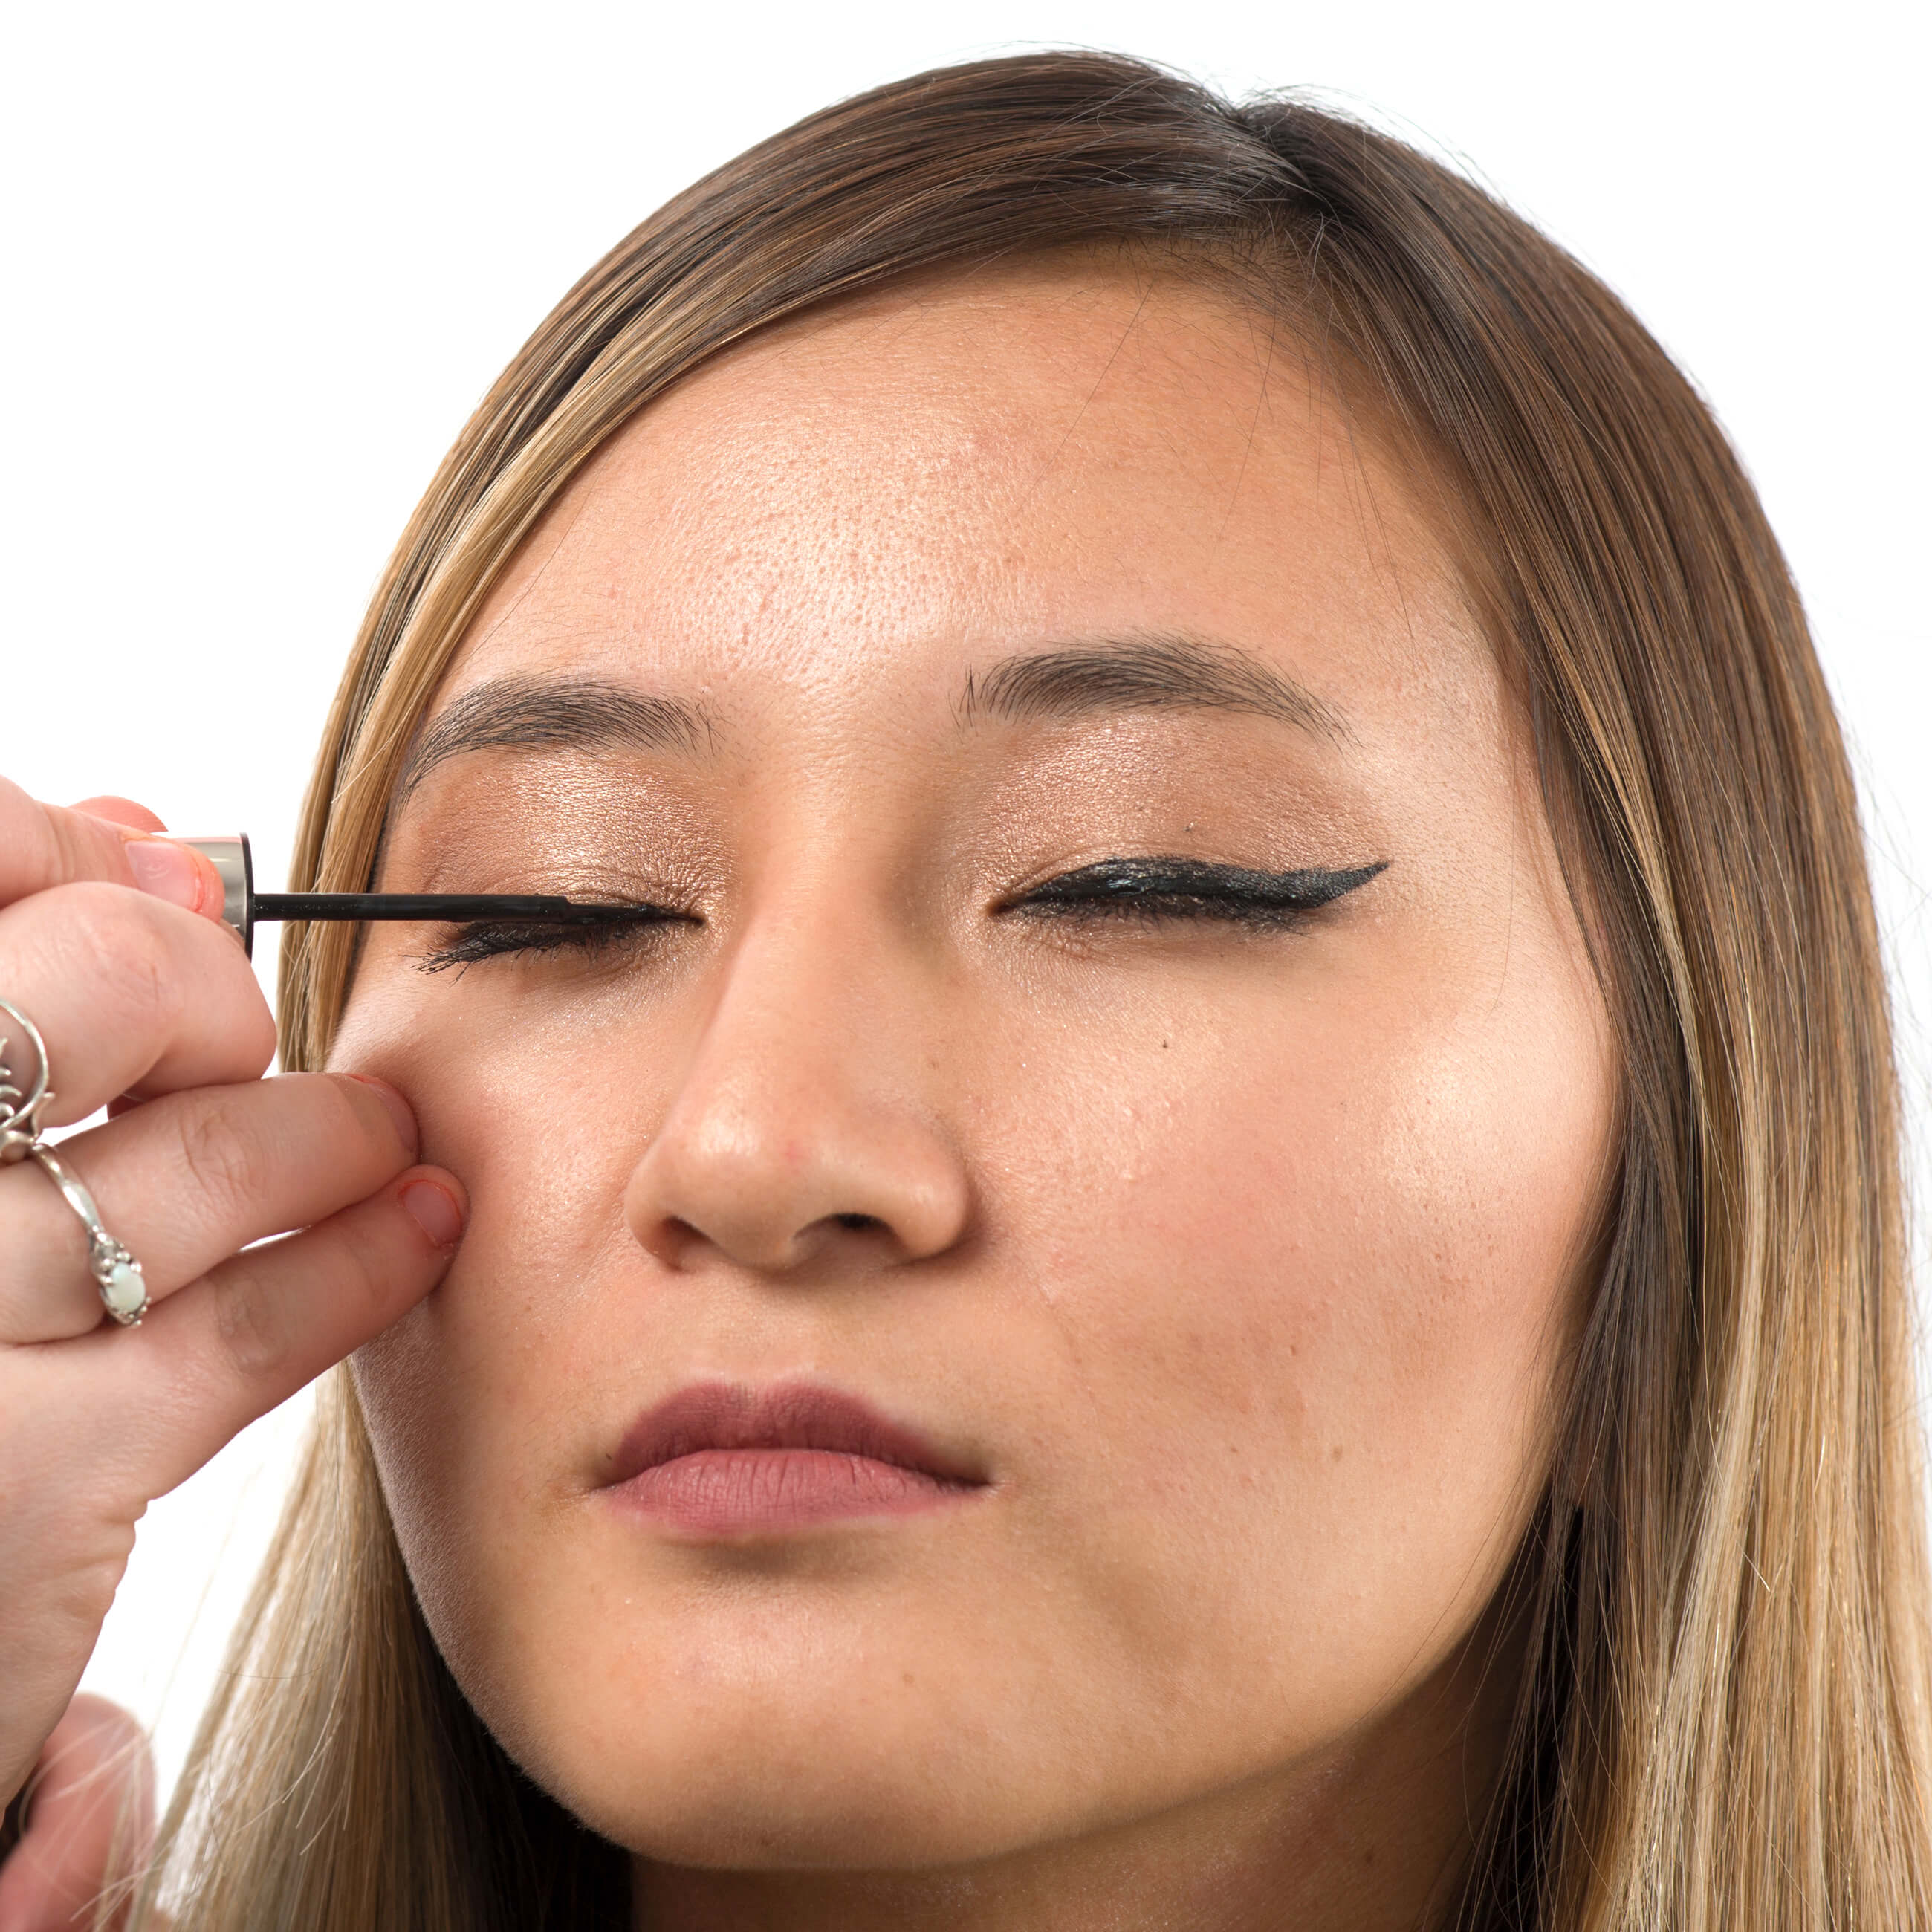
Step 1: Start applying eyeliner at inner corner of upper lash line.
First locate the inner corner of your upper lash line. You might find it helpful to tilt your head back and slightly close your eye. This keeps your canvas as flat as possible for smooth application. Draw a short stroke along your upper lash line - no need to do it all in one stroke. Continue with thin short strokes. Your eyeliner should start out thin in the inner corner for the most sleek, winged eyeliner look.
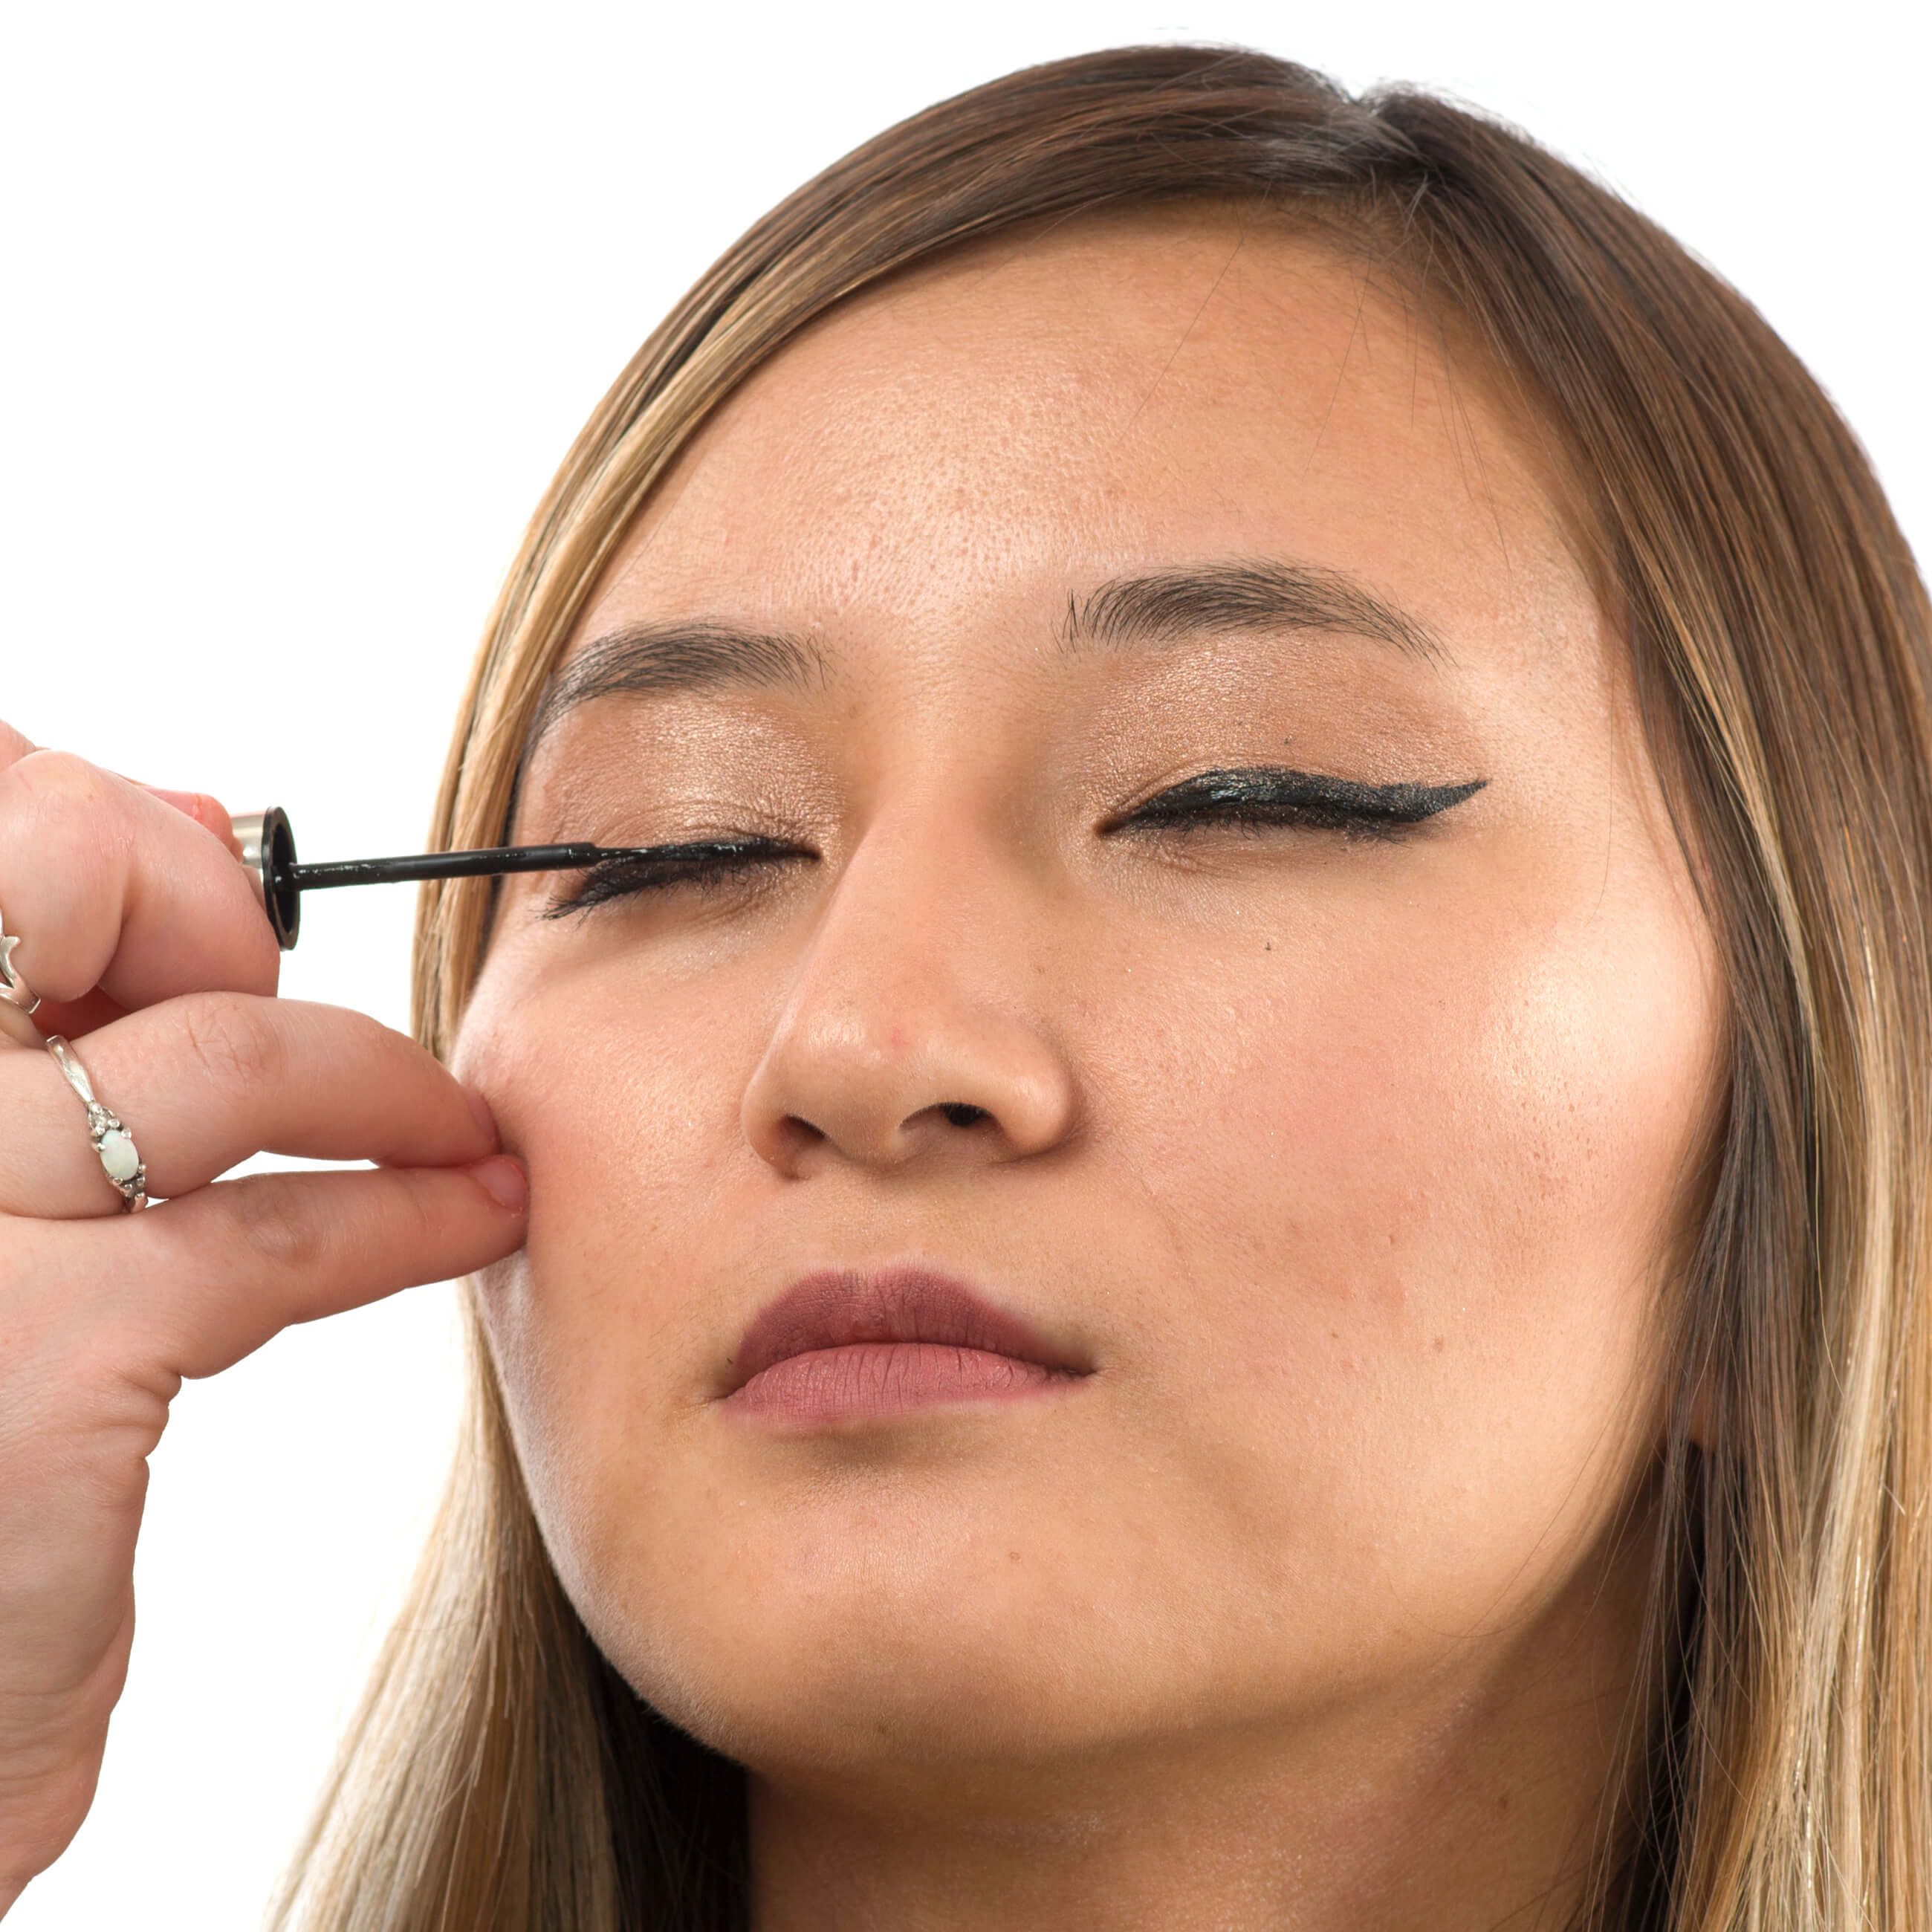
Step 2: Work your way outwards.
Continue drawing short strokes with your eyeliner while working towards the outer corner of your eye. Keep the line thin and as close to your upper lash line as possible. You can always build up more later as you reach your outer corner. At this point, go ahead and sharpen your eyeliner pencil if necessary, or re-dip your eyeliner brush. Make sure to gently tap the brush on the edge of the container for even pigment distribution and thin precise strokes.
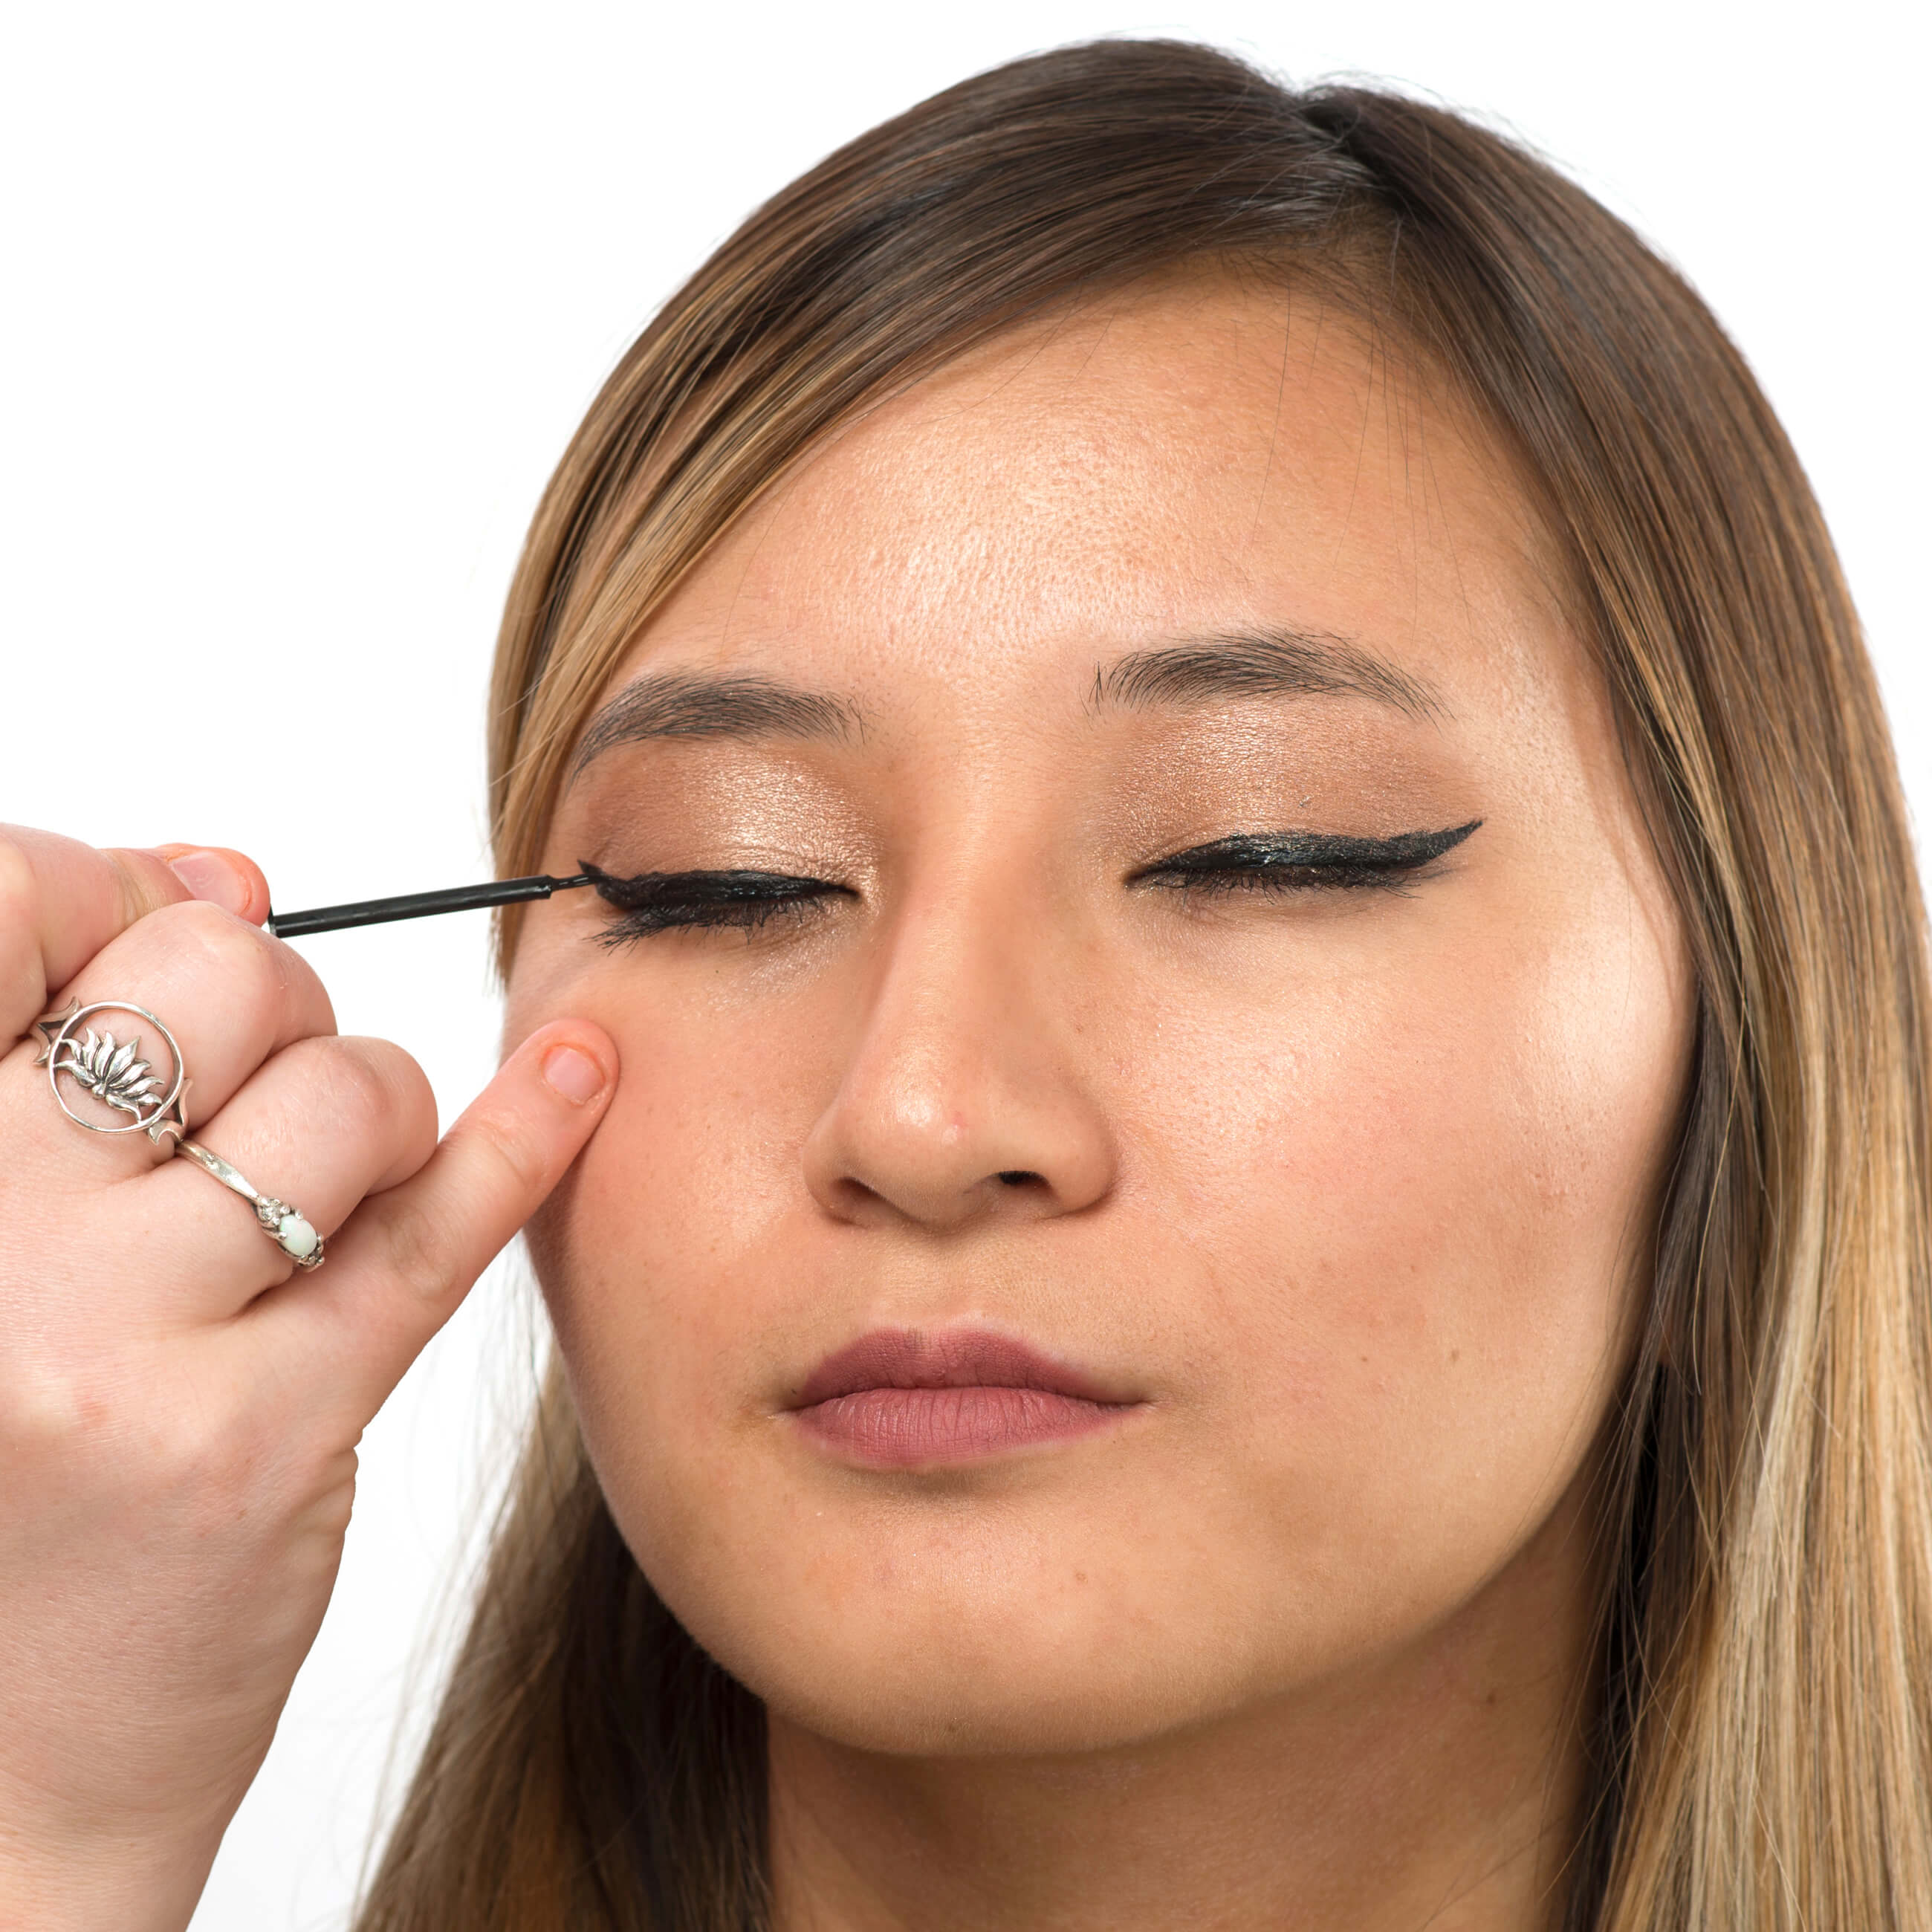
Step 3: Draw a natural shaped wing.
Don’t rush to create that juicy wing yet. Remember, short thin strokes are key! Gently pull your eye from your outer corner if you need to flatten your skin out more. For the most natural looking winged eyeliner that suits your eye shape, draw the tail following the natural curve of your bottom lid. Finally, fill in any gaps between the winged tail and your lash line to create a sleek, goddess-worthy wing. For more tips on how to do eyeliner for each eye shape, check below.
How to Do Winged Eyeliner for Each Eye Shape
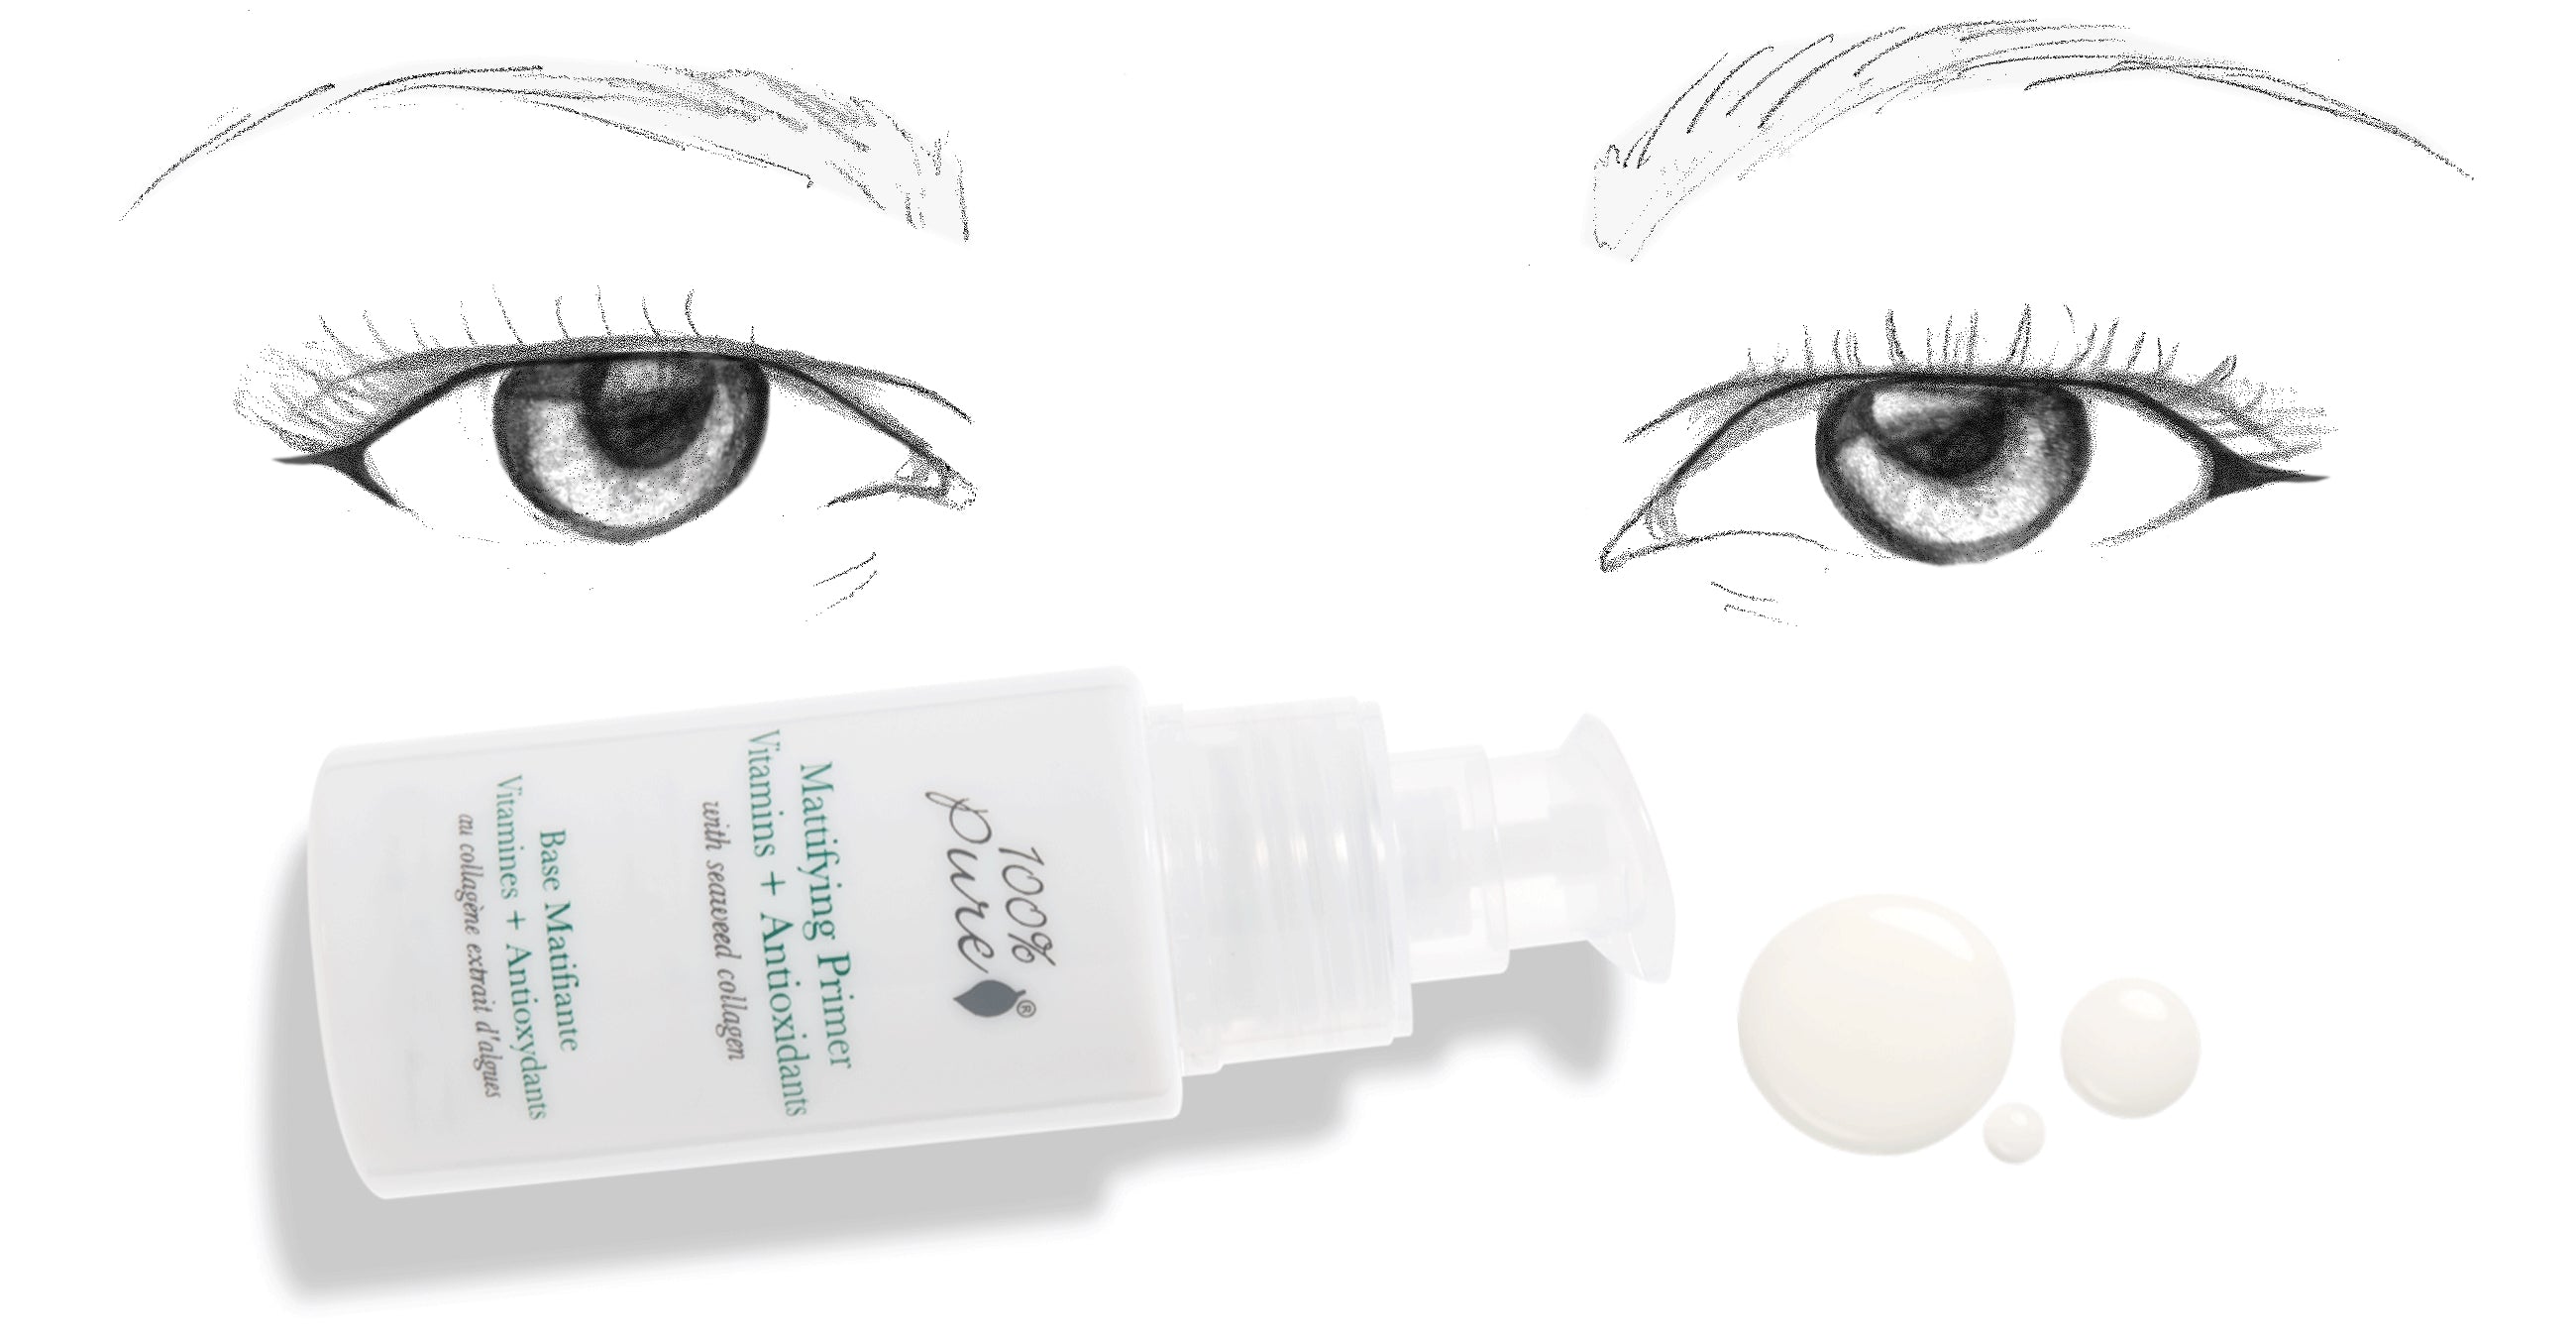
Winged Eyeliner for Hooded Eyes
If you have hooded eyes, the skin on your upper eye area covers up your eye crease. This means your eyeliner is more prone to smudging. Apply Luminous Primer or Mattifying Primer to keep your winged eyeliner in place. Add some extra thickness and length to the tail.
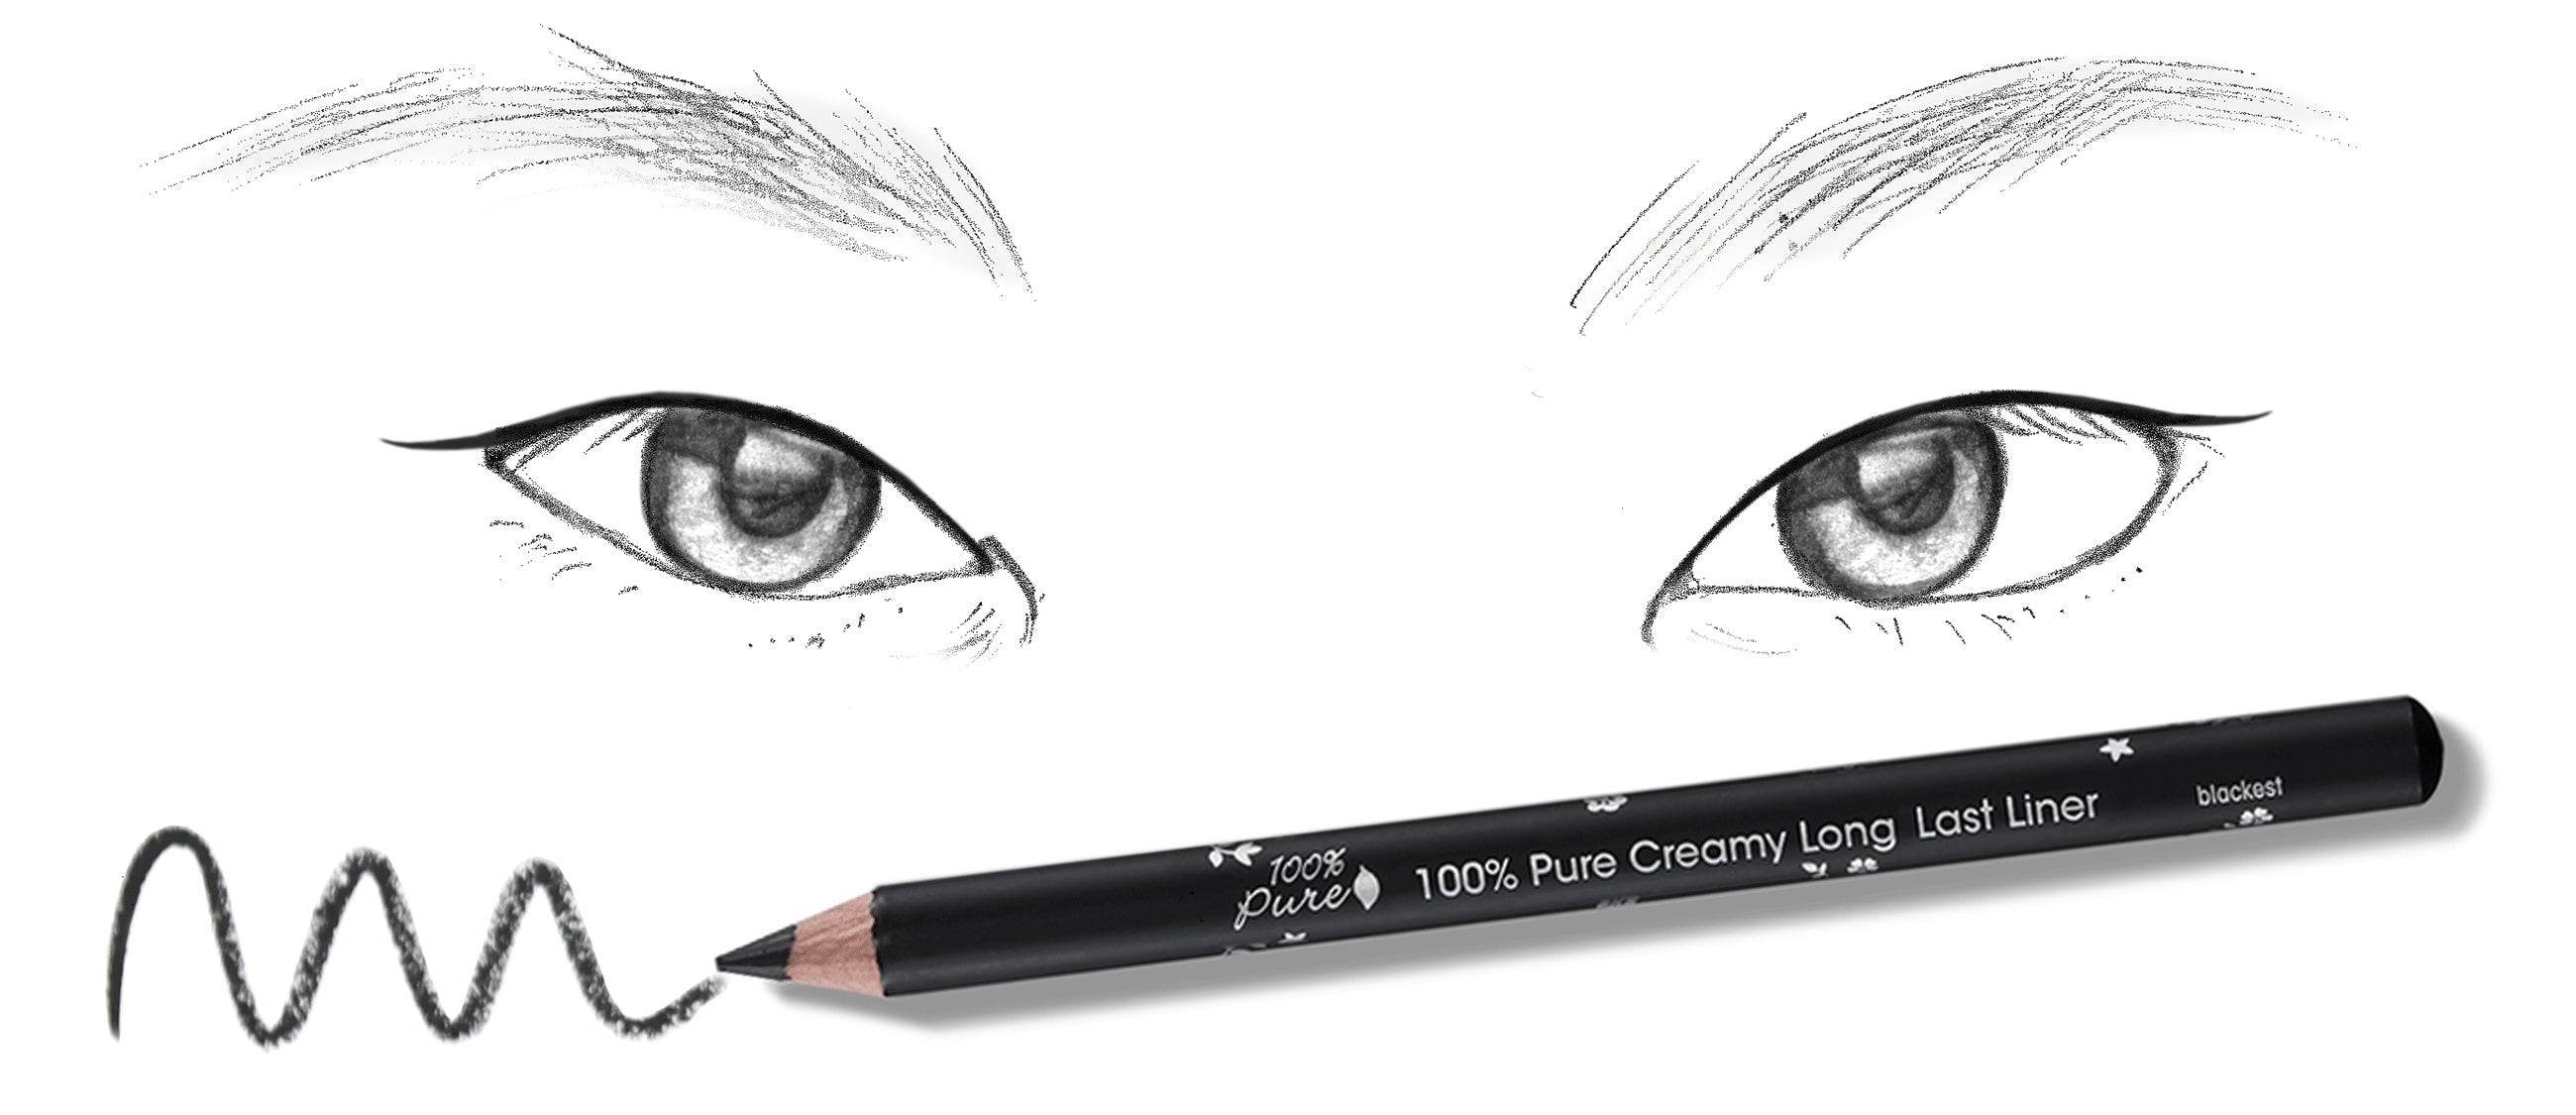
Winged Eyeliner for Monolid Eyes
If you have monolid eyes, focus on keeping your eyeliner as close to your lash line as possible. No need to pile on extra layers of eyeliner (which would result in raccoon eyes). Winged eyeliner with extra flare will flatter monolid eyes.
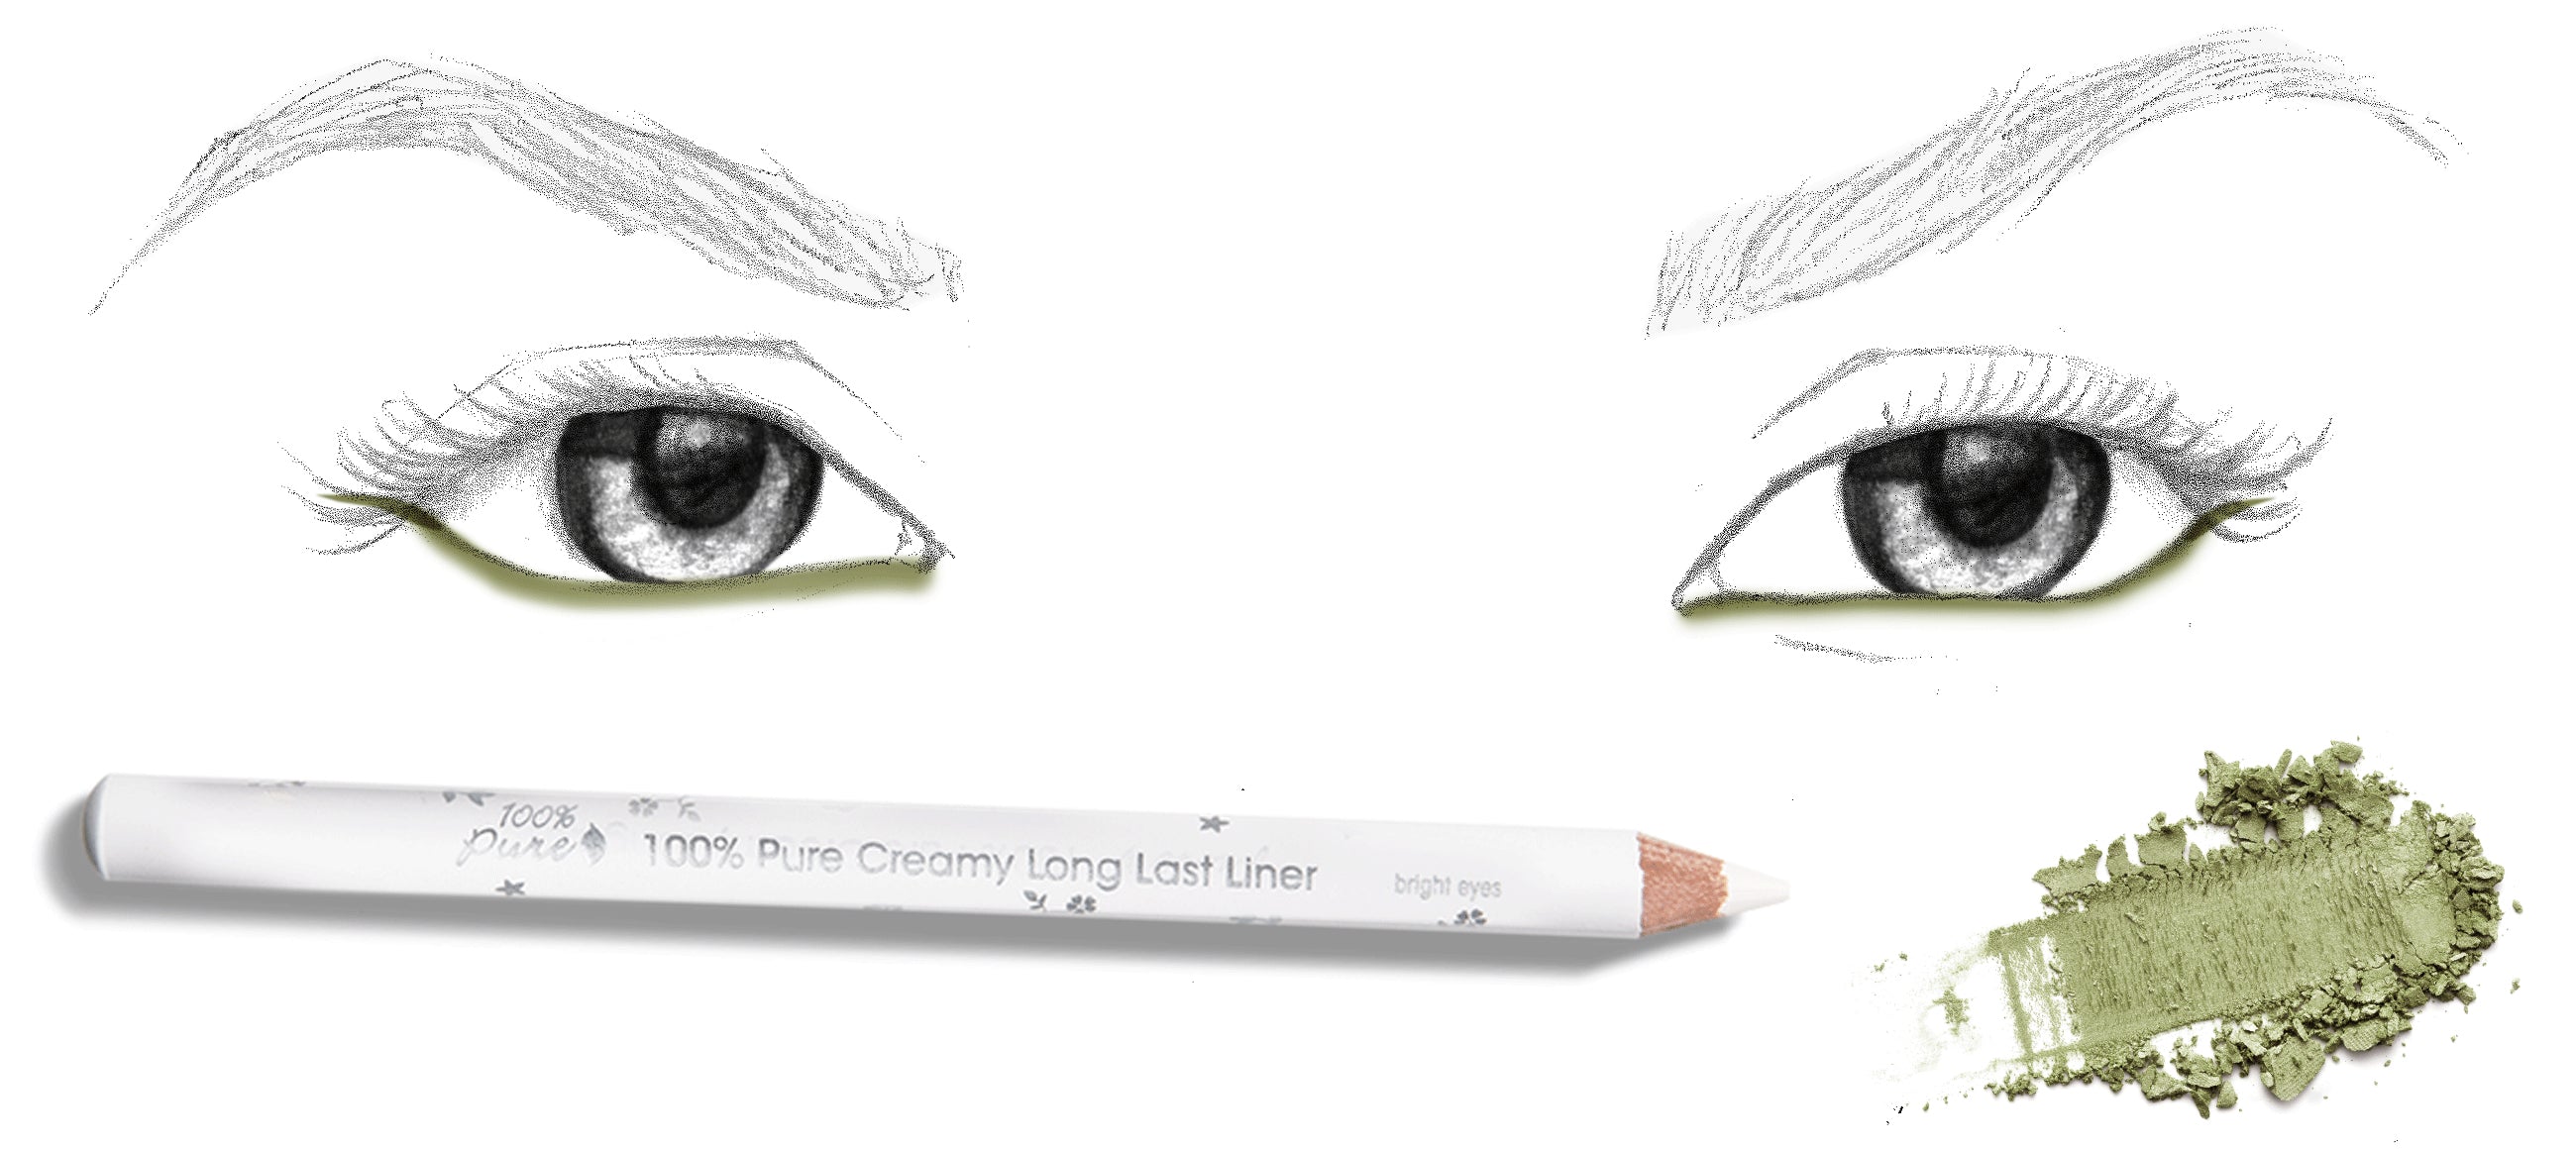
Winged Eyeliner for Almond Eyes
Luckily your eye shape is easy to work with! If you have almond eyes, you can spice up your cat eye a bit with some colored eyeliner on your lower lash line by following a Desert Festival Tutorial: Colorful Eye Liner Look.
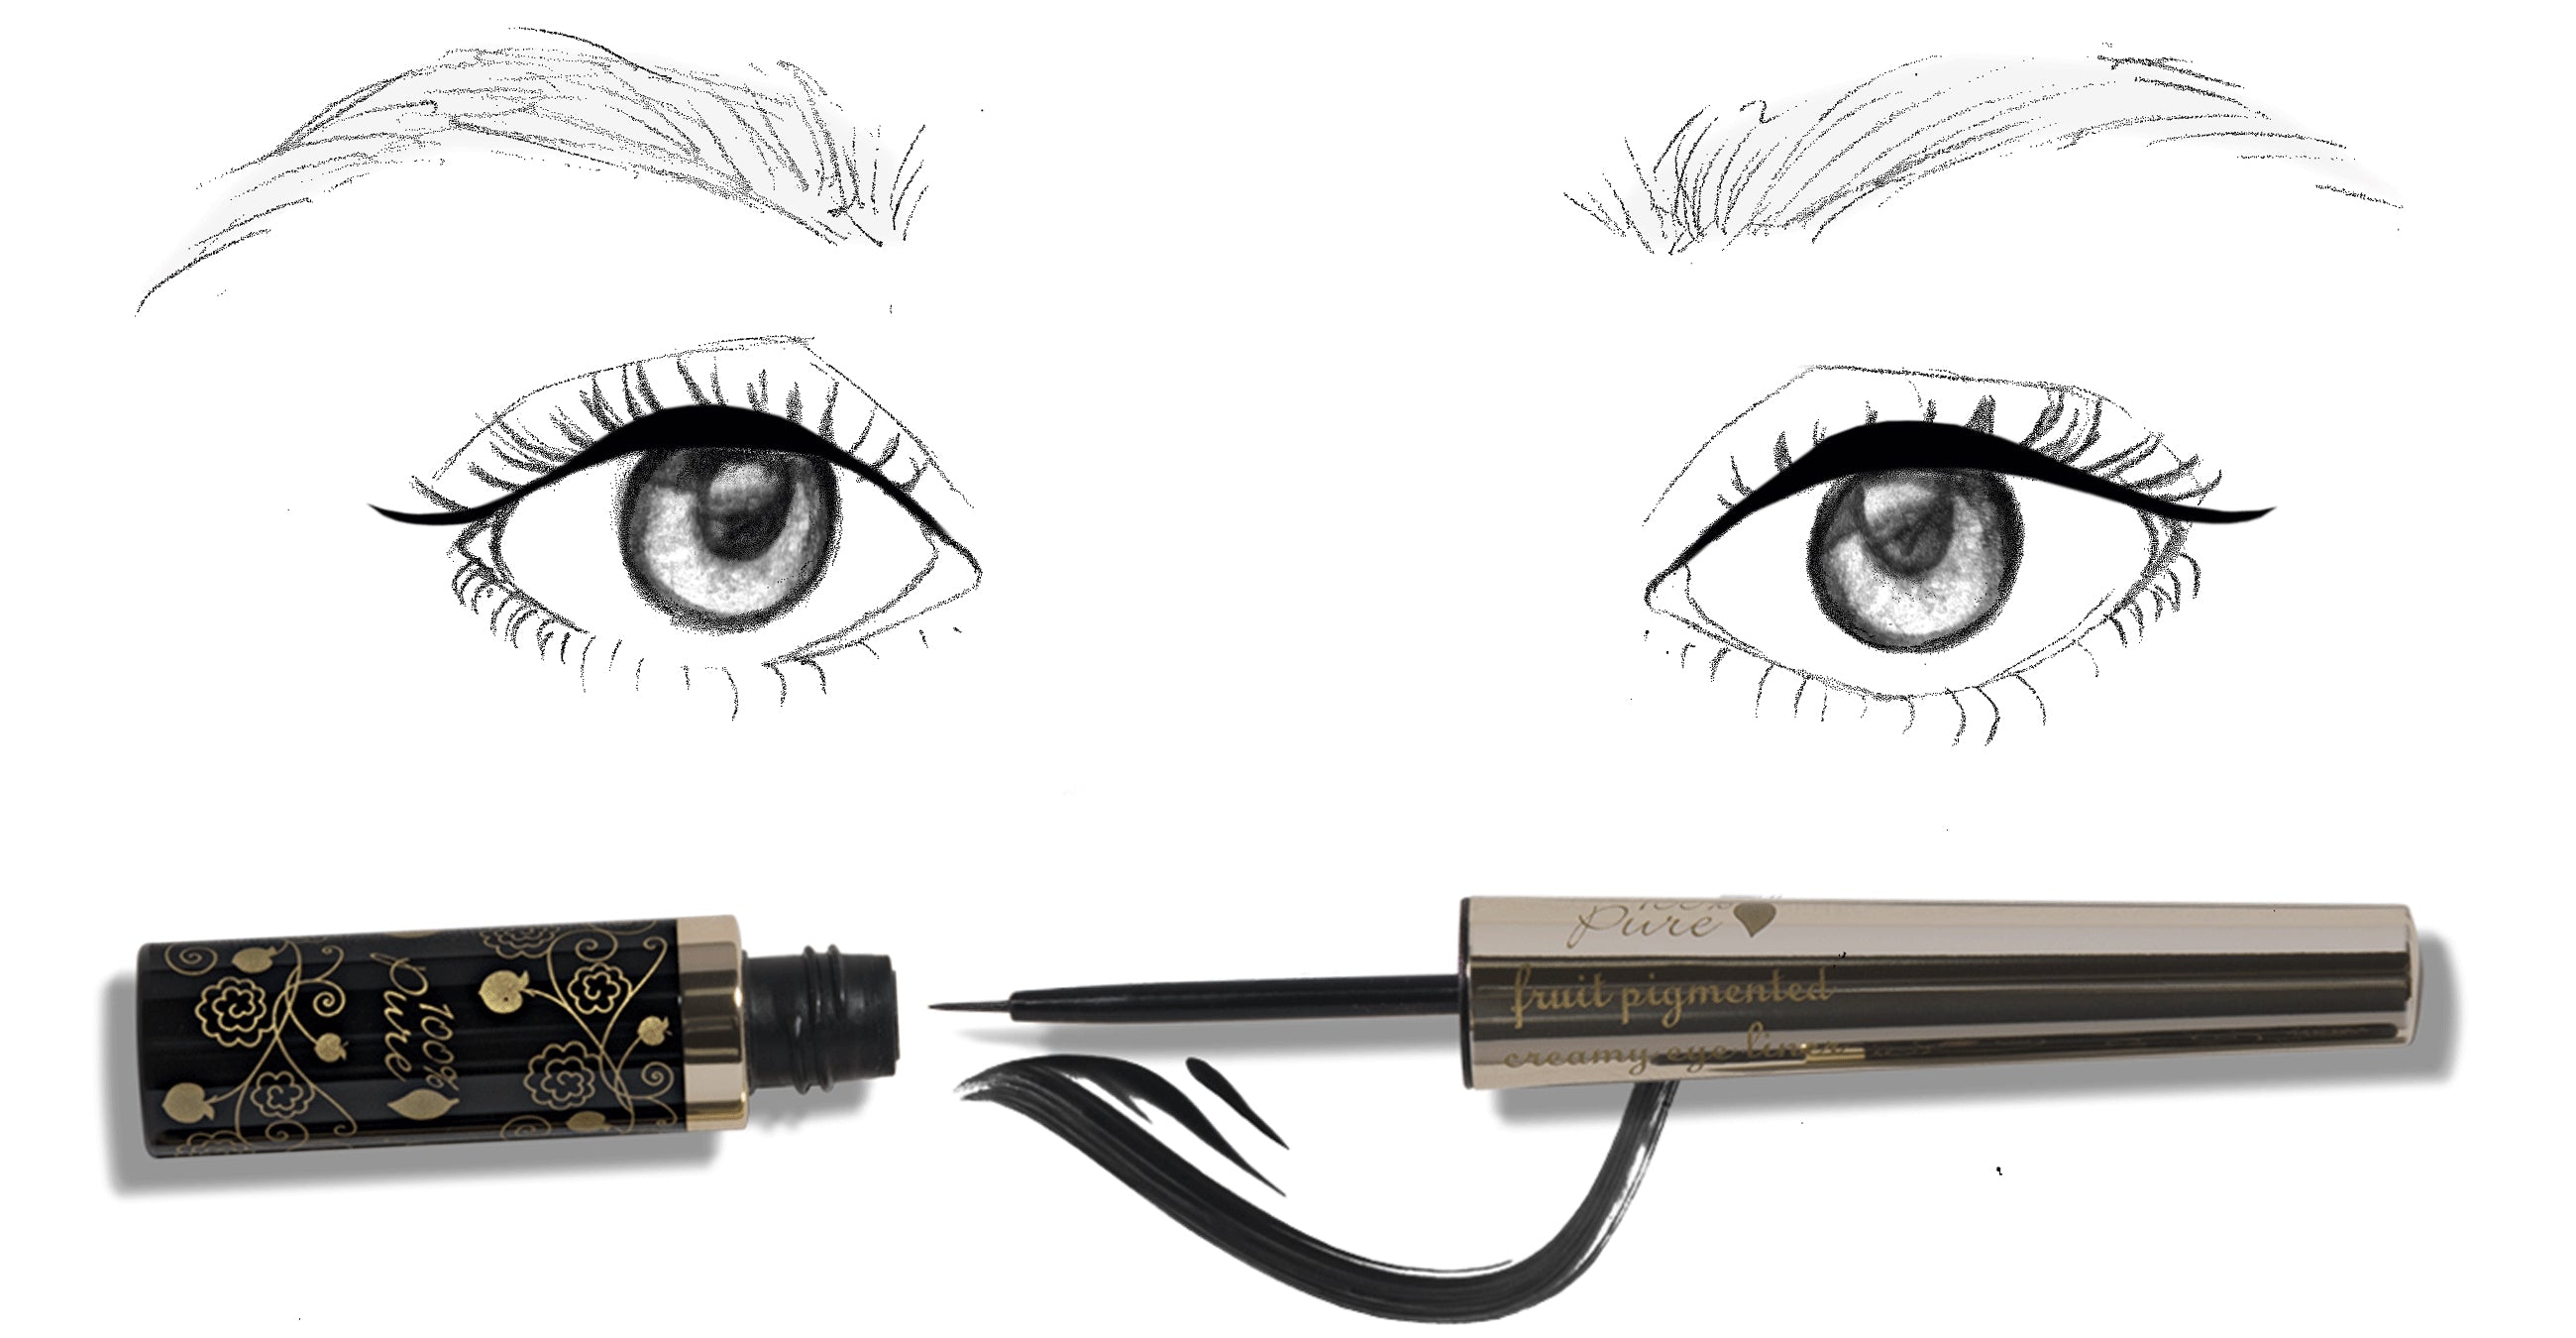
Winged Eyeliner for Round Eyes
To balance your face shape and add more dimension to your eyes, create a longer, thinner tail. This will add more depth and width to your eyes.
For more tips on how to do winged eyeliner for your eye shape, don’t forget to check out The Ultimate Eye Makeup Guide. Have fun, and last but not least, remember to keep practicing! Check out the following blogs for more eye makeup pro tips:
The Ultimate Eye Makeup Guide - How to apply a cat eye like an expert for your unique eye shape.
Guide to Eyeshadows - Discover your new favorite from our collection of natural eyeshadows that might as well be eye cream!
Smokey Eye Tutorial for The Perfect Smoldering Gaze - How to do smokey eyes with makeup, with step by step guide to eyeshadow layering!
How to Apply Under Eye Concealer - A step-by-step tutorial, from priming all the way to baking your under eye concealer to say goodbye to dark circles!
We carefully hand-select products based on strict purity standards, and only recommend products we feel meet this criteria. 100% PURE™ may earn a small commission for products purchased through affiliate links.
The information in this article is for educational use, and not intended to substitute professional medical advice, diagnosis, or treatment and should not be used as such.


