Your guide to makeup blenders: what they are, how to choose them, and how to use them
Written by: 100% PURE®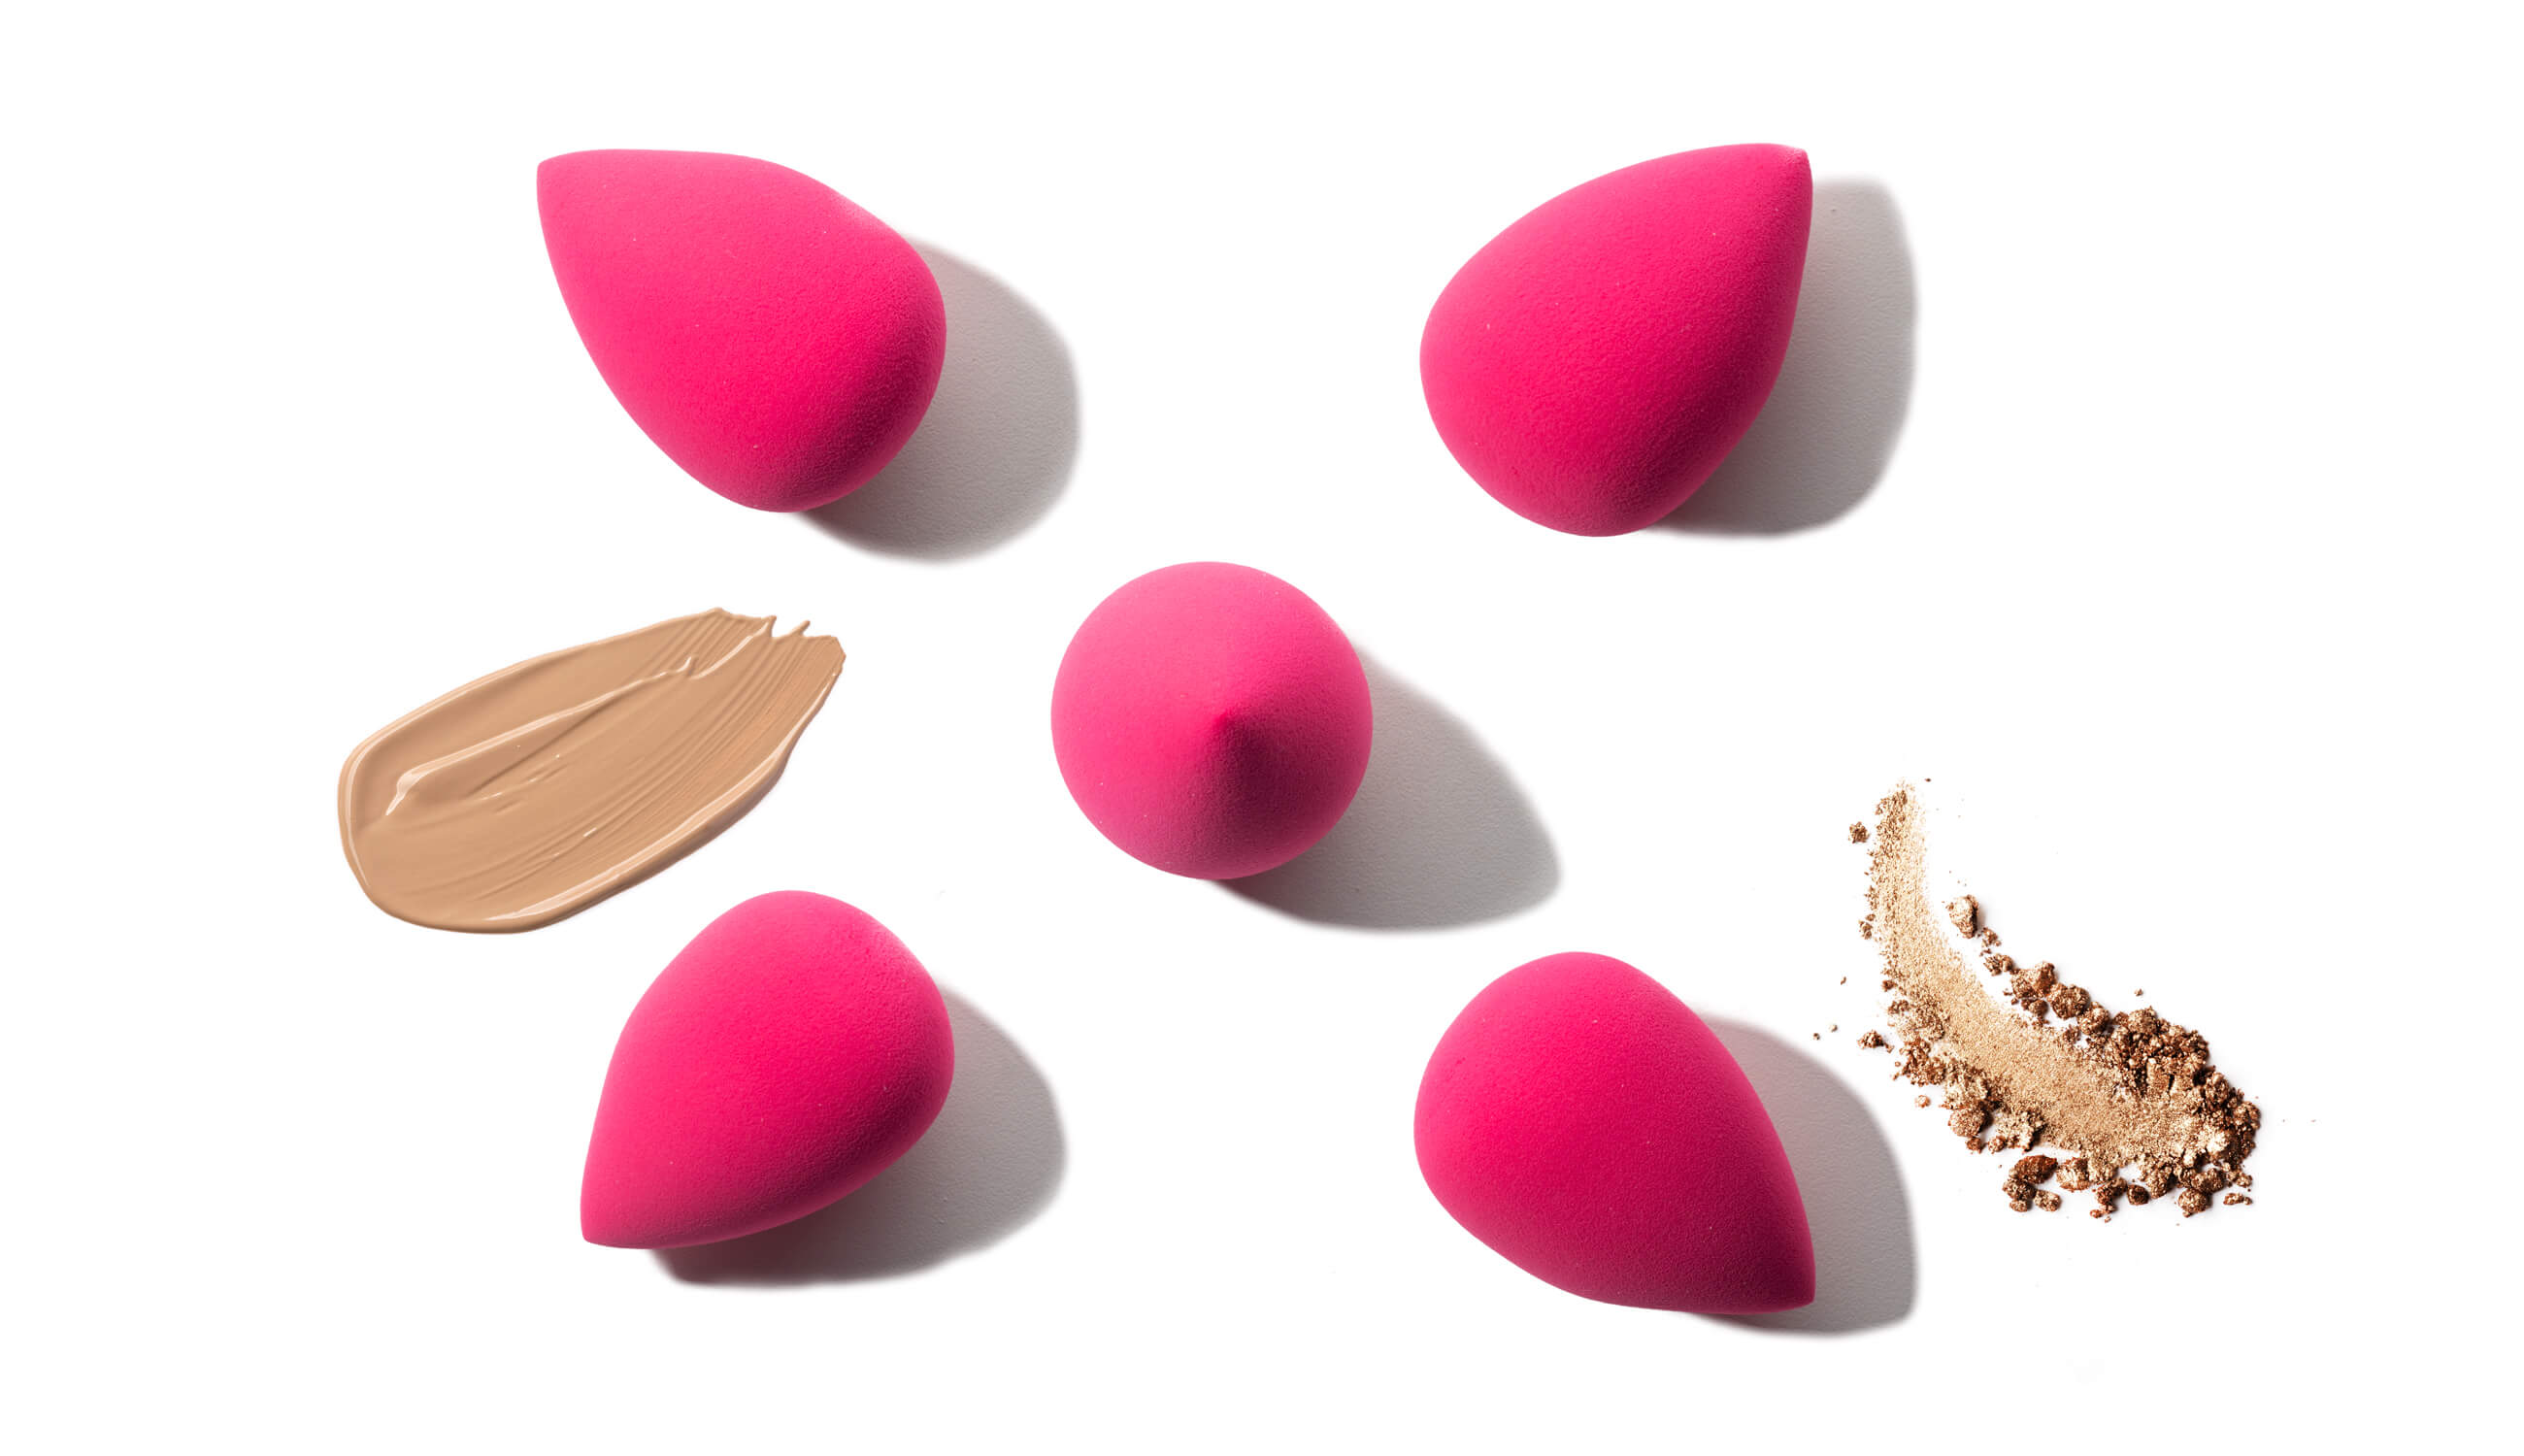
What’s the #1 rule of makeup? We’re sure all you beauty pros out there can probably guess what it is. No matter what formula we are applying, and despite the look we might be going for, the first rule of makeup is to always blend. The tools we use are the most important factor in achieving that seamless, blended look, so we at 100% PURE decided to create our own Non-Latex Makeup Blender.
Even though there are so many blenders out there on the market, we wanted to switch it up and offer everyone a high quality, multi-purpose non-latex option that blends like a dream. We created this short guide to tell you all about our favorite makeup blender, complete with nifty tips and tricks for how to use it!
The Shape
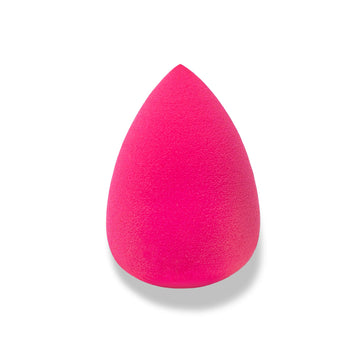
First things first, you might be wondering why the sponge is shaped that way! Great question – the tear drop shape is no accident. The chubby end, ‘the base’ of the sponge is great for applying base makeup. Use this side to bounce on complexion products like moisturizer and foundation. This side also works great for blush, or to use anytime you need to cover a large surface area with a product rather quickly. The pointed end of the sponge is great for detail work. We use this to get into smaller corners, like around our nostrils and under our eyes. This side also works well for getting crisp lines, say if you wanted to clean up under winged liner or intensify your cheek contour for example.
The Material
Many traditional sponges on the market actually contain latex, but our beauty sponge is latex-free. The material used to make latex sponges are also found in mattresses and mattress pads. Latex sponges have huge pores and absorb a lot of product. Because of that, these sponges can be impractical as they can breed bacteria and are recommended to be thrown out after each use. Traditional synthetic latex is made with toxic petroleum, and that is definitely not something we want to put on our skin. Instead, our latex-free version is non-toxic, reusable, and perfect for any blurred, dewy look.
 8 Ways to Use Your Makeup Blender
What products can you use your sponge with? Well, just about anything! Get creative and use the sponge however you like. Our latex-free sponge may perform differently than those you are used to, so we recommend always using it damp. The moisture in the damp sponge adds a subtle layer over the top of your skin that blends the product in perfectly and allows everything to look smooth and natural, like your real skin!
Try dampening your sponge with very warm water to apply your moisturizer, as the warmth will open up the pores and allow the product to absorb better. Then rinse and dampen the sponge with ice water to apply under eye cream or under eye concealerto apply under eye cream or under eye concealer. This will help reduce puffiness and dark circles not to mention how soothing and cooling it feels.
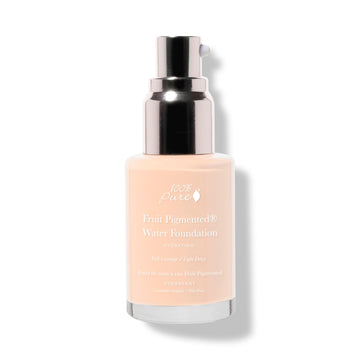
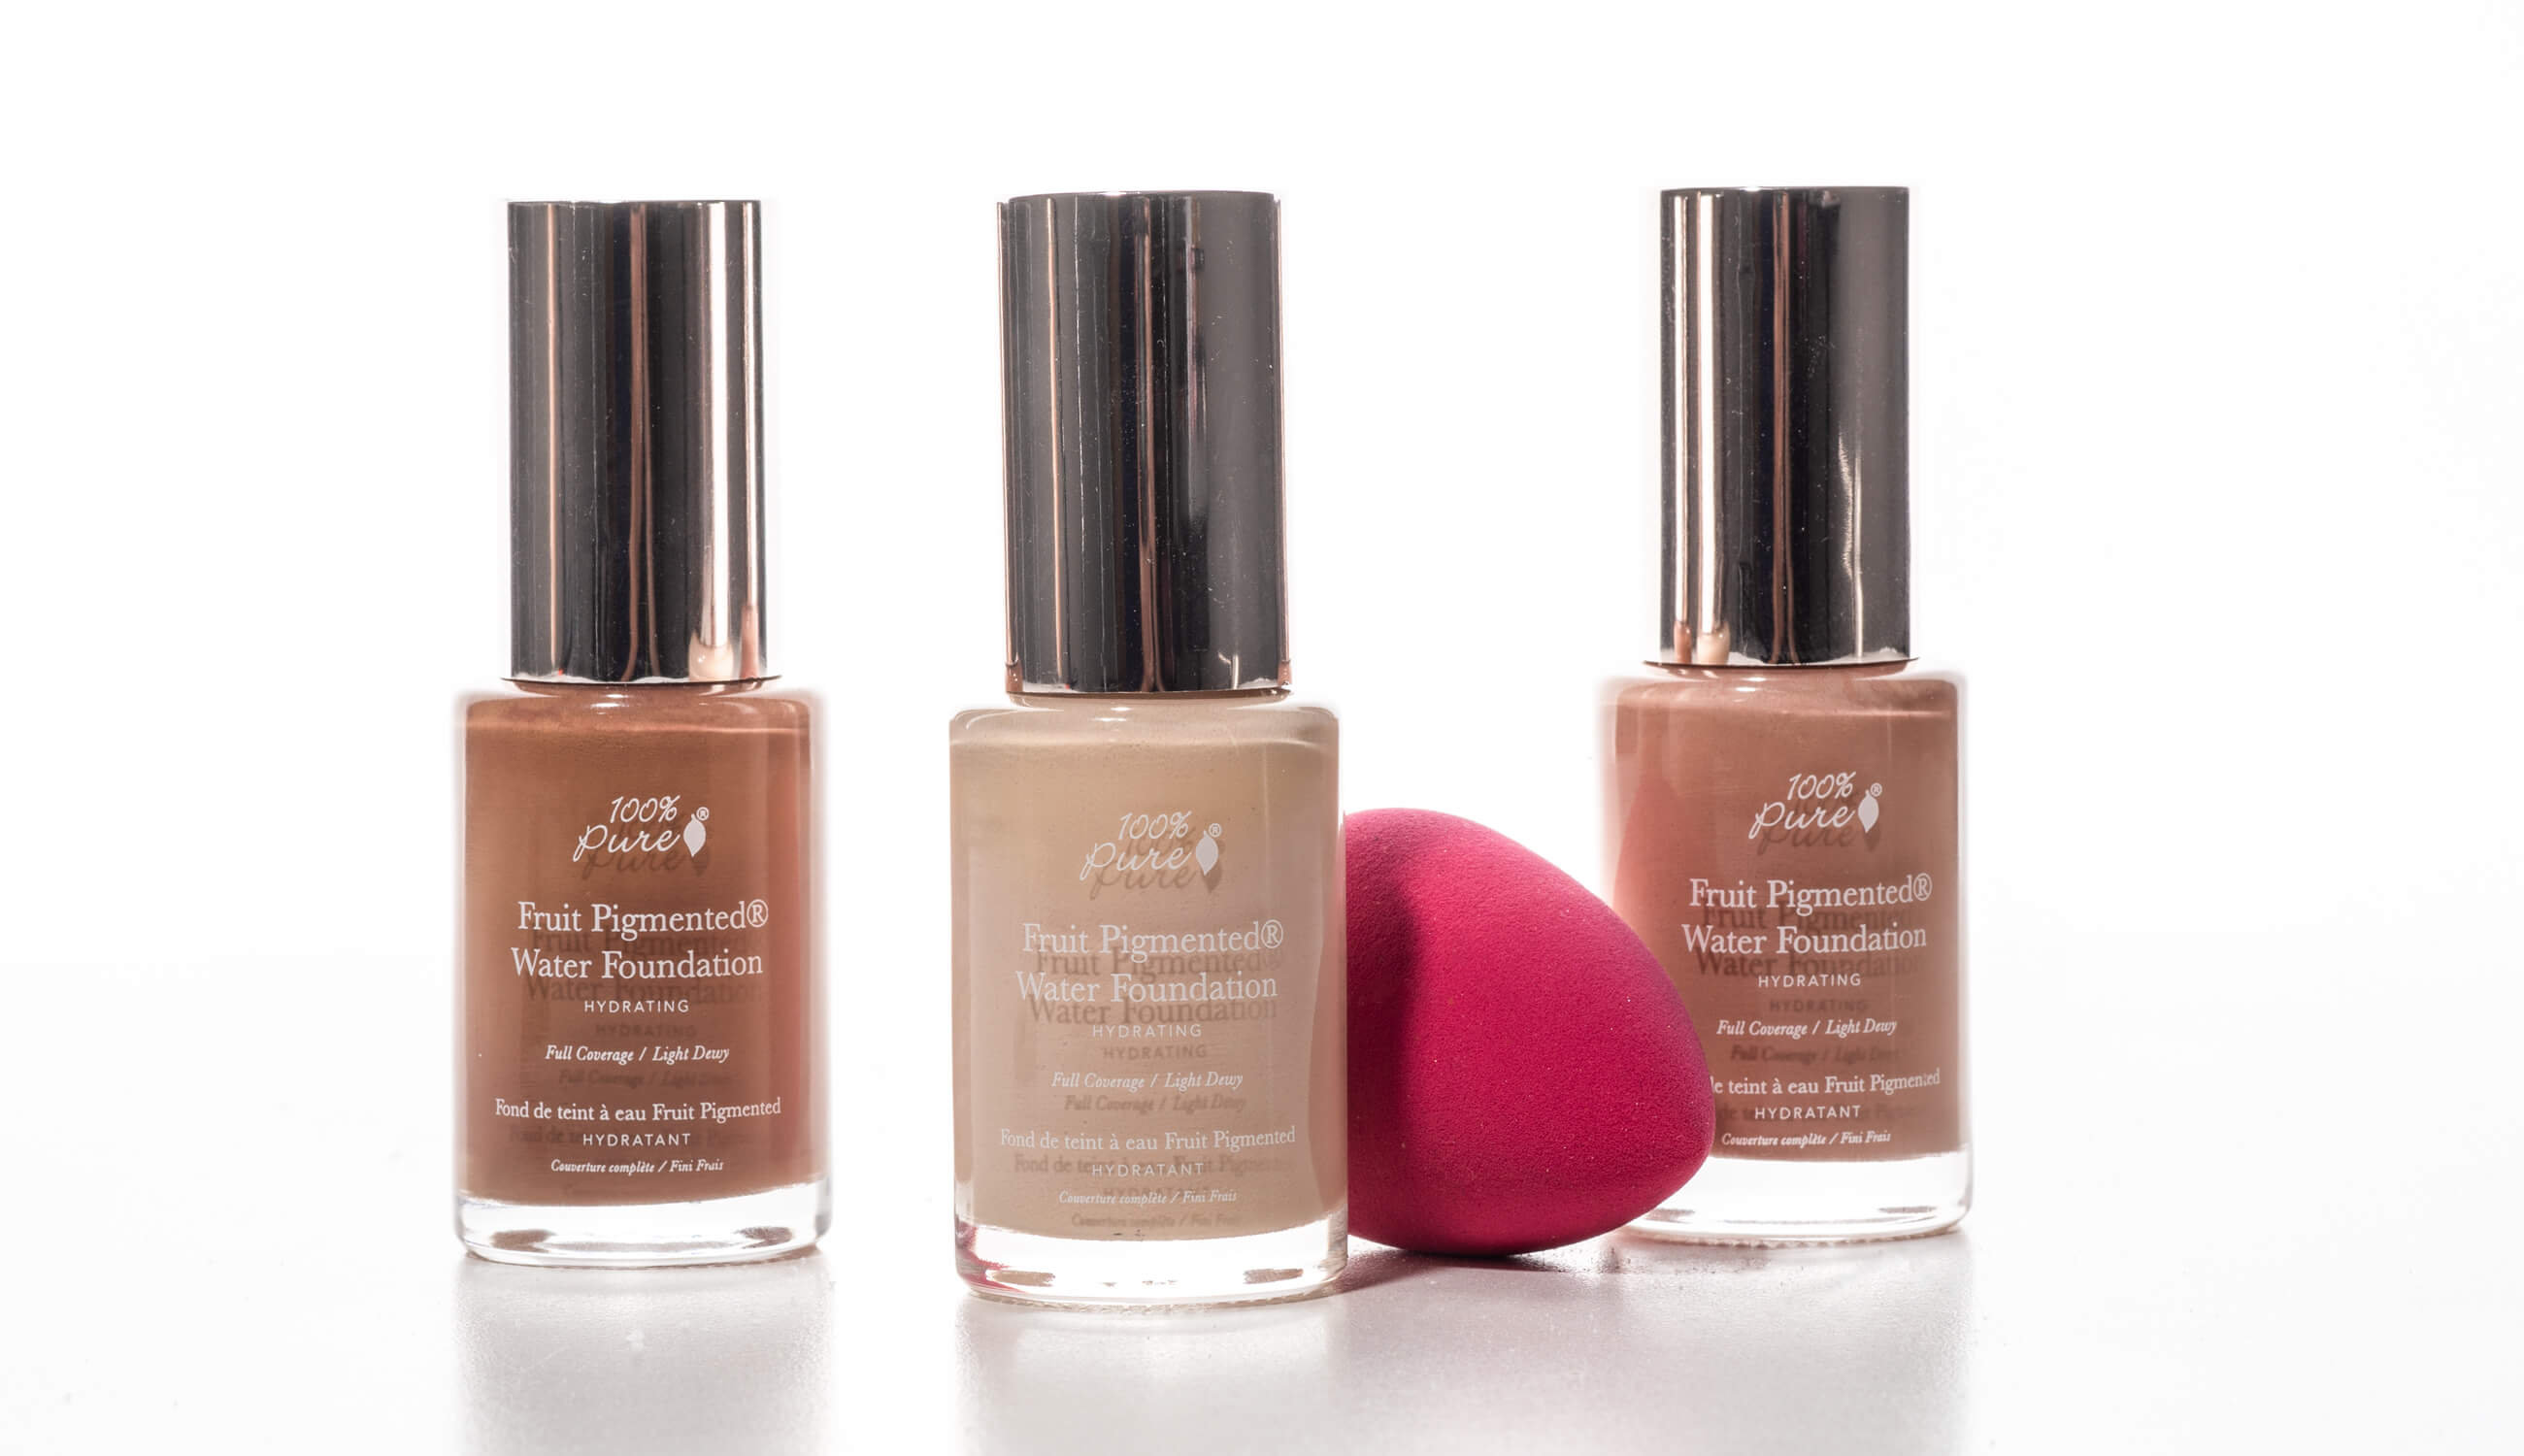
Our sponge works best with liquid and cream makeup to give you that lovely, dewy finish. For example, our latex-free sponge and Full Coverage Water Foundation are a match made in heaven! The moisture content of this foundation is through the roof, with soothing aloe juice and vegetable glycerin for supple skin. Simply add a squeeze of product to the bulb end of the sponge and bounce onto the skin until you get your desired coverage.
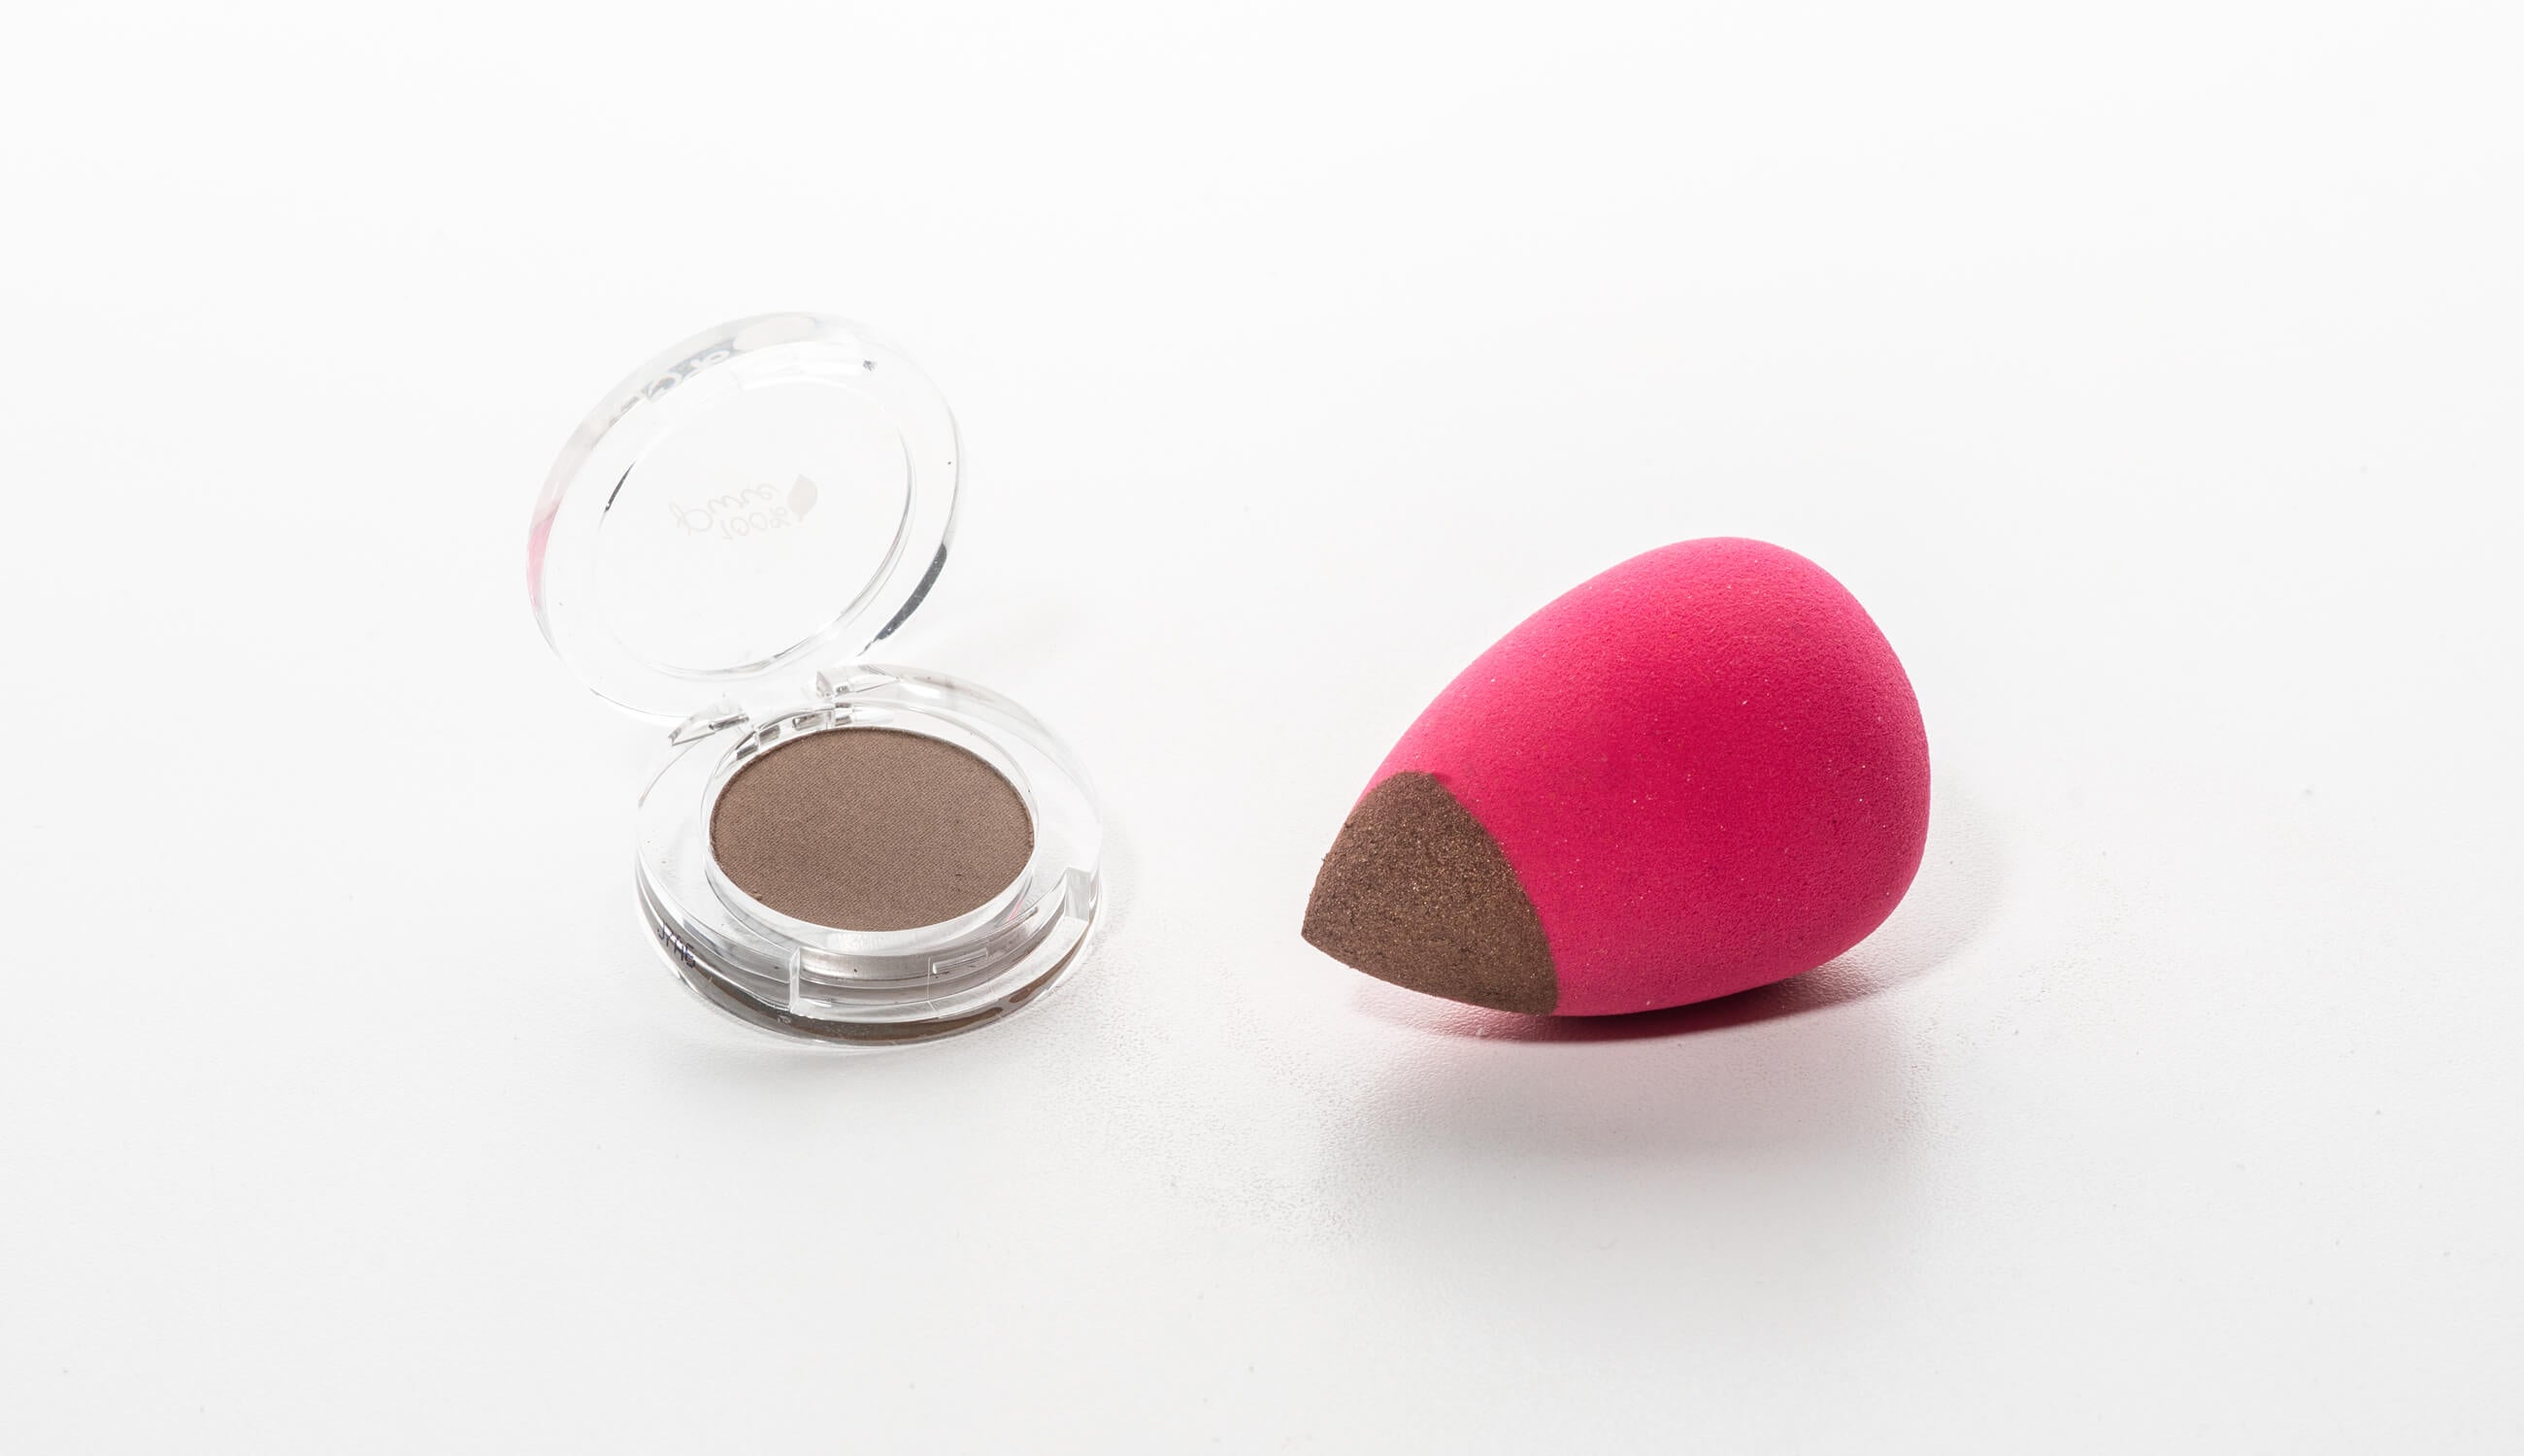
Here’s one of our favorites little-known makeup blender tips: use the pointed end to apply eyeshadow! Opt for a shimmery or metallic shade to get a show-stopping foiled look. Turn the sponge on its side and use it with cream or liquid highlighter for an all over glow. You can even use your beauty sponge to apply lip stain: using the rounded end, press the lip stain into your lips for that K-beauty, my-lips-but-better look.
In a pinch, use your latex-free sponge to press on glitter polish for a more intense application. And if you’re looking to maintain your subtle summer tan through the fall and winter months, use this sponge to apply self-tanner to any visible areas of the skin (neck, décolletage, hands, etc.) as needed.
Regular cleaning and care are important to maintain the quality of your sponge. How often you clean it may vary and will totally depend on how often you use it. Since our sponge is a daily feature in our beauty routine, we like to rinse it clean with warm water after every use. Every couple days, you should also do a deep clean with water and natural gel soap or sponge cleaner. Be sure to squeeze out all the water when you are done cleaning, then hang to dry!
- Tags: Makeup, November-2018
We carefully hand-select products based on strict purity standards, and only recommend products we feel meet this criteria. 100% PURE™ may earn a small commission for products purchased through affiliate links.
The information in this article is for educational use, and not intended to substitute professional medical advice, diagnosis, or treatment and should not be used as such.


