
We’re sharing three lavender oil inspired DIY projects to ramp up your springtime vibes!
Written by: 100% PURE®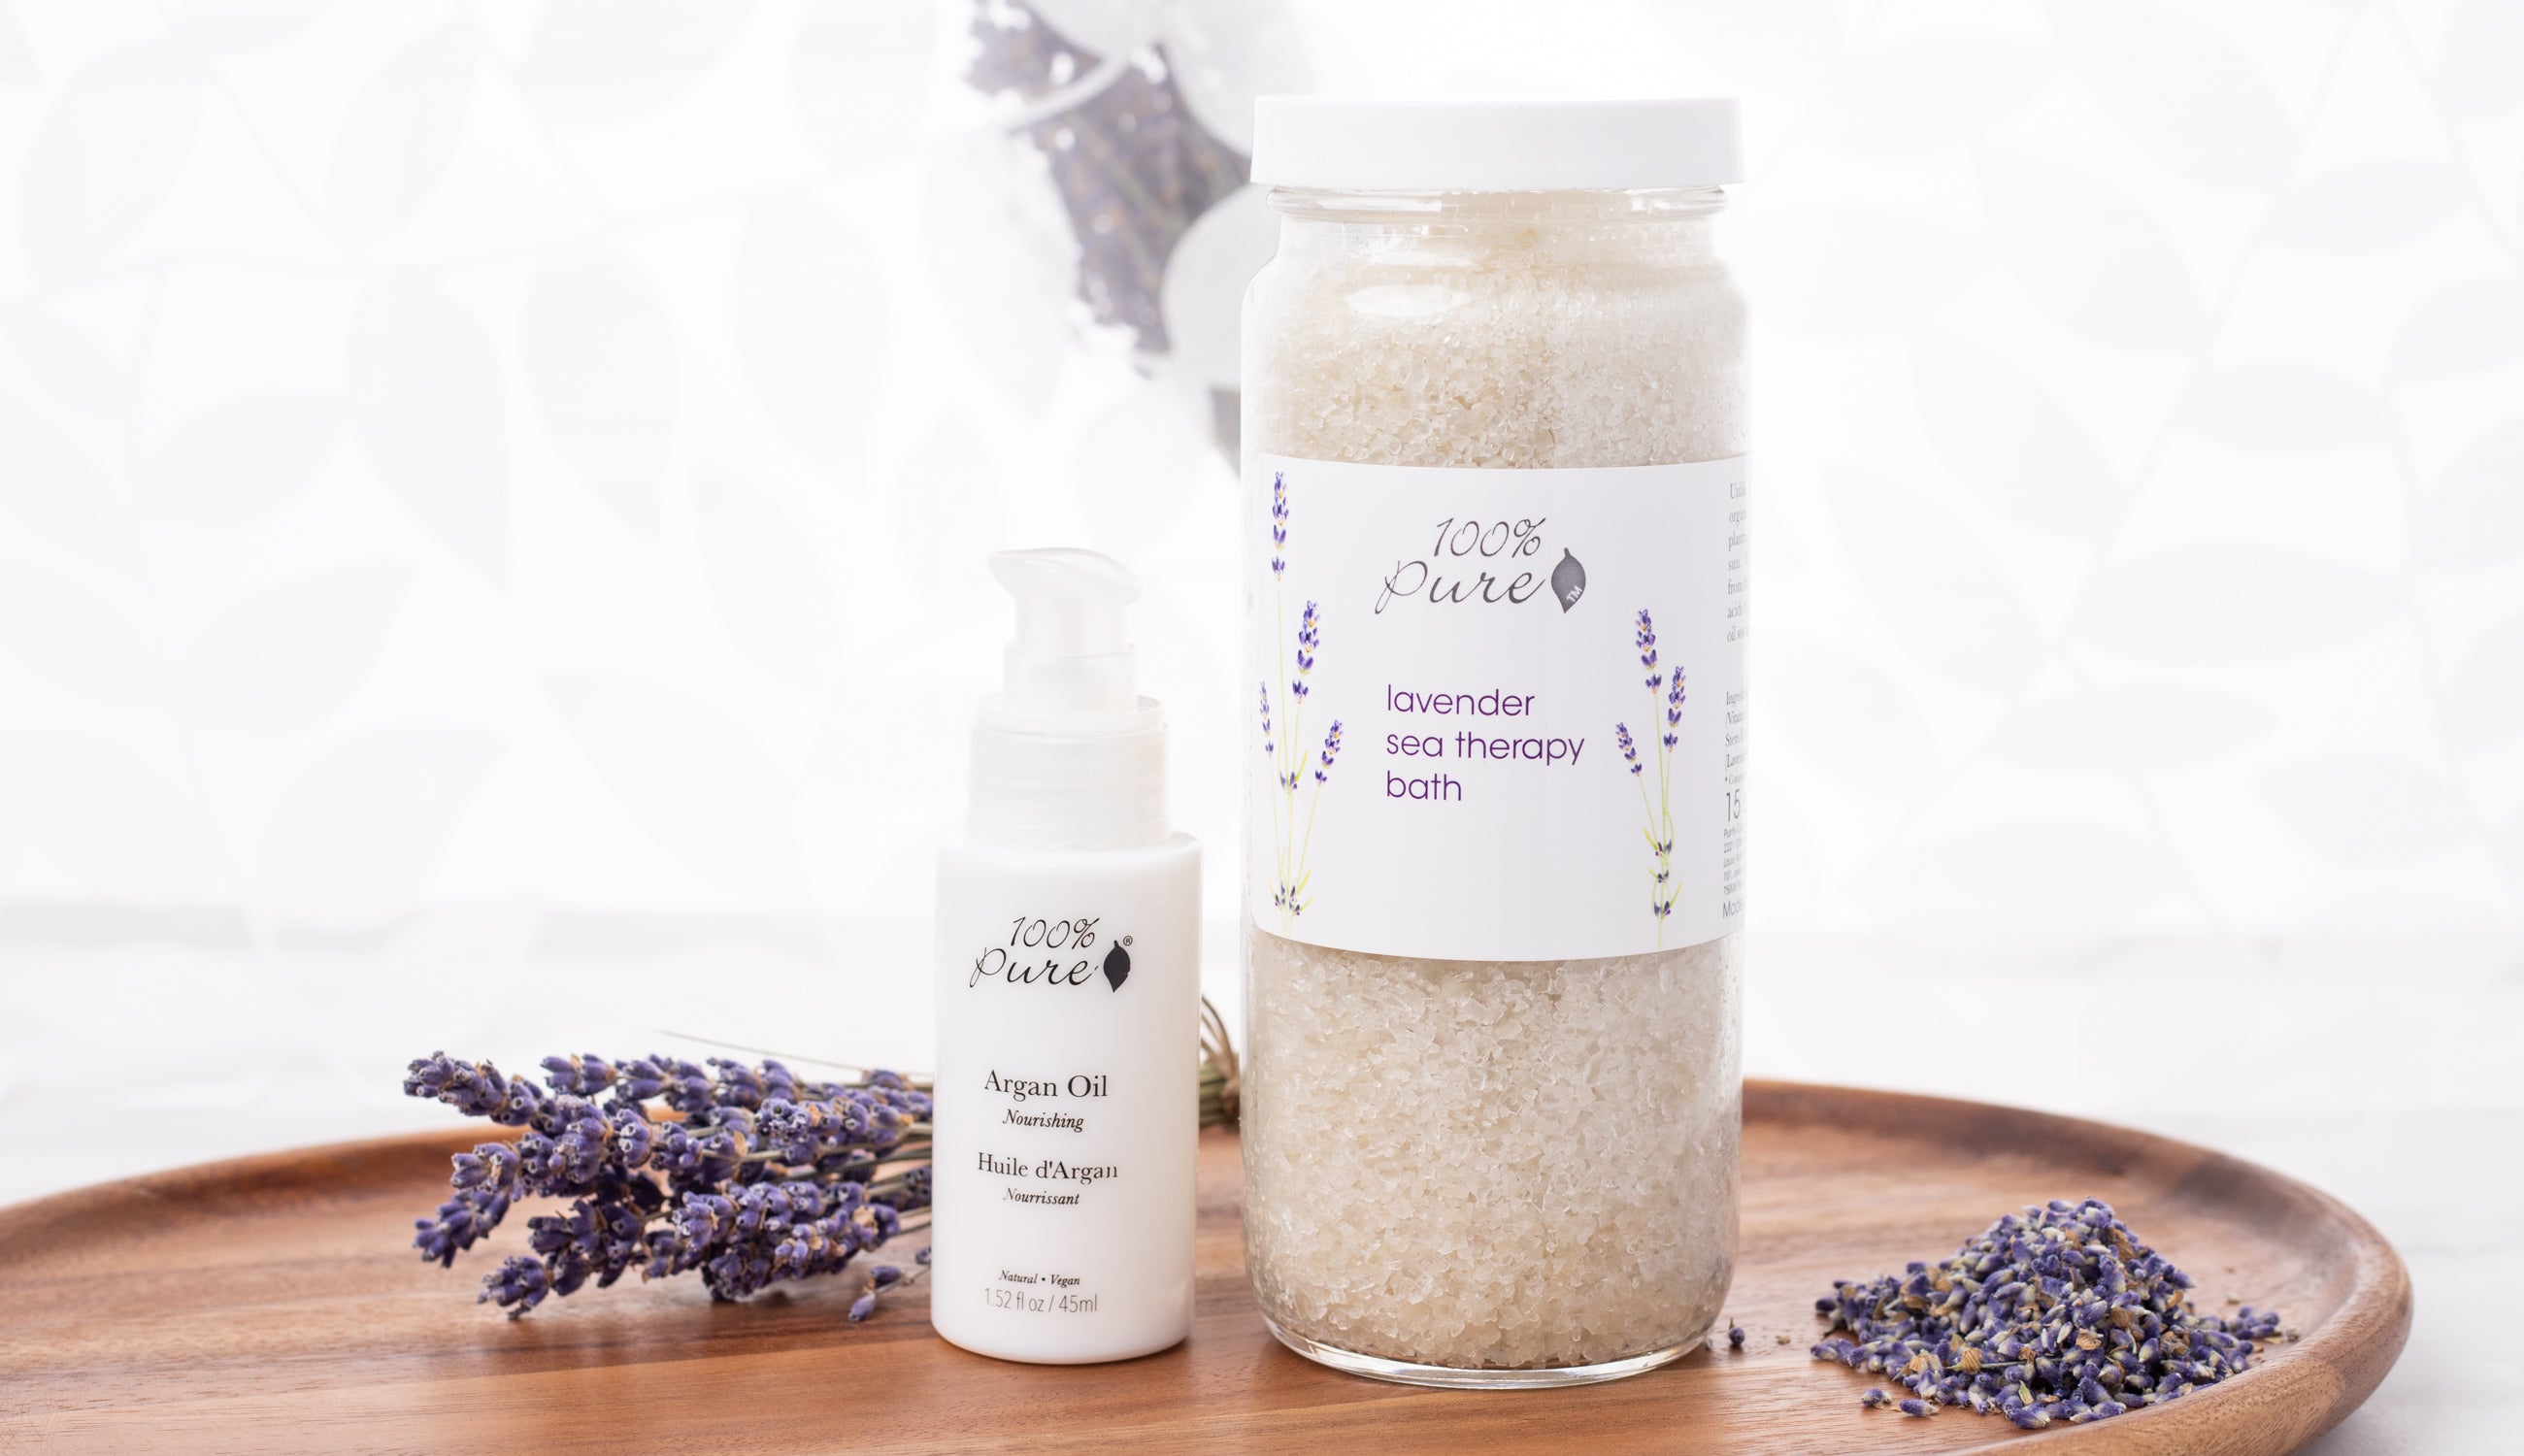
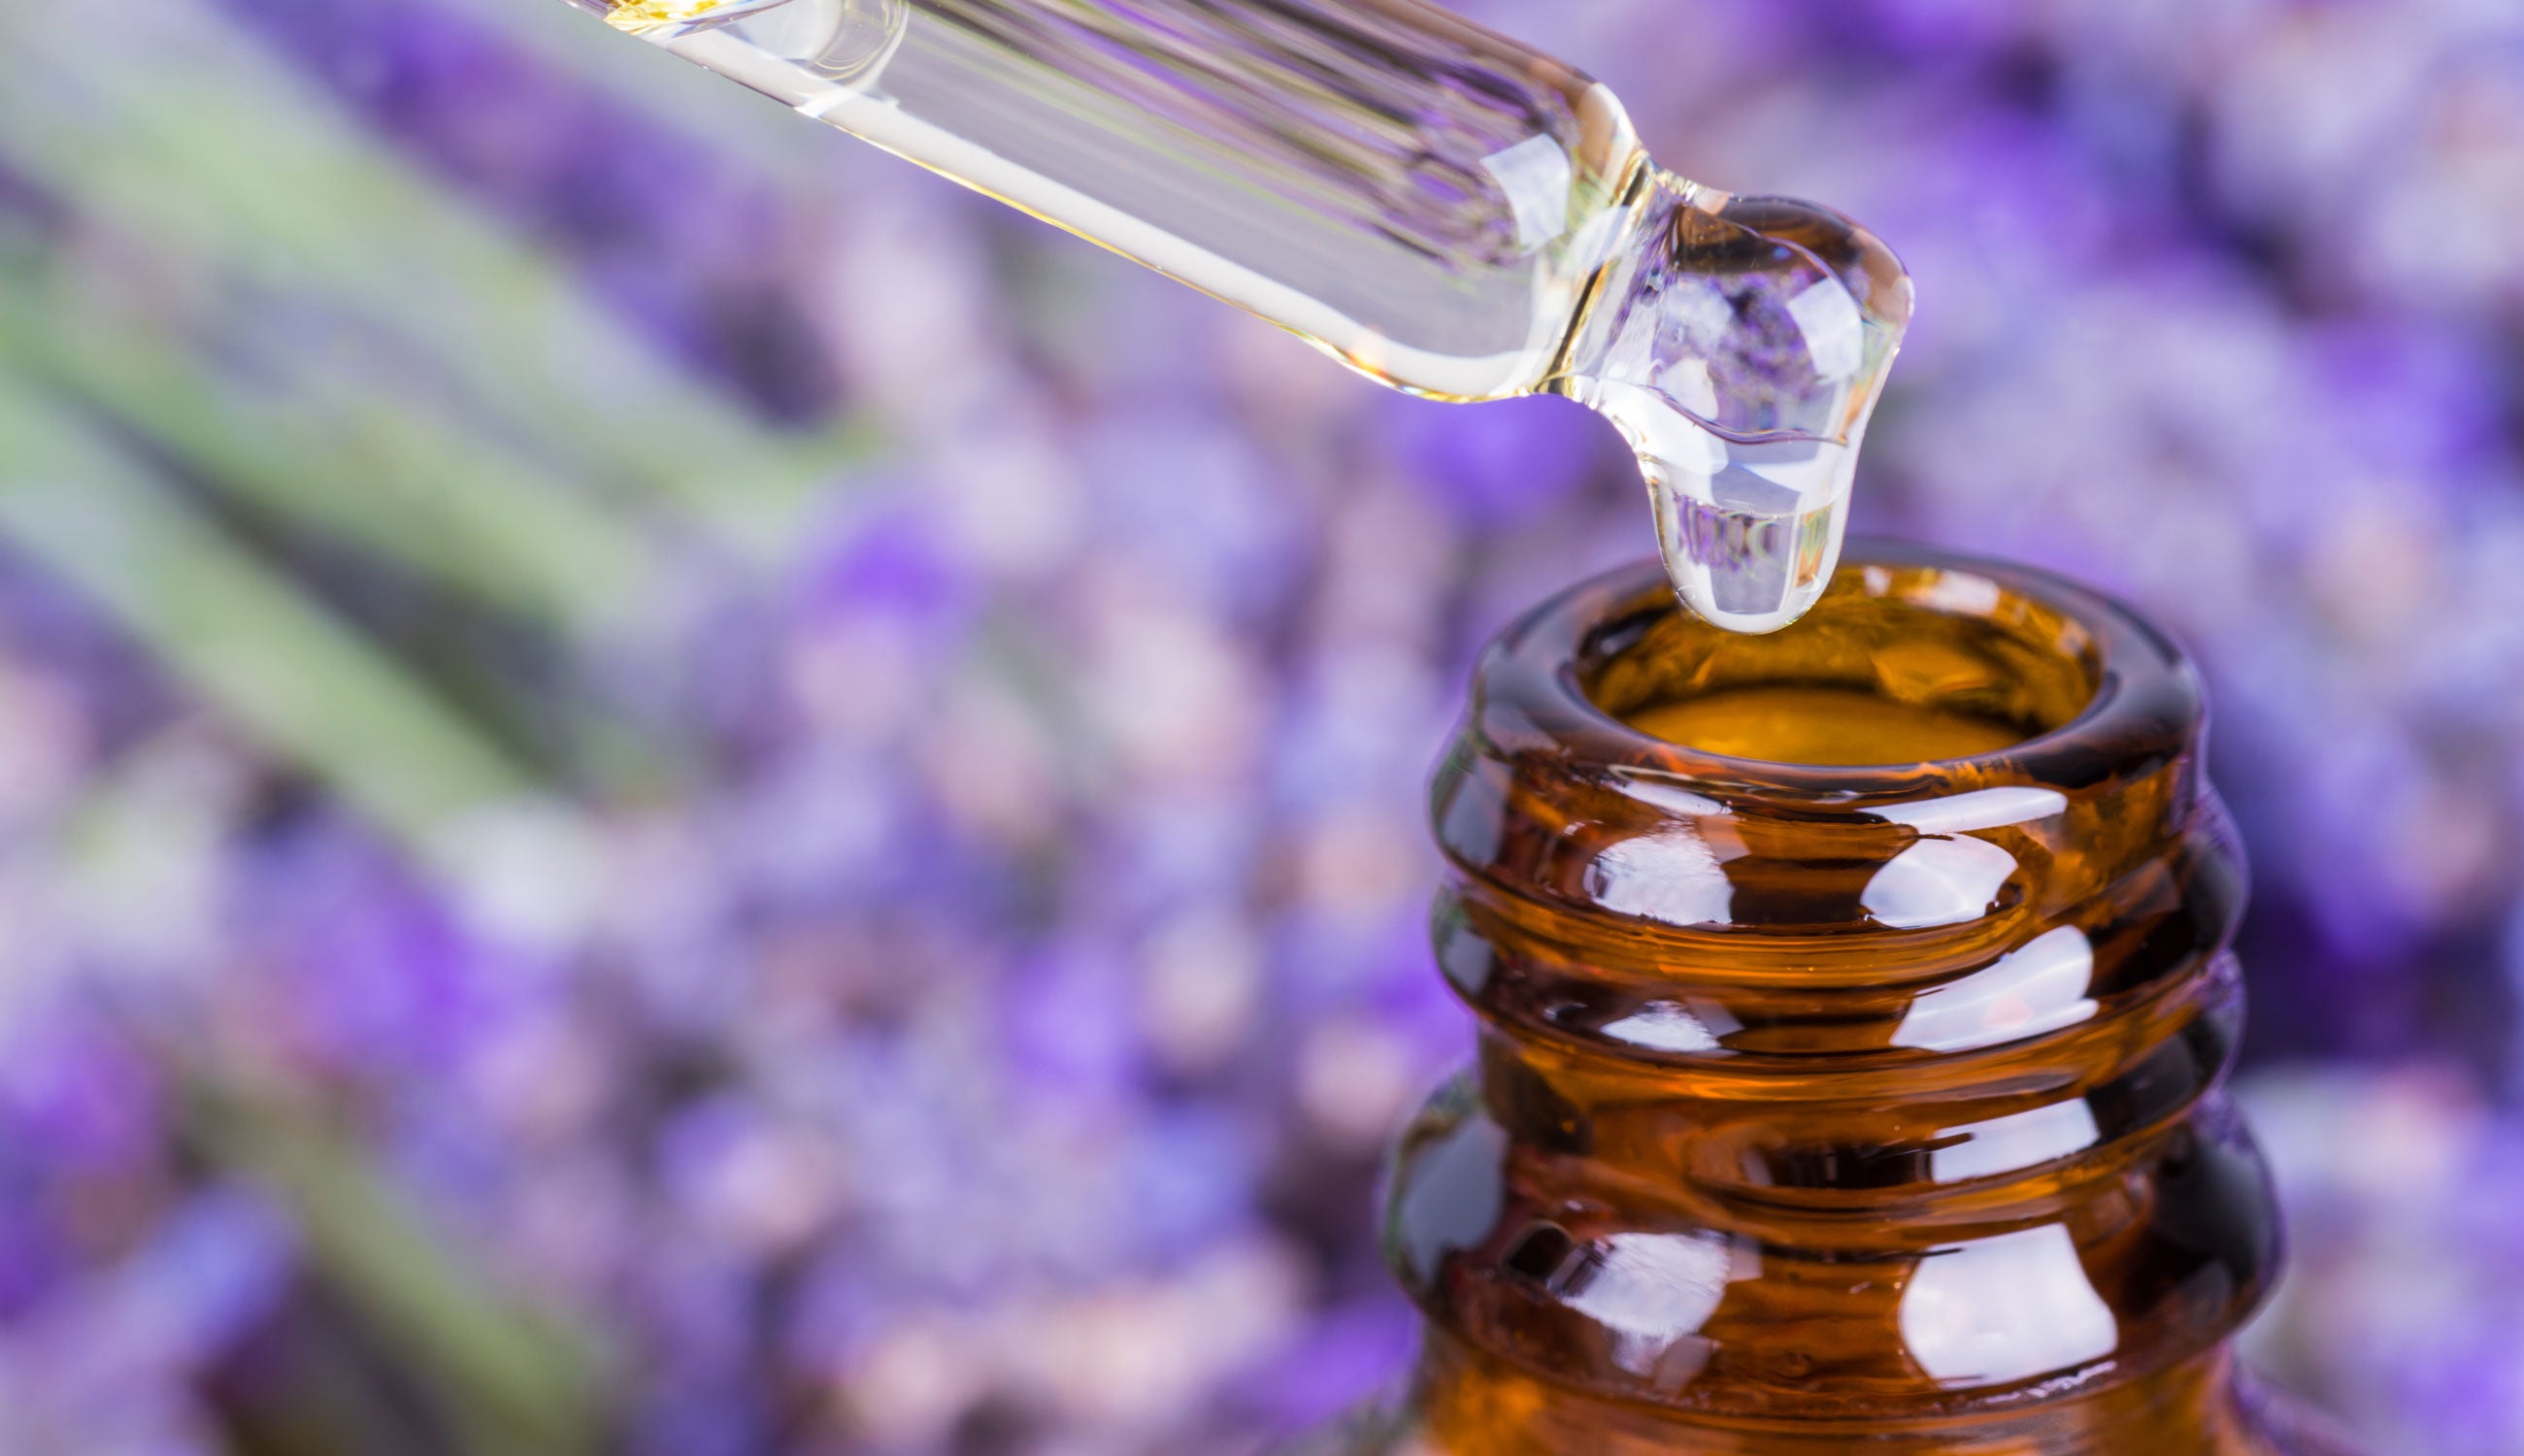
True spring weather is just around the corner – and we guarantee that these three lavender oil DIY treatments will help you get through the last few weeks of winter blues. Being one of the most used essential oils, lavender oil is easily accessible – and one of our top favorite scents!
Lavender oil is one of the most popular oils in the world for a variety of reasons! It’s starting to catch on as a health staple, reaching far beyond spa or tub time. We’re covering the top reasons why you should be using lavender oil at home, along with three fun DIY recipes to share with friends.
-
Improves Mood and Reduces Stress
Studies have shown that supplementing your diet with lavender oil can help to alleviate depression, anxiety, and sleep restlessness.
-
Improves Sleep
Did you know that lavender oil is known to help the quality of sleep? It can significantly improve your Z’s when used topically.
-
Relieves Headaches
Do you suffer from headaches or migraines? You’ll want to tote along lavender oil to help banish that dreaded thumping. When inhaled for about 15 minutes, lavender oil can help reduce pain associated with headaches.
-
Relieves Pain
Lavender oil, when massaged into the skin, can help to relieve minor aches and pains, especially for women suffering from menstrual and abdominal cramps.
-
Promotes Healthy Skin & Hair
Packed with anti-inflammatory and antioxidant properties, lavender oil not only smells amazing on your locks but is dual-purpose by helping to ease skin conditions. Being massaged into the scalp daily can help improve scalp health and hair growth.
 DIY Skin Soothing Lavender Cubes
Are the temperatures starting to rise in your neighborhood? While that may not be the case for all of us (spring is still coming, right?), our do-it-yourself skin soothing lavender cubes can still be enjoyed year-round! We’re combining the skin nourishing properties of the aloe vera plant with lavender oil’s relaxing, anti-inflammatory benefits for the perfect at-home spa-inspired recipe. Let’s get down to it!
Skin Soothing Lavender Cubes Supplies:
20 Ball Silicone Mold (or standard ice cube tray)
4.5 oz. Organic Aloe Vera Liquid (from a bottle)
.5 oz. Organic Aloe Vera Juice (from inside the leaf)
.5 oz. Organic Glycerin
20 drops Organic Lavender Essential Oil
Step One:
In a small glass or ceramic bowl, combine the organic aloe vera liquid and organic glycerin. Whisk together until completely combined.
Step Two:
Gently squeeze and scrape out the inside from a fresh, organic aloe vera leaf. You’ll want to measure out about one-half ounce, but more will not compromise this recipe. Add this to your base and gently incorporate until smooth.
Step Three:
Continue creating your skin soothing cube base by adding 20 drops of organic lavender essential oil. Stir to combine.
Step Four:
Using a blending stick or traditional blender, quickly pulse the mixture to make sure there aren’t any large pieces of aloe vera plant and to ensure a smooth, fully combined base.
Step Five:
Carefully pour the soothing cube base in the 20 ball mold and place on a stable, level freezer shelf. Let the cubes freeze overnight.
Step Six:
When you’re ready to slide into a soothing lavender sea salt bath or beat the heat, pop out a fresh organic lavender soothing facial cube to enjoy! Allow the cube to slowly melt on your face. Leave the dried formula on for about 10-15 minutes then wash off with a warm, damp towel (if desired). Bonus points for using your skin soothing facial ball in a lavender garden.
 DIY Lavender Oil Pillow Spray
Are you having trouble sleeping or just looking to create a calming atmosphere before bedtime? You’ll want to whip up our DIY lavender oil pillow spray to keep on your nightstand to do just that. Spritz our lavender oil spray on your pillow, sleep mask, or just a few pumps into the air above your bed right before you tuck yourself in. The soothing scent of lavender will have you slipping deep into dreamland in no time. Follow below for our super easy lavender oil-based DIY recipe!
Lavender Oil Pillow Spray Supplies:
1 Small Glass Jar with a tight-fitting lid (a mason jar would be best!)
10 drops Organic Lavender Essential Oil
2 Tablespoons Organic Witch Hazel or Organic Vodka
6 Tablespoons Distilled Water
Small Funnel
Glass Spray Bottle
Step One:
Using a tight-fitting lidded jar, combine the organic witch hazel (or organic vodka) with the organic lavender oil. Tightly screw on the jar’s lid and shake vigorously for 15 to 20 seconds to help combine the two ingredients.
Step Two:
Carefully open the lid, then add the distilled water. Tightly screw the jar’s lid back on then shake vigorously for another 15 to 20 seconds to help combine the new ingredients.
Step Three:
Open the spray top to our final bottle and place the funnel on top. You’ll want to use a tiny funnel to make pouring easier! Pour the lavender oil mixture into the spray bottle, being careful not to overfill.
Step Four:
Print a cute label or use a permanent black marker to label your new lavender oil spray bottle.
Step Five:
Spritz away! Enjoy your new lavender oil pillow spray tonight – you’re just a few pumps away from pure tranquility.
 DIY Oatmeal and Lavender Oil Bath Bombs
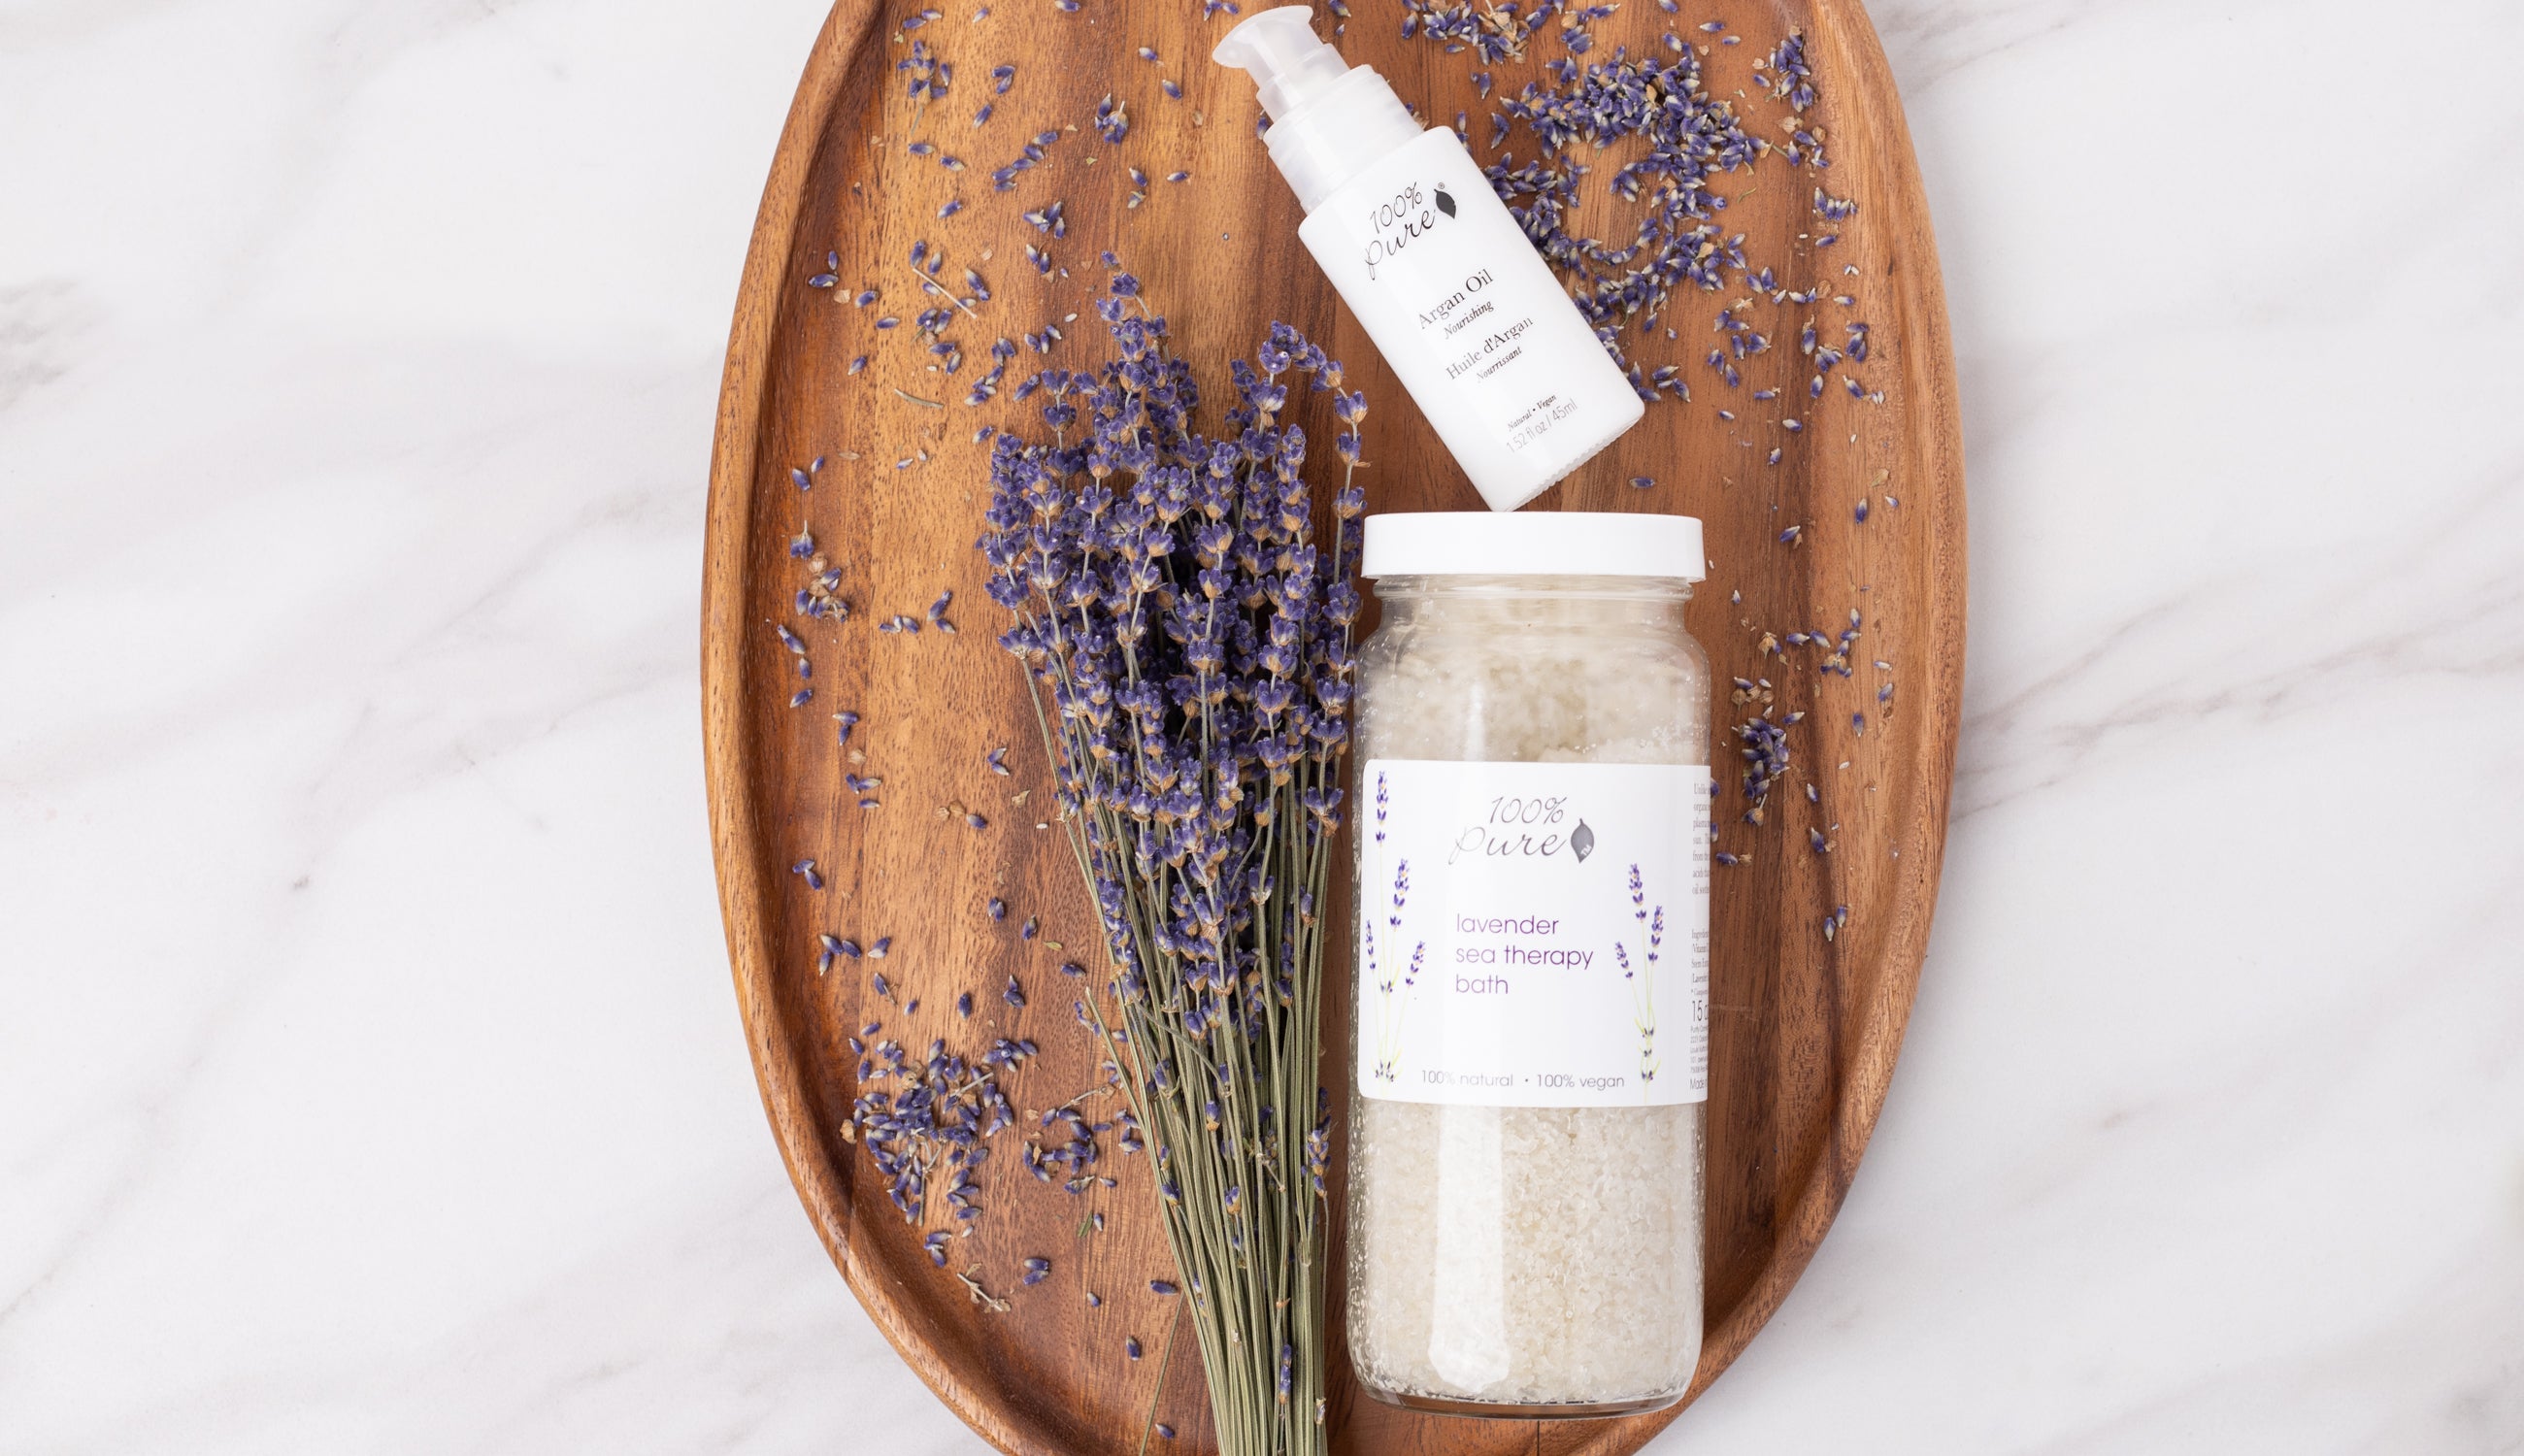
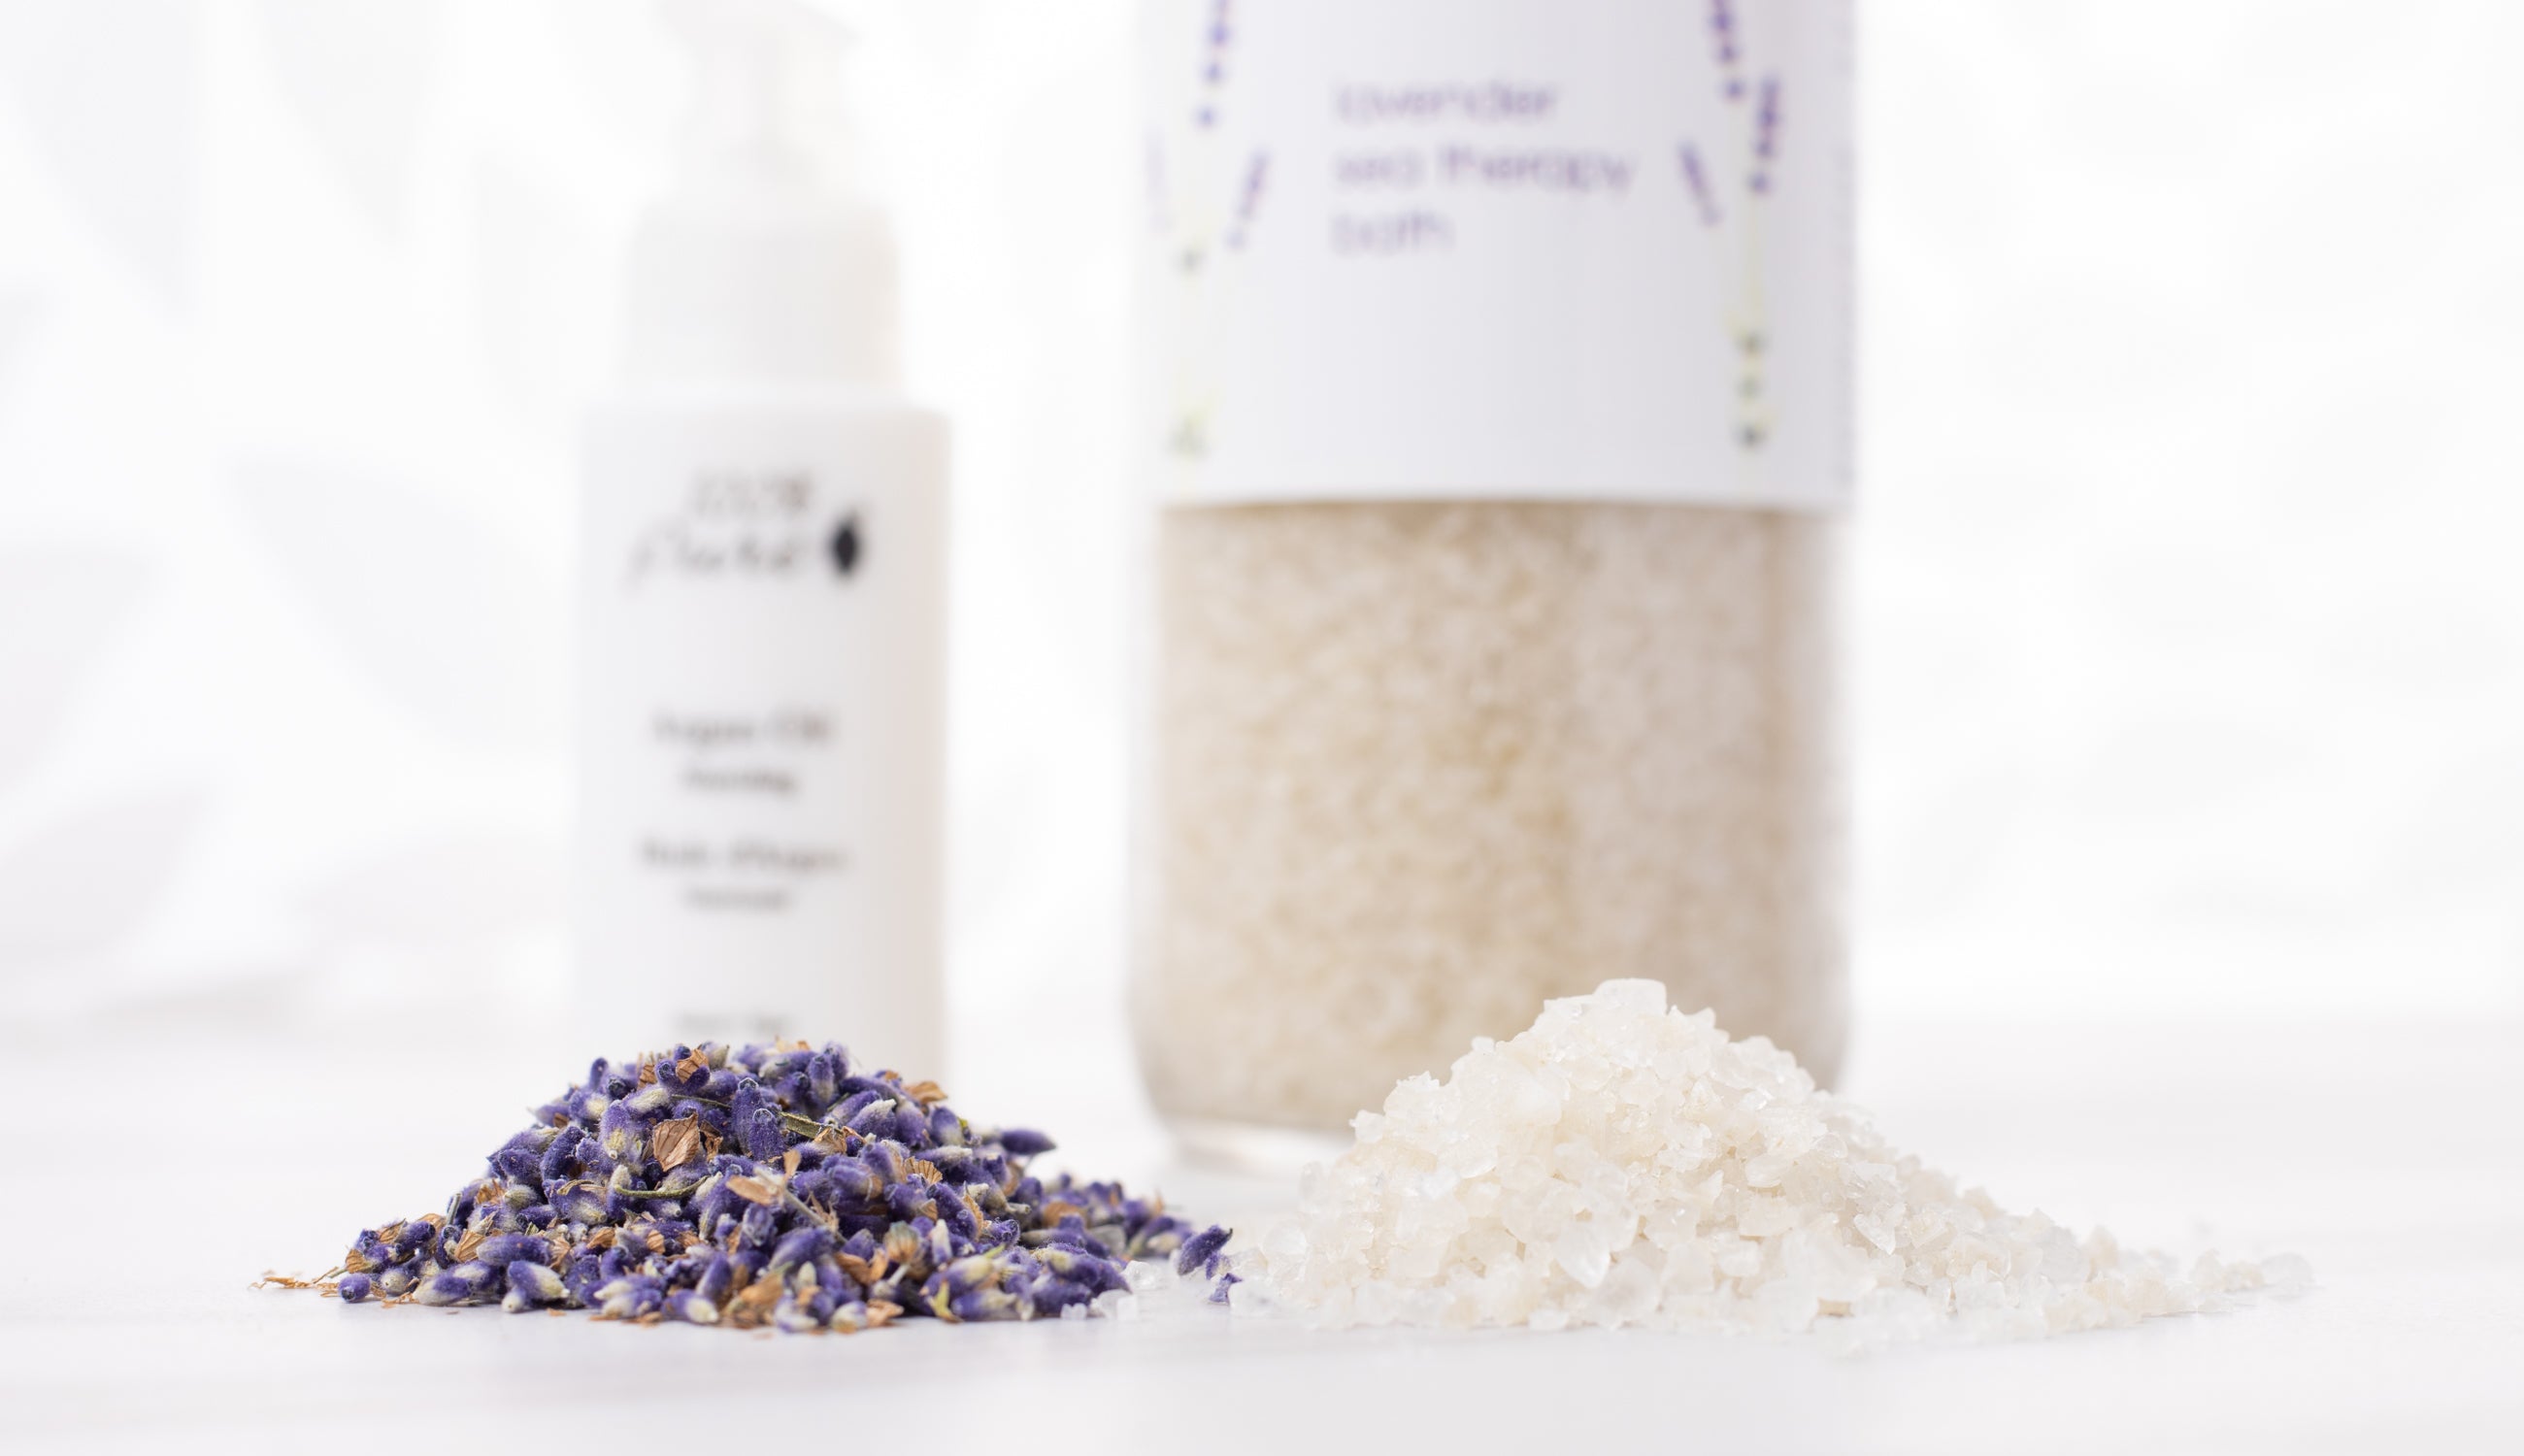
We’re loving these for springtime party favors, gifts, or keep-it-for-yourself spa treats. These skin softening and deeply moisturizing bath bombs are perfect for plopping into a warm bath after a long day at the office, a stressful day chasing the kids, or simply helping you to ease into your bedtime routine. One more tip - lock in the aromatherapeutic properties and moisturizing benefits of oatmeal, coconut oil, and lavender oil with a self-massage using Argan Oil or a nourishing body lotion after you hop out. Get the deets on our DIY lavender oil bath treatments below!
Bath Bomb Supplies:
1 cup baking soda
½ cup cornstarch
½ cup Lavender Sea Therapy Bath
¼ cup organic oatmeal
4 tablespoons cream of tartar
2 ½ tablespoons organic coconut oil
2 ¾ tablespoons distilled water
2 teaspoons organic lavender oil
Step One:
In a large glass or ceramic bowl, mix together the baking soda, cornstarch, Lavender Sea Therapy Bath, organic oatmeal, and cream of tartar.
Step Two:
In a small glass or ceramic bowl, mix together organic coconut oil, distilled water, and lavender oil. For easier mixing, you can opt to heat up the organic coconut oil before for liquid consistency.
Step Three:
Slowly combine all the mixed ingredients from the small bowl into the larger bowl. Slow down if you notice your mixture starts to foam up. Gently mix together until the base is crumbly. Test the consistency by forming a small ball with your hands. If it will not hold a solid form, you’ll need to add a little more water.
Step Four:
Carefully scoop your mixture into the silicone molds. Make sure to tightly pack the mixture. Even the top with the back of a knife. Allow your mold to sit for at least 2 hours.
Step Five:
Gently release your lavender oil bath bombs from their silicone mold by turning over and popping out. If your mold cracks, gentle repack and allow to dry for another 4 to 6 hours before attempting to remold again.
Step Six:
Pack your beautiful lavender oil bath bombs in a decorative dish to keep beside the tub or box up a few to give as gifts. Share the soothing benefits of lavender oil with the ones you love!
Are you inspired to get a craft day going with friends? Share your spa-worthy creations with #100percentpure on social media!
- Tags: April-2019, Bath and Body, Body & Hair, Skin Care, skincare
We carefully hand-select products based on strict purity standards, and only recommend products we feel meet this criteria. 100% PURE™ may earn a small commission for products purchased through affiliate links.
The information in this article is for educational use, and not intended to substitute professional medical advice, diagnosis, or treatment and should not be used as such.